ROYAL WAY SHED
10×12 stick-framed mono-slope · cream + black · Truckee pines
EST. $6,000 – $13,000 · DEPENDING ON FINISHES + BUILD QUALITY
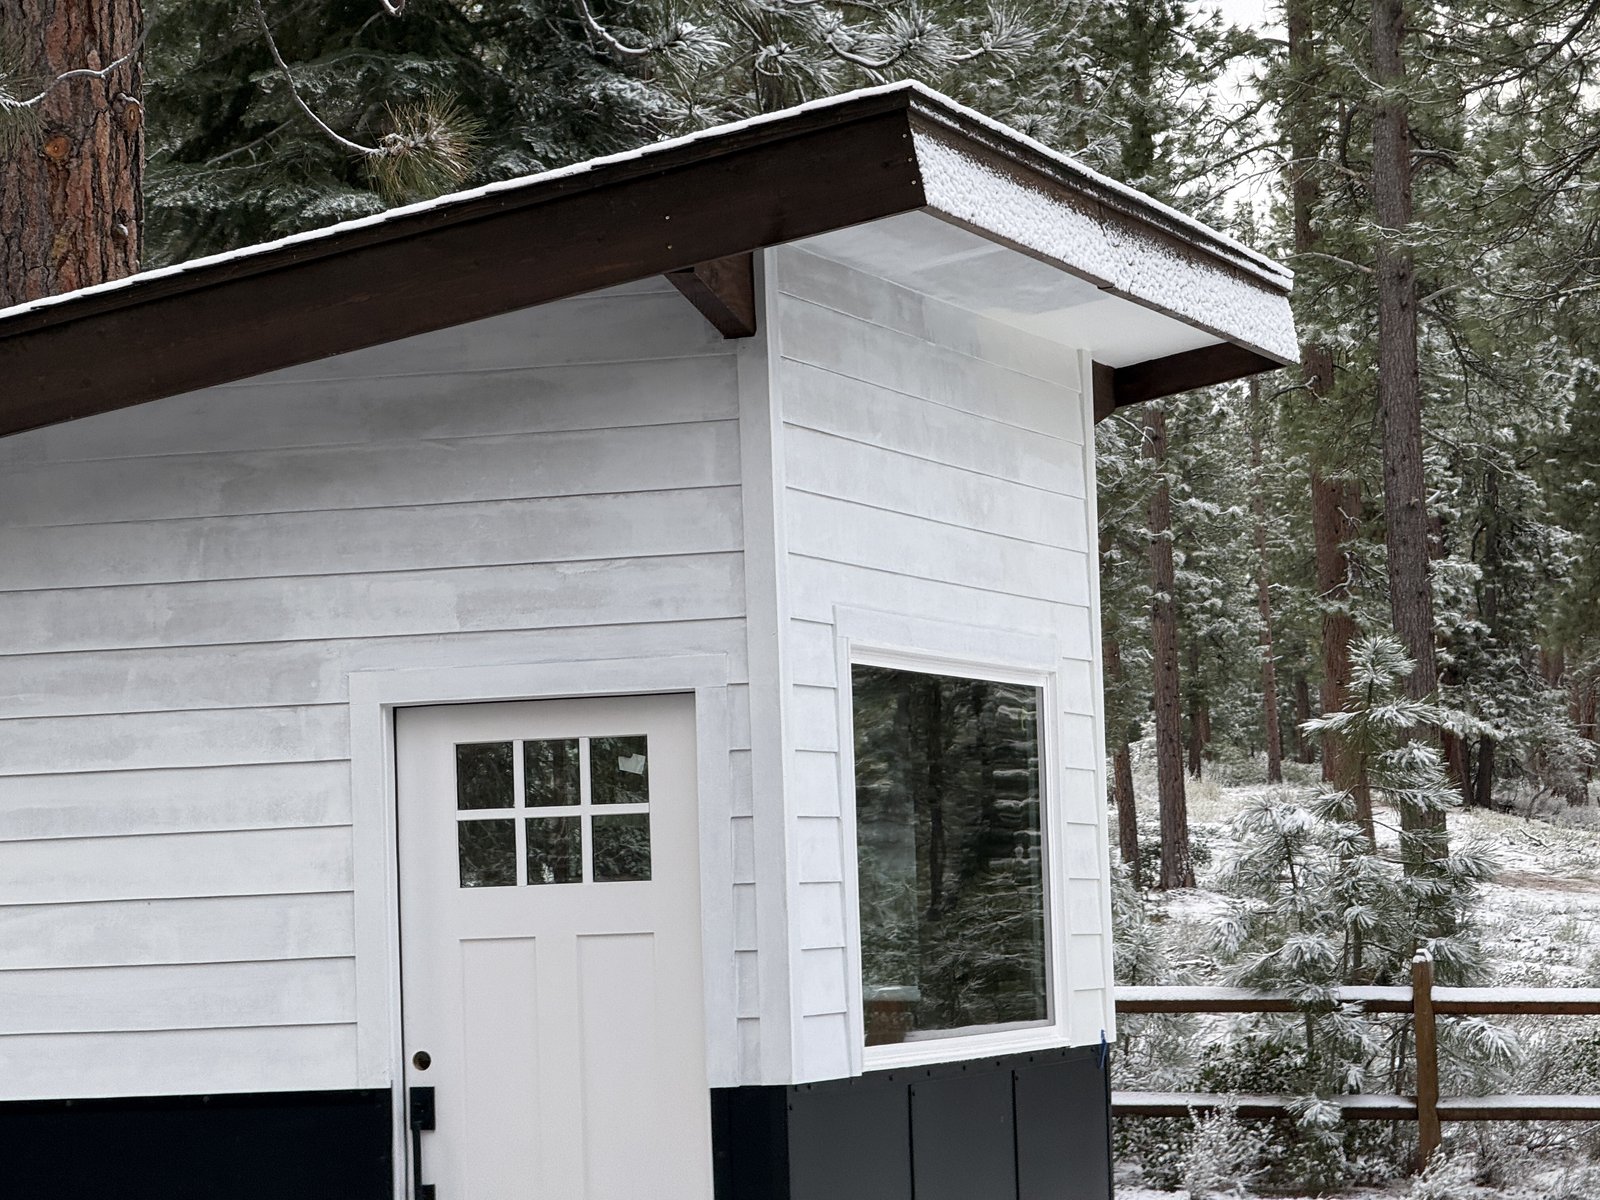
10×12 stick-framed mono-slope · cream + black · Truckee pines
A stick-framed 10×12 mono-slope storage shed that looks intentional in a Truckee pine forest
The lot needed storage. The pines around it ruled out anything pre-fab — every off-the-shelf shed is the wrong proportions for this property. The answer: stick-frame a 10×12 mono-slope from scratch. Cream-painted lap siding on the upper portion, matte-black painted wainscot on the lower. Mono-slope metal roof tilted away from the prevailing weather.
This wasn't a weekend build. The frame went up in 2024, the heavy exterior push happened in October 2025, finishing touches happened across January–April 2026. Eighteen months of evenings + weekends. Multi-season — frame in summer, button up before winter snow, finish painting and trim in spring when the air warms back up.
Bottom line: a stick-framed 10×12 storage shed that looks intentional in a Truckee pine forest. Mono-slope roof for snow shedding. JW casement window for daylight. 6-lite prehung door wide enough to roll a wheelbarrow through. Cream + black exterior that reads modern against the trees. Built across two winters, finished in spring 2026.
Estimated parts + materials cost: $6,000 – $13,000. Wide band because the swing factor is finishes — cement-fiber lap vs cheaper engineered wood lap, JW casement vs a builders-grade vinyl window, standing-seam metal vs corrugated steel, painted vs raw exterior. The frame itself is the cheap part; the skin is where money lands.
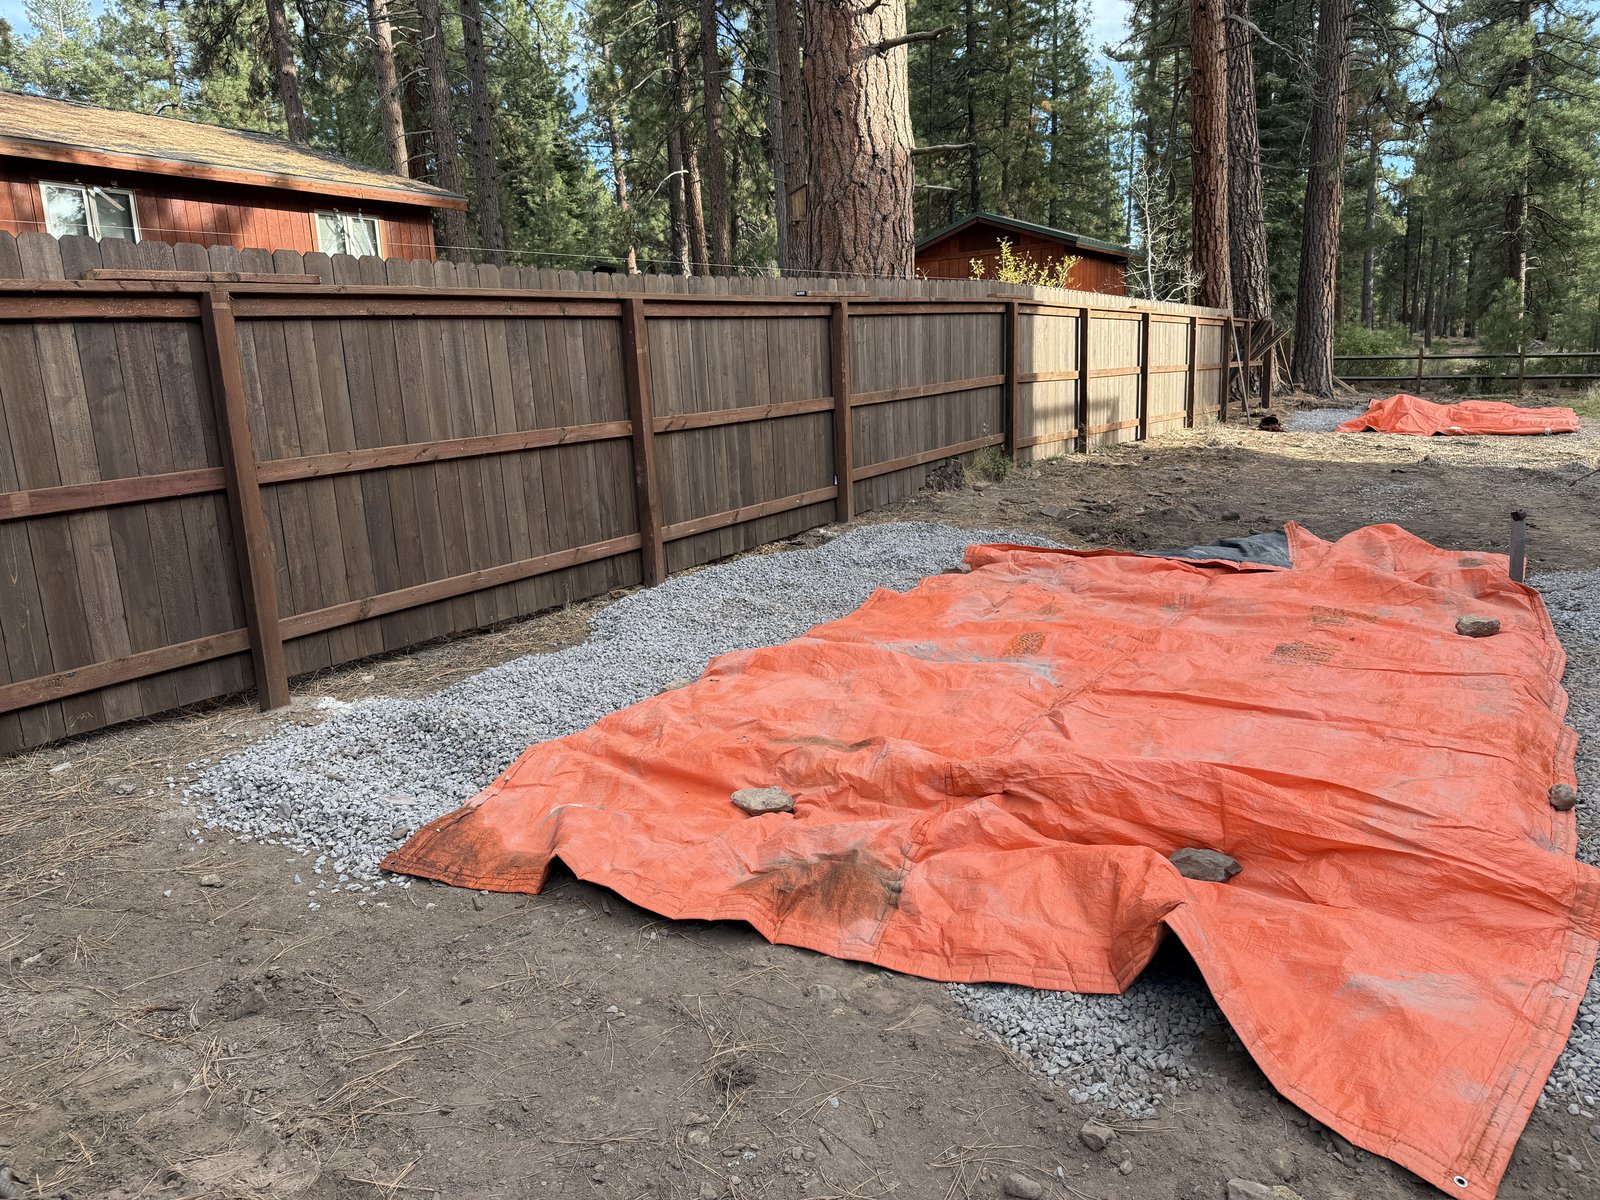
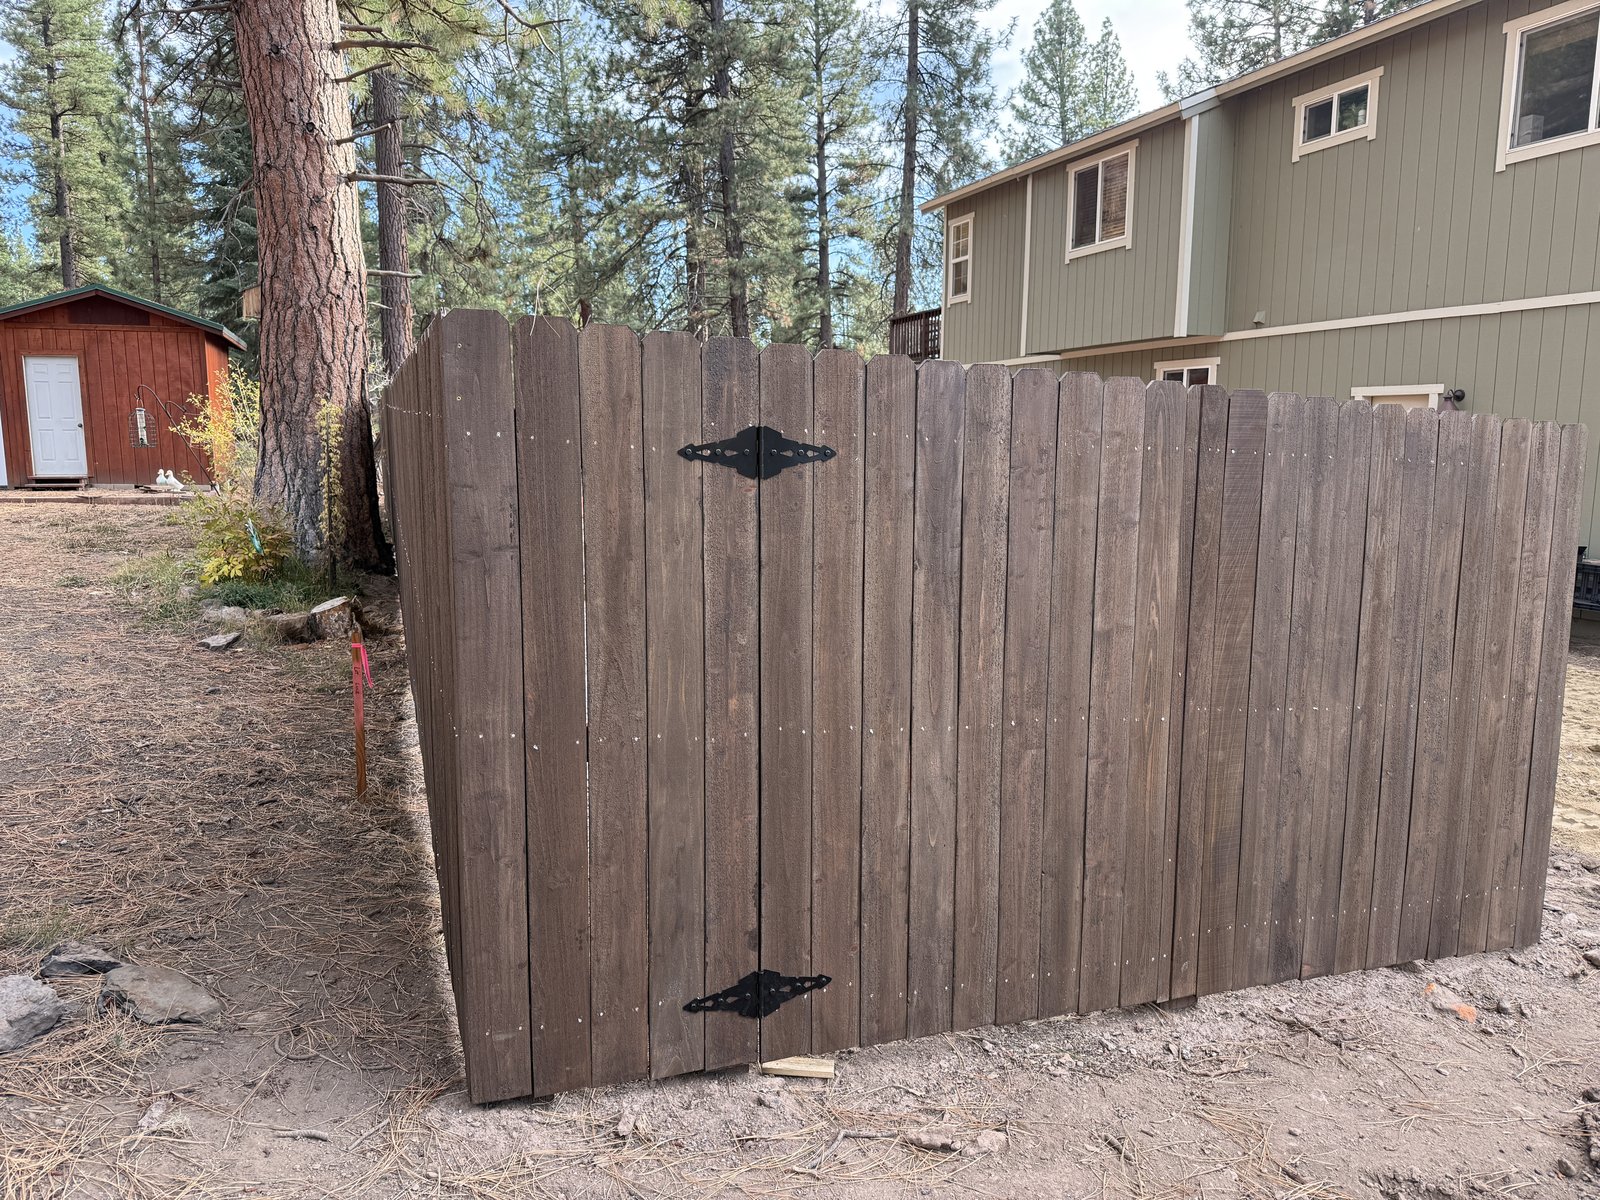
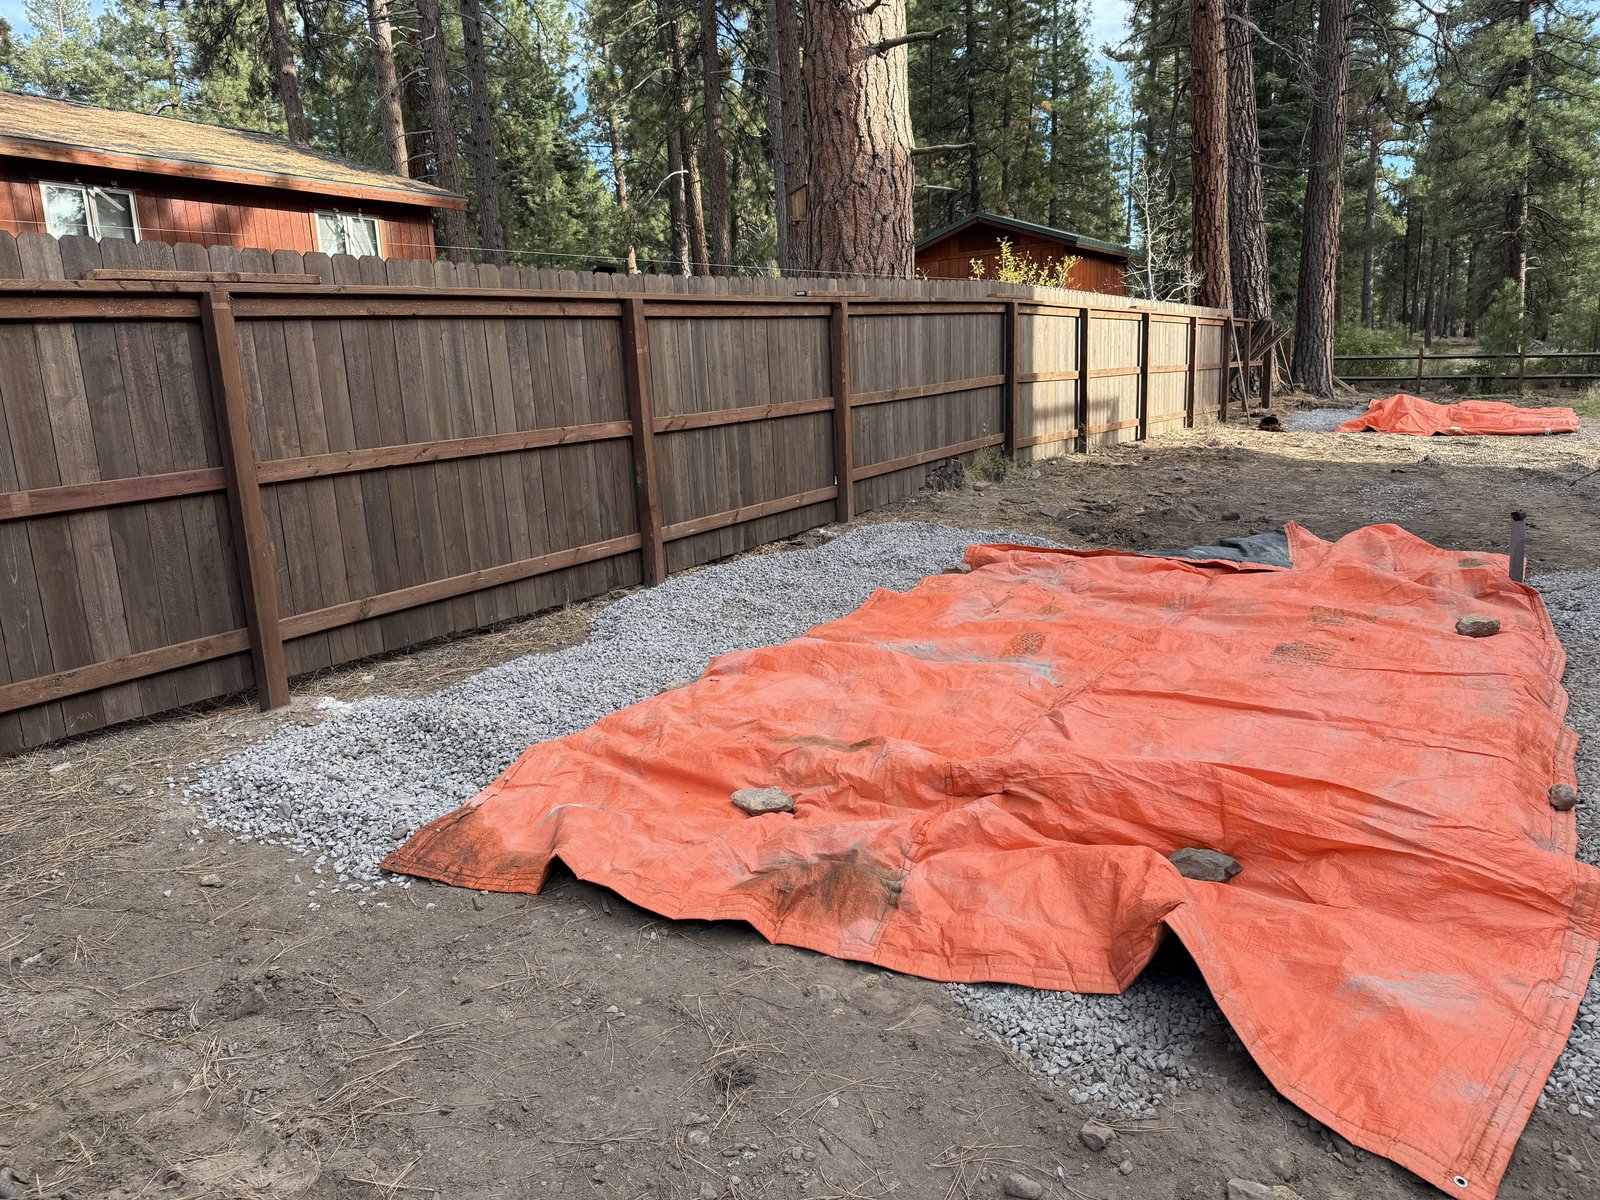
August 2024. The John Deere 35G mini excavator rolls up to the property. KERR-stickered cab, ready to break ground. Site prep is the part nobody photographs because it doesn't look like a build — but it's where the geometry of the future shed locks in. Footprint marked, drainage plan walked, sub-grade established.
By November 2024 the first framing materials hit the site. Sierra weather doesn't care about your project timeline. The work that happens before the first storm sets up everything that happens after the last one.
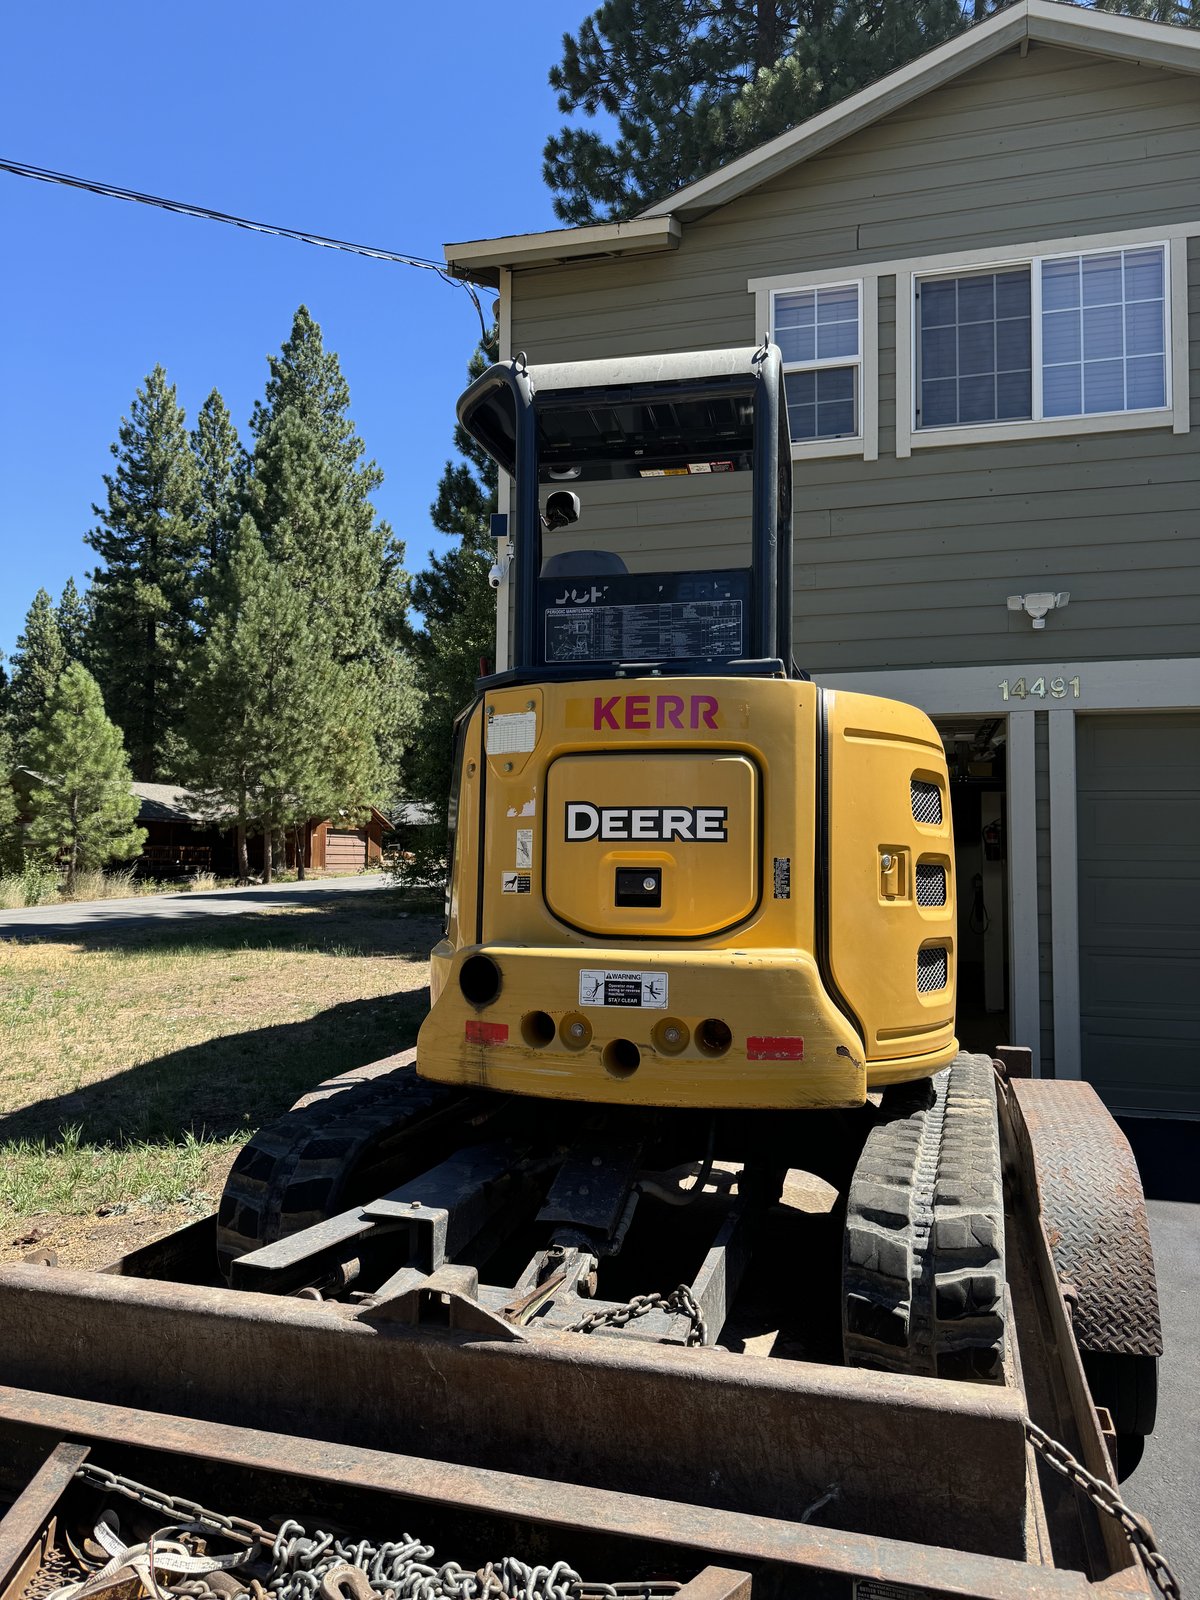
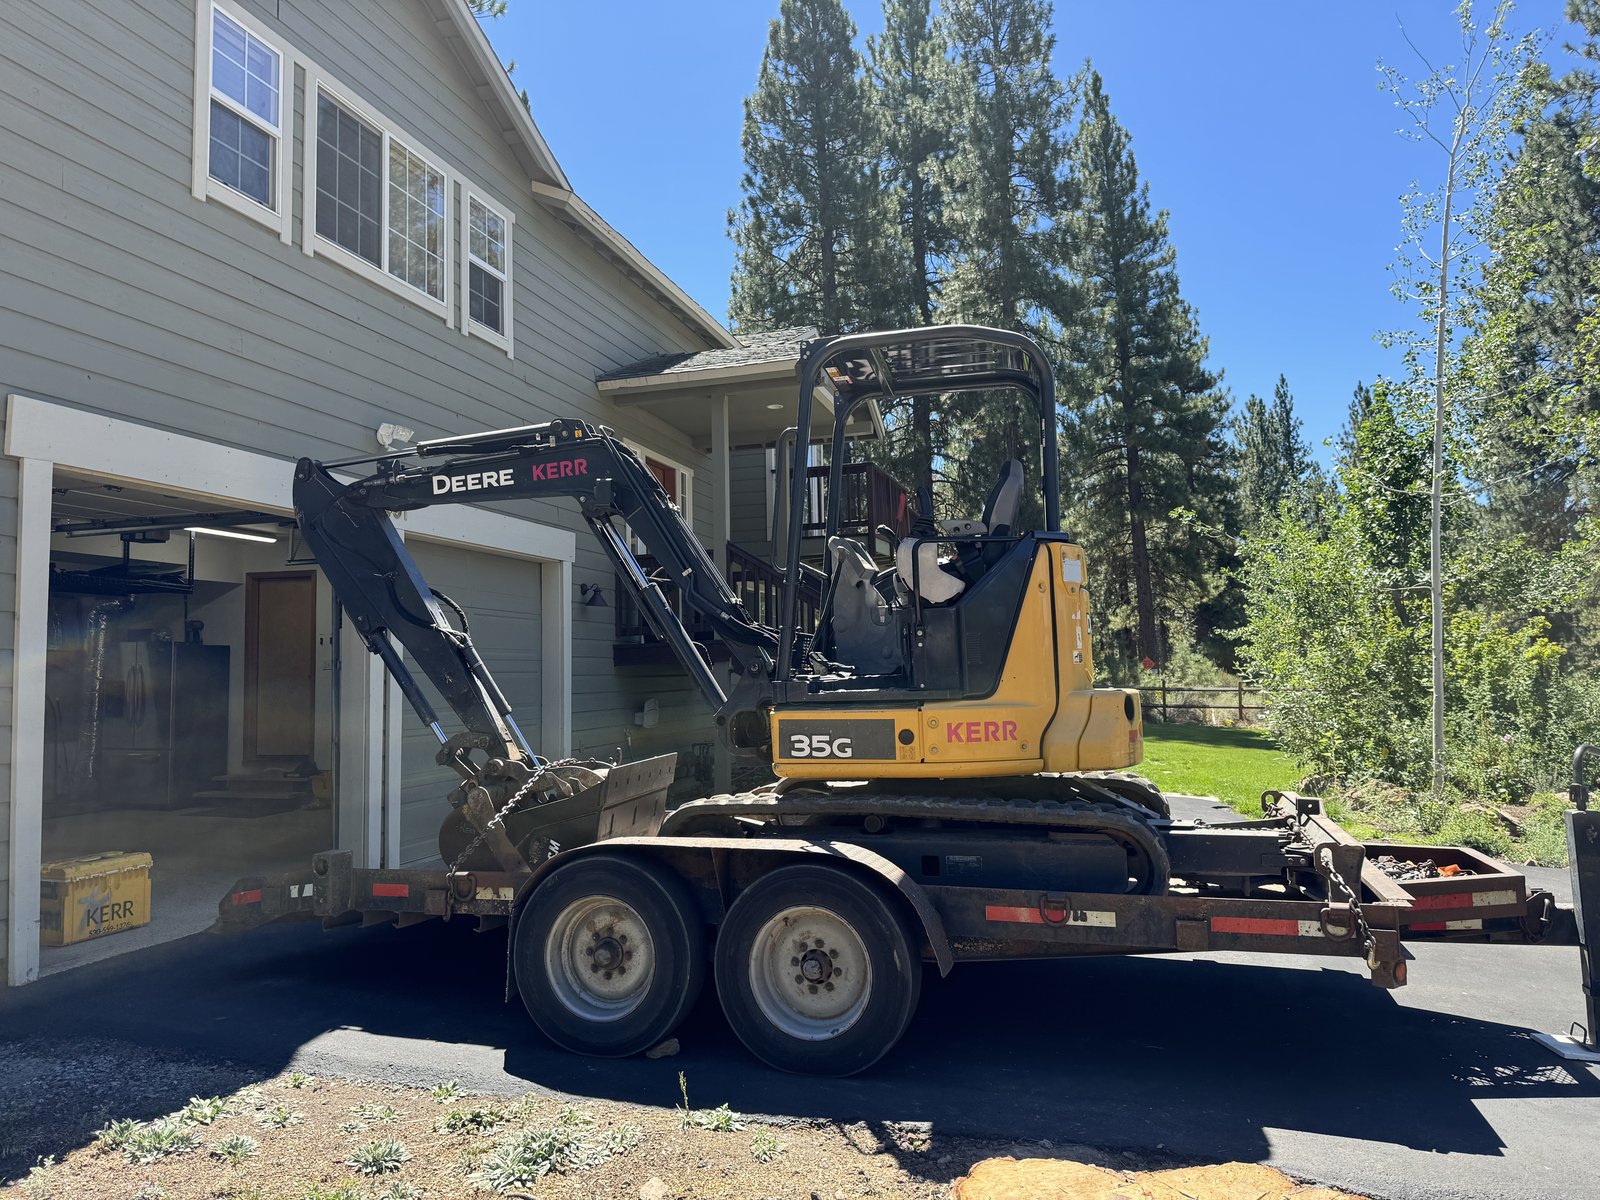
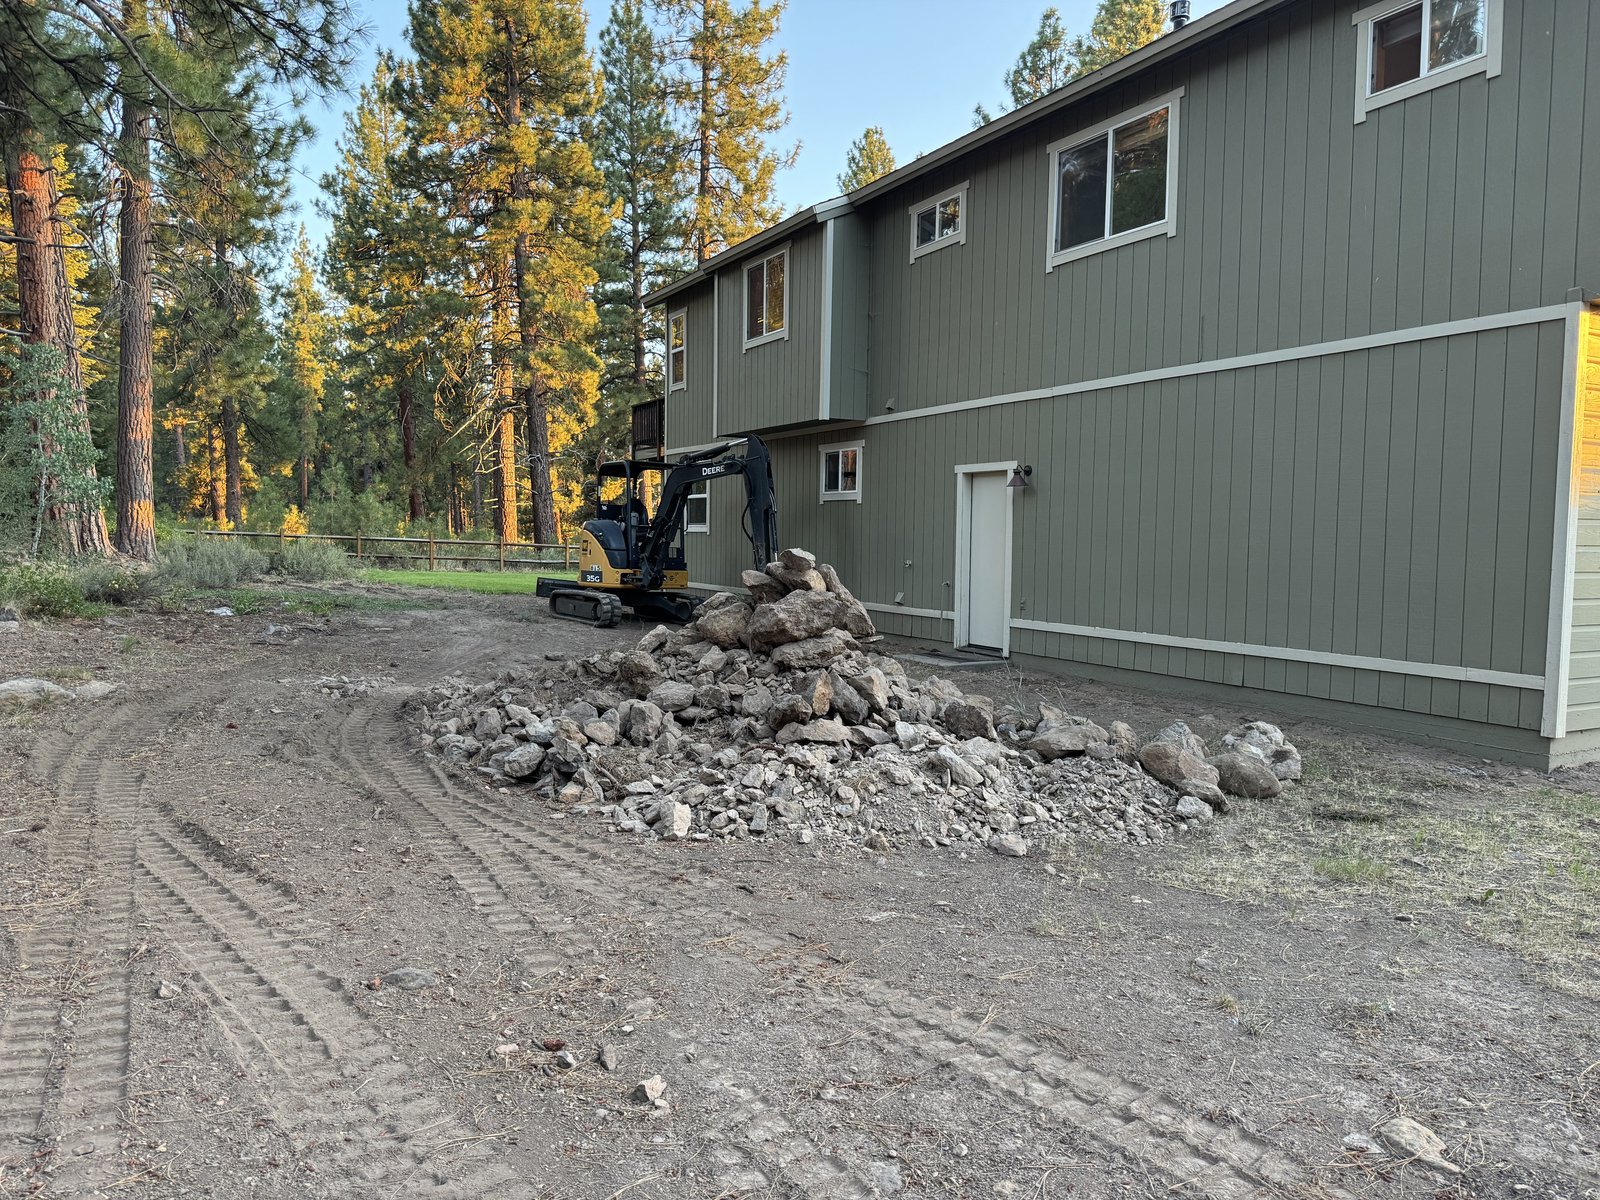
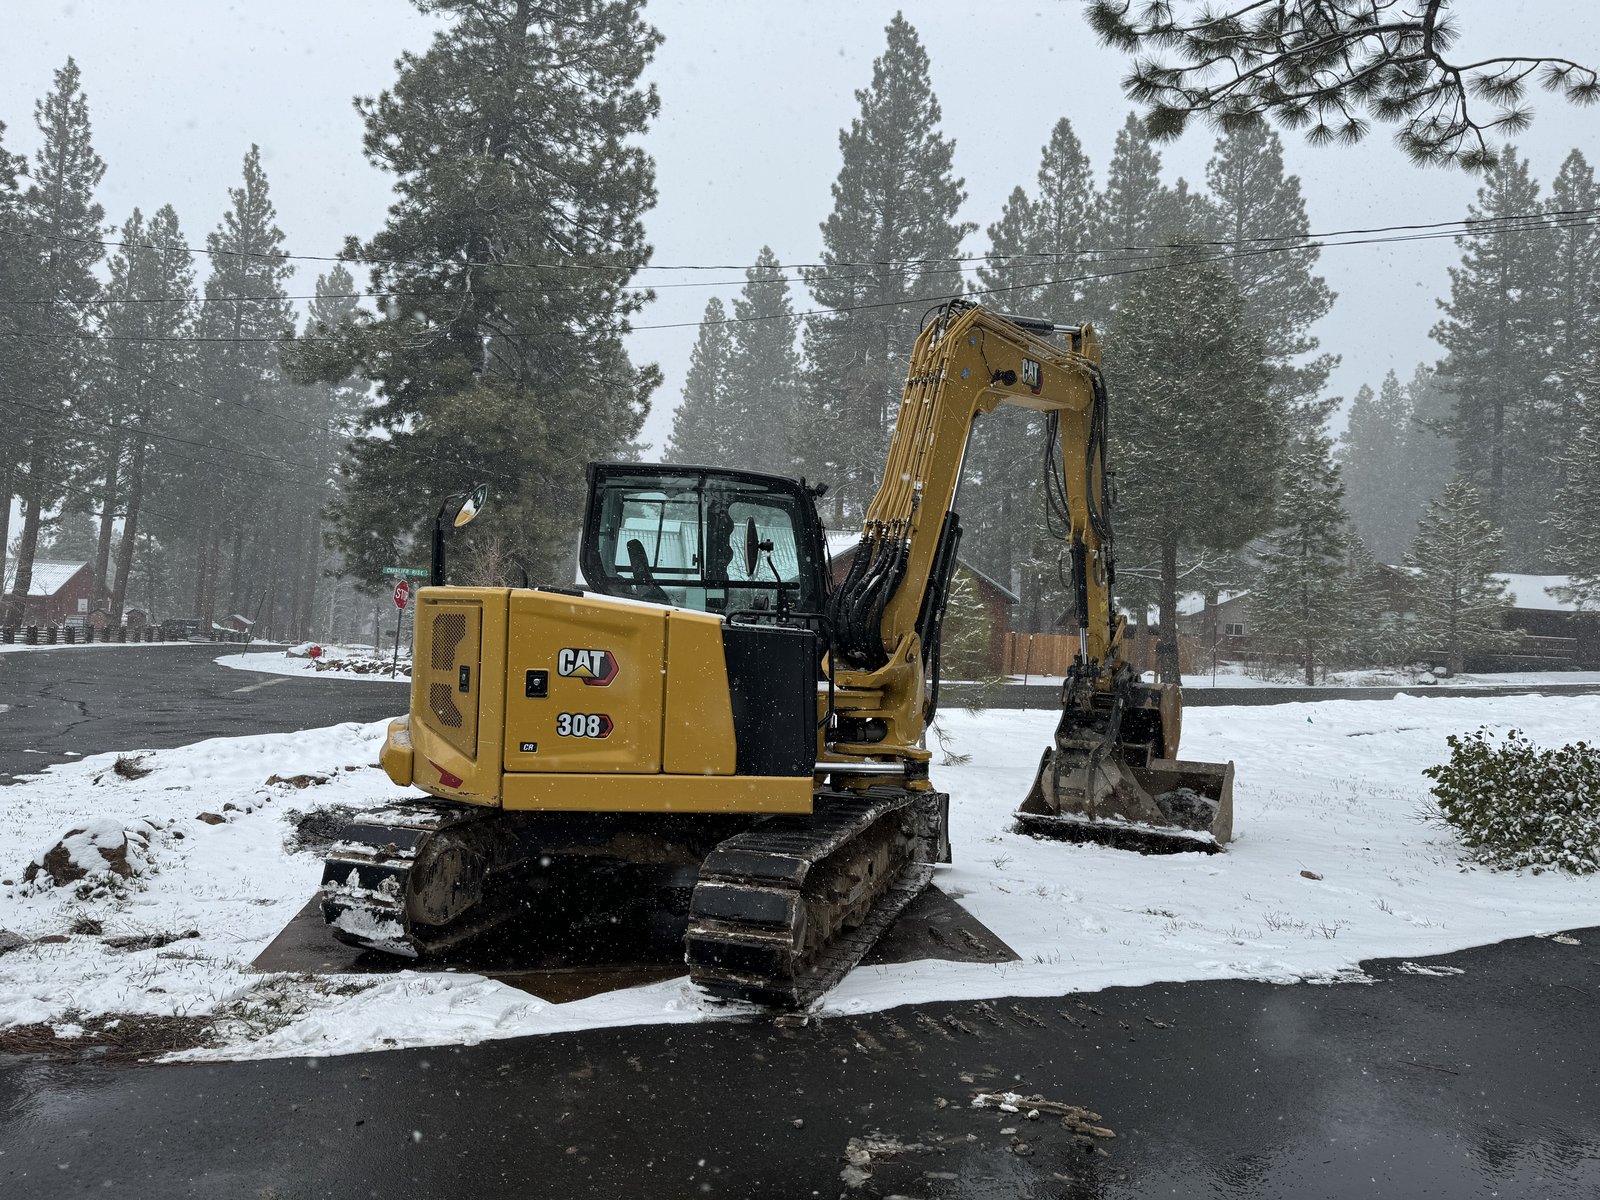
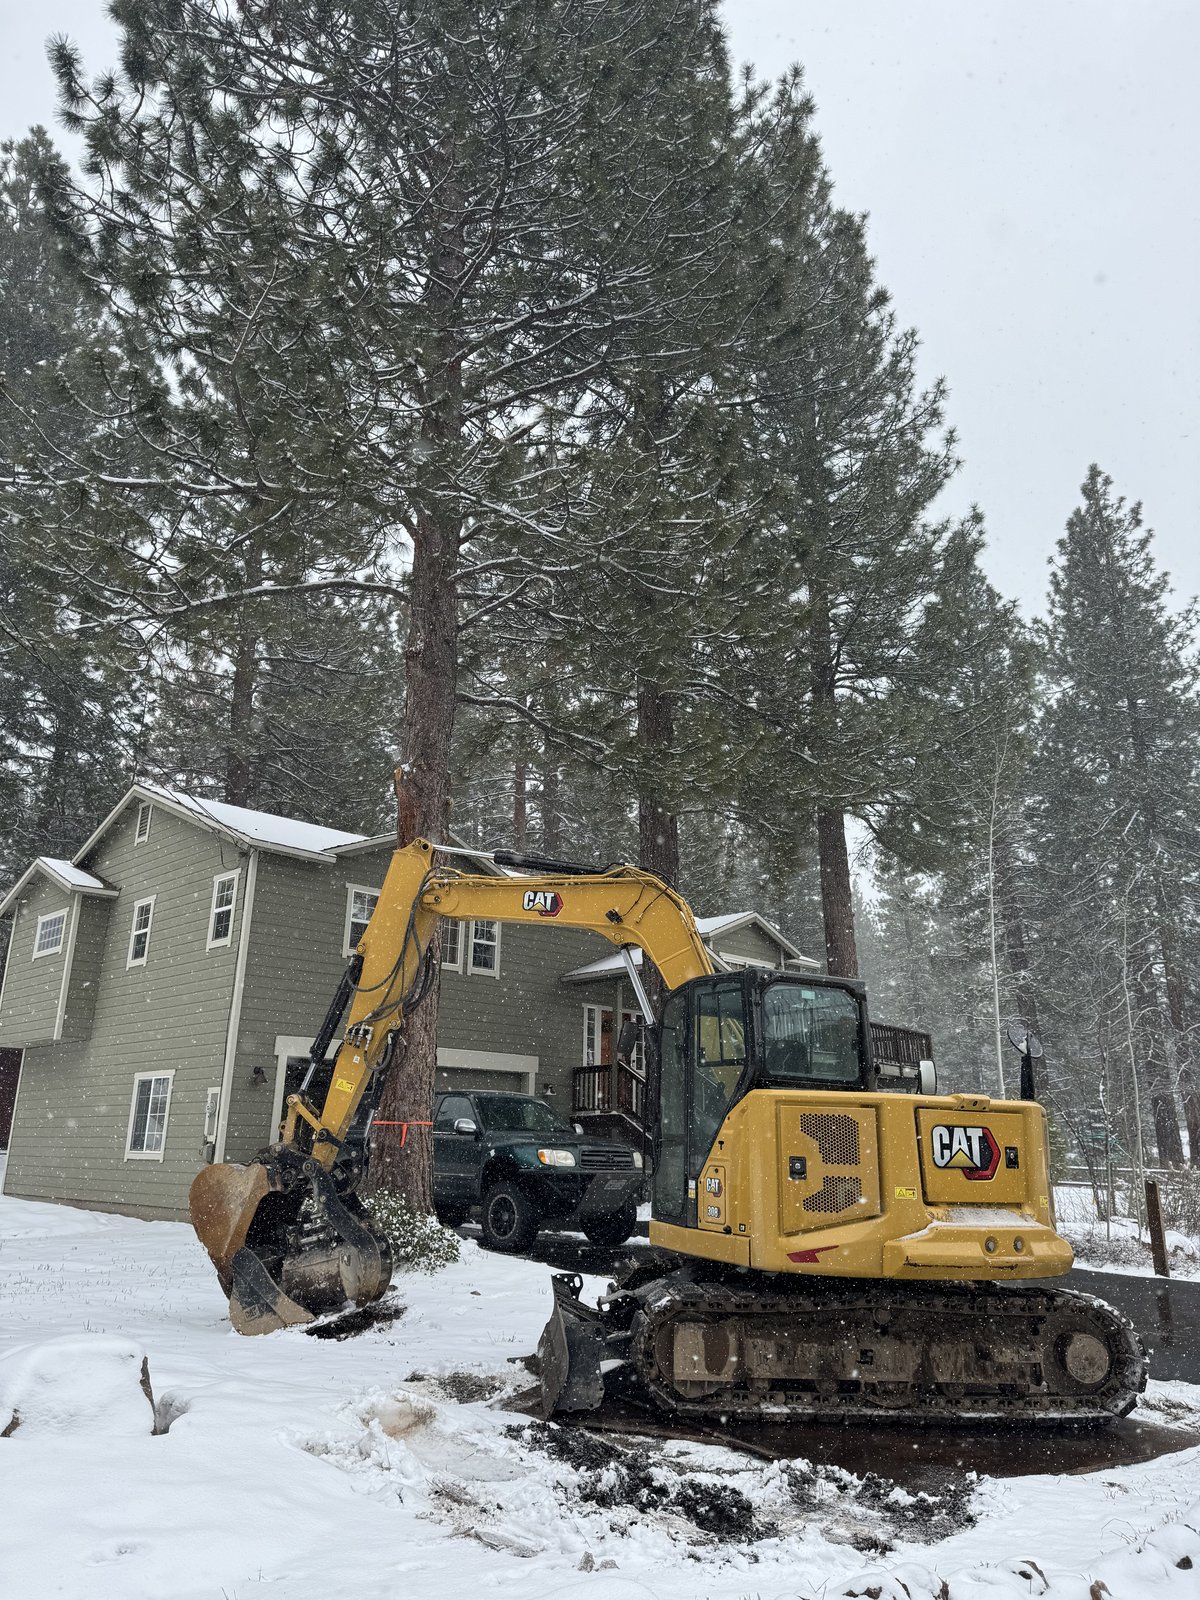
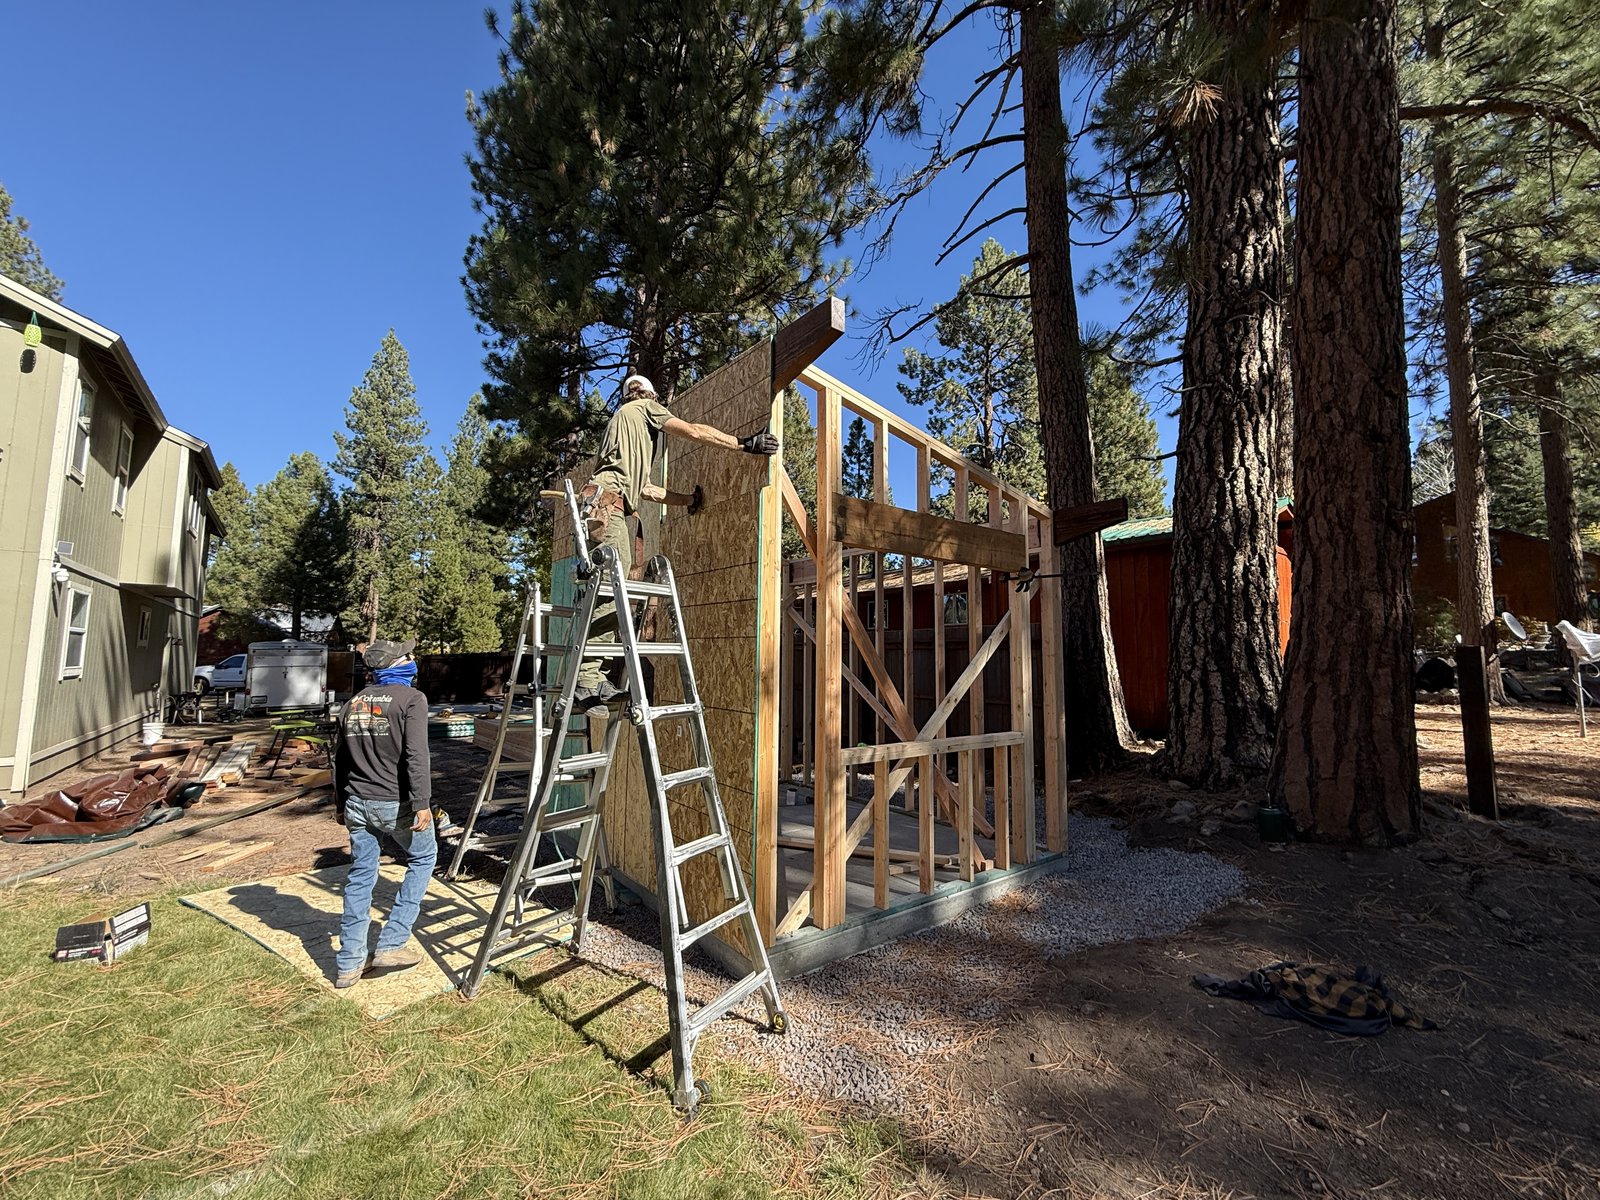
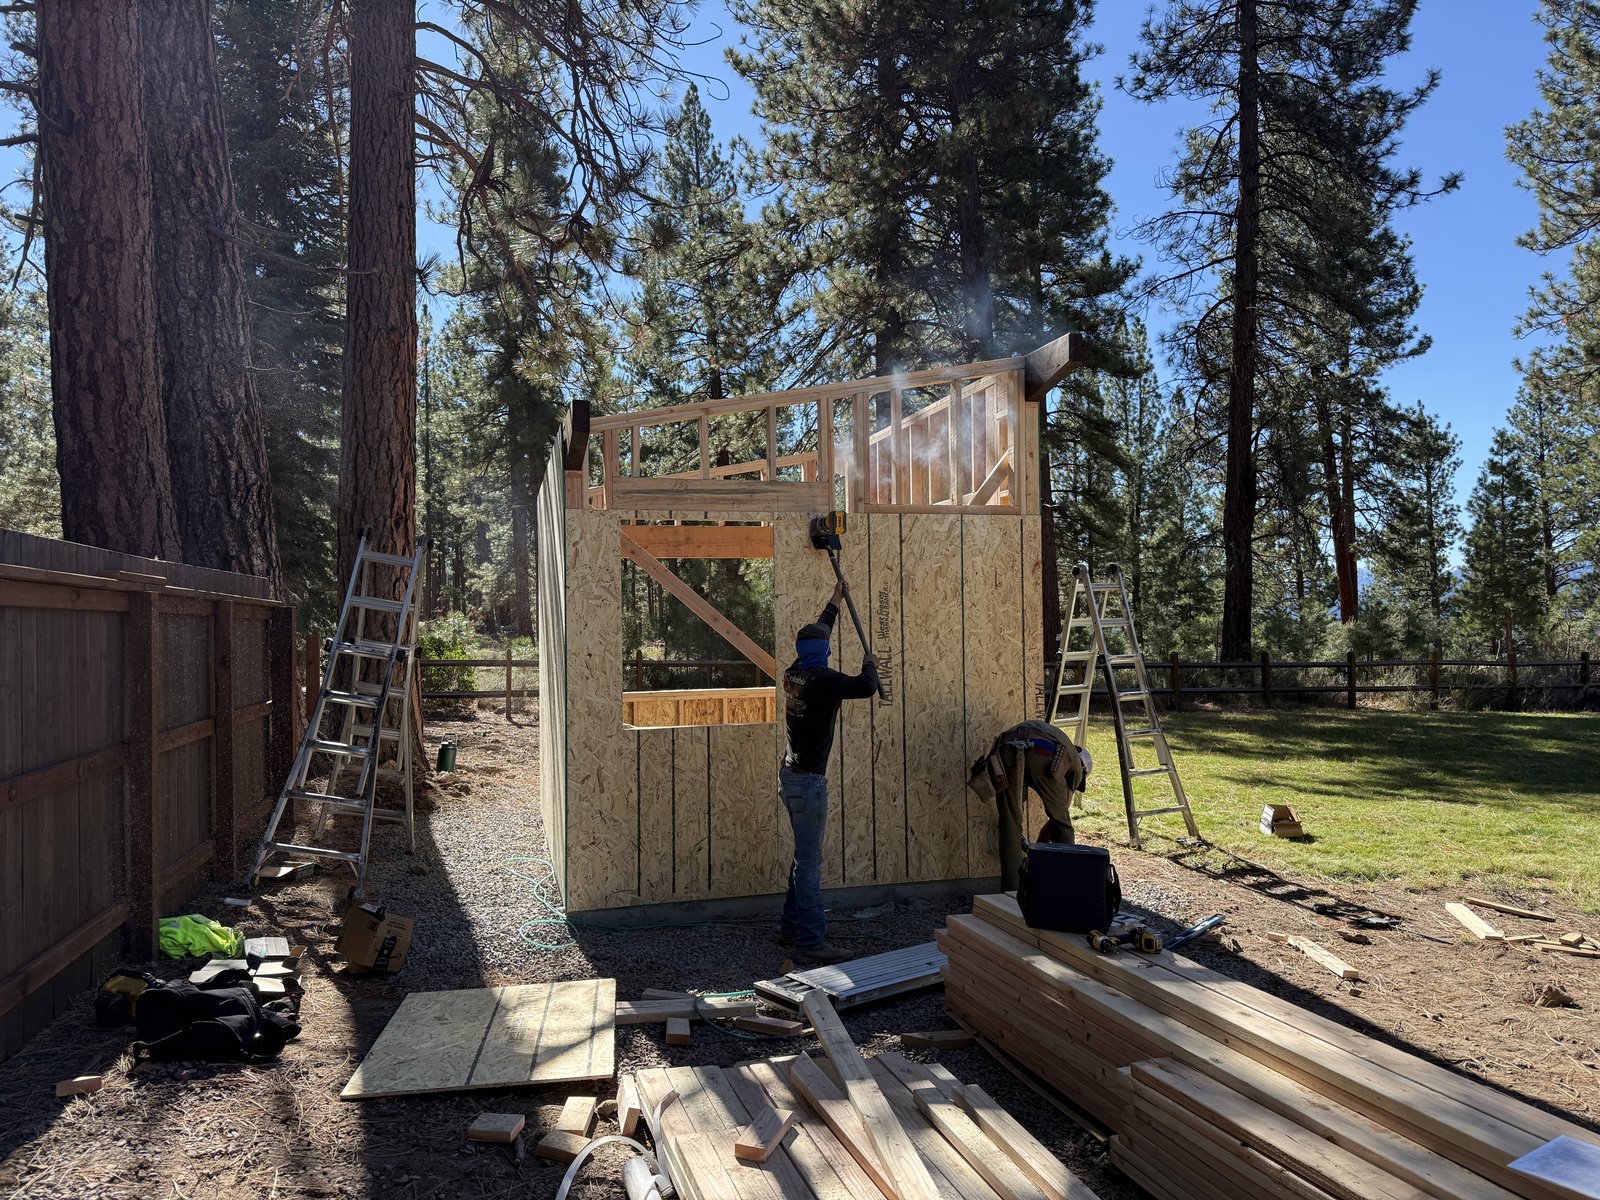
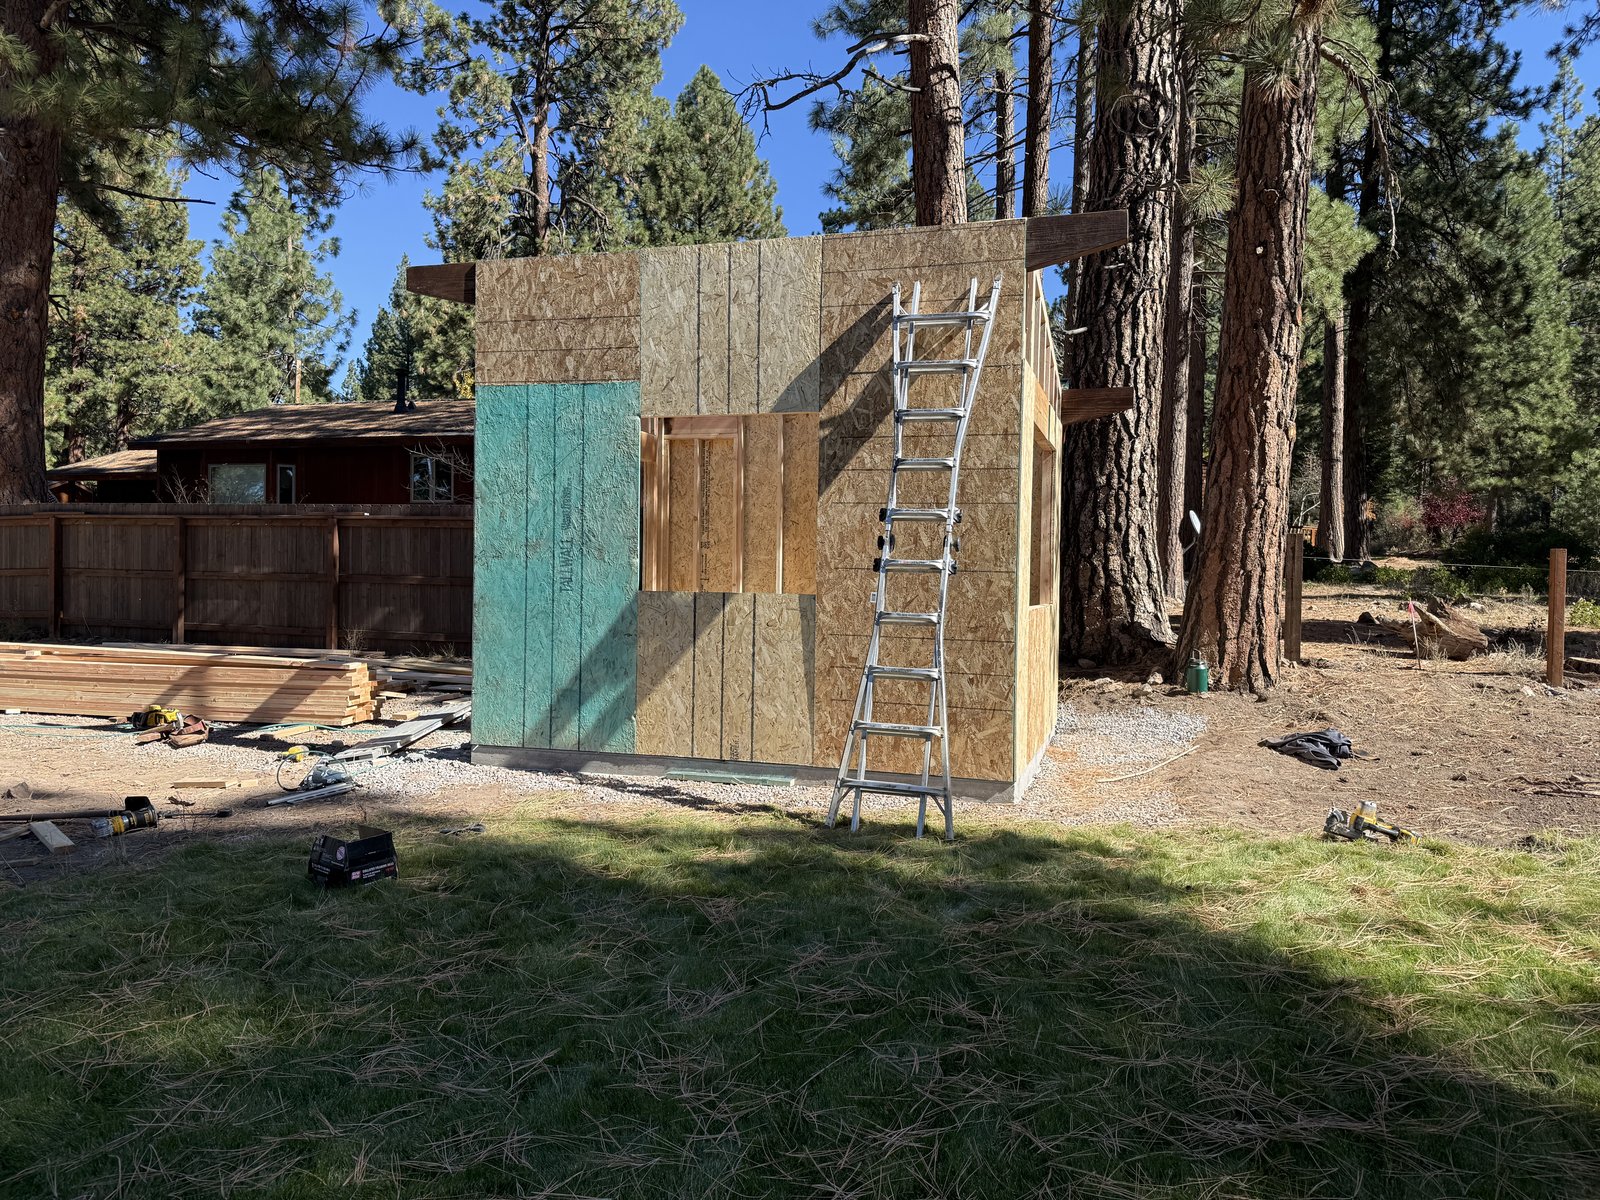
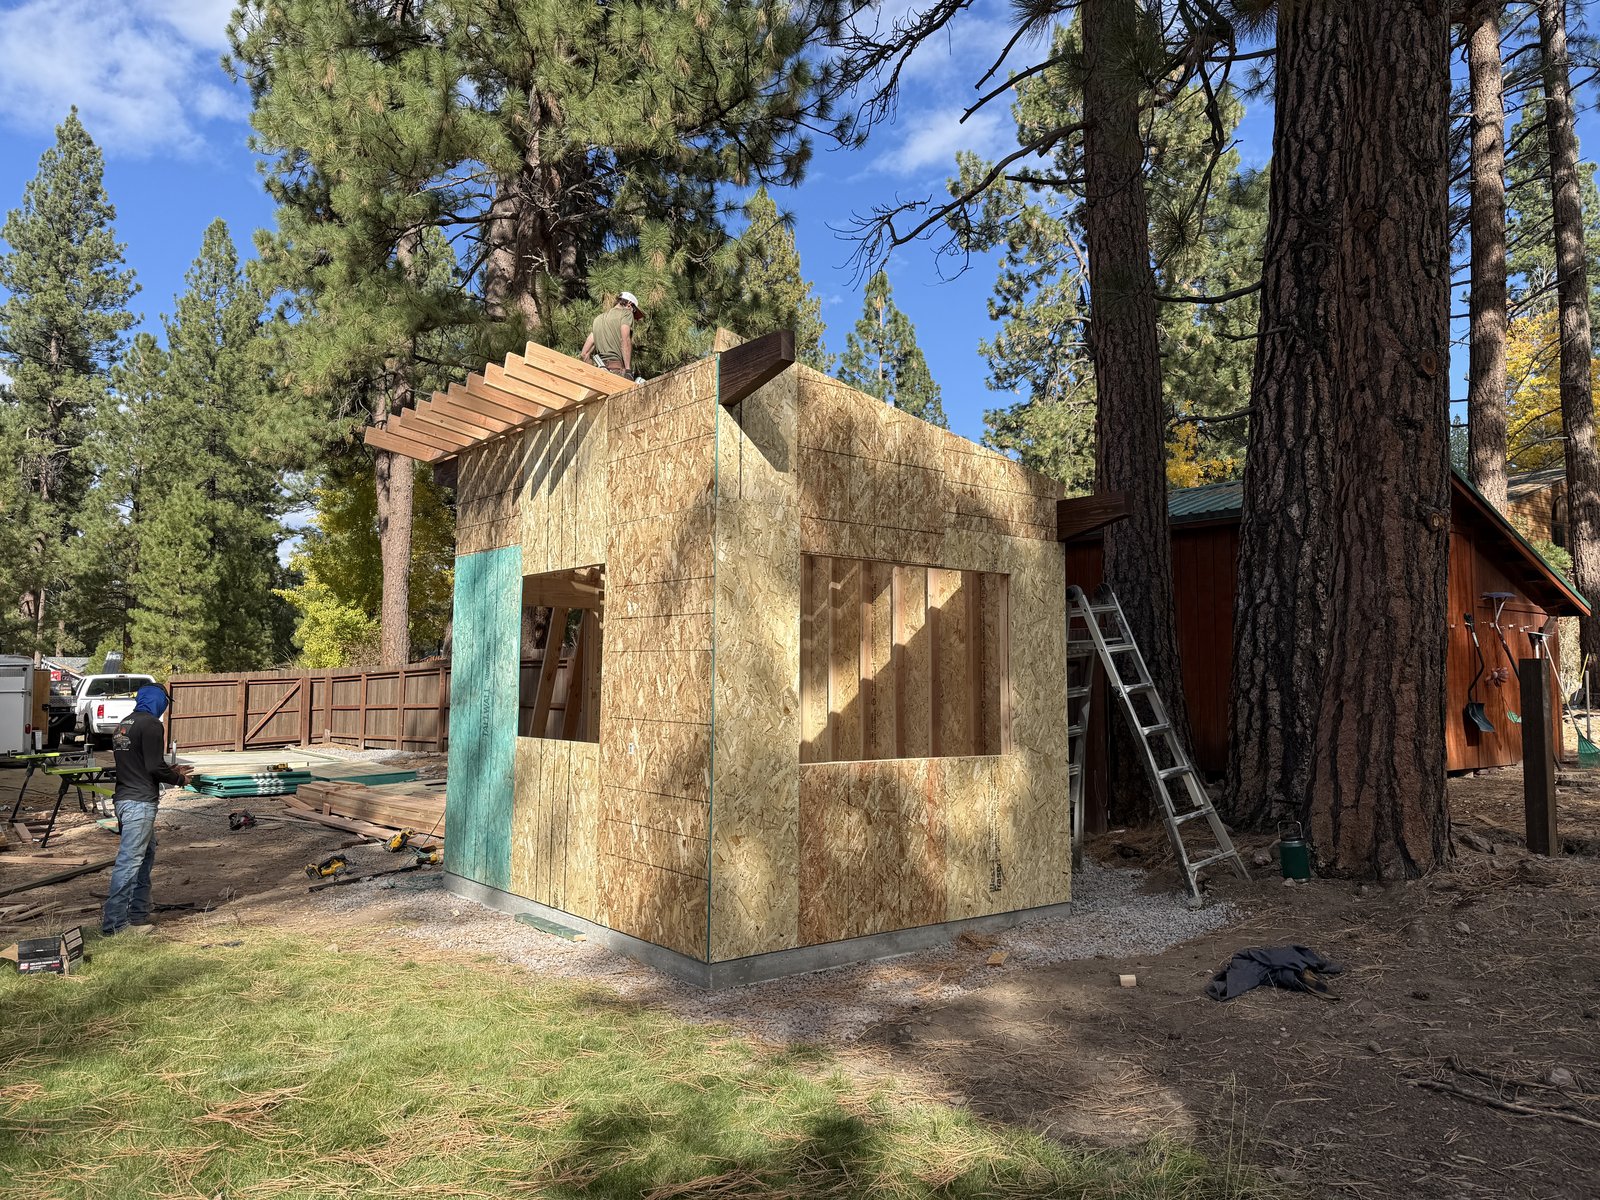
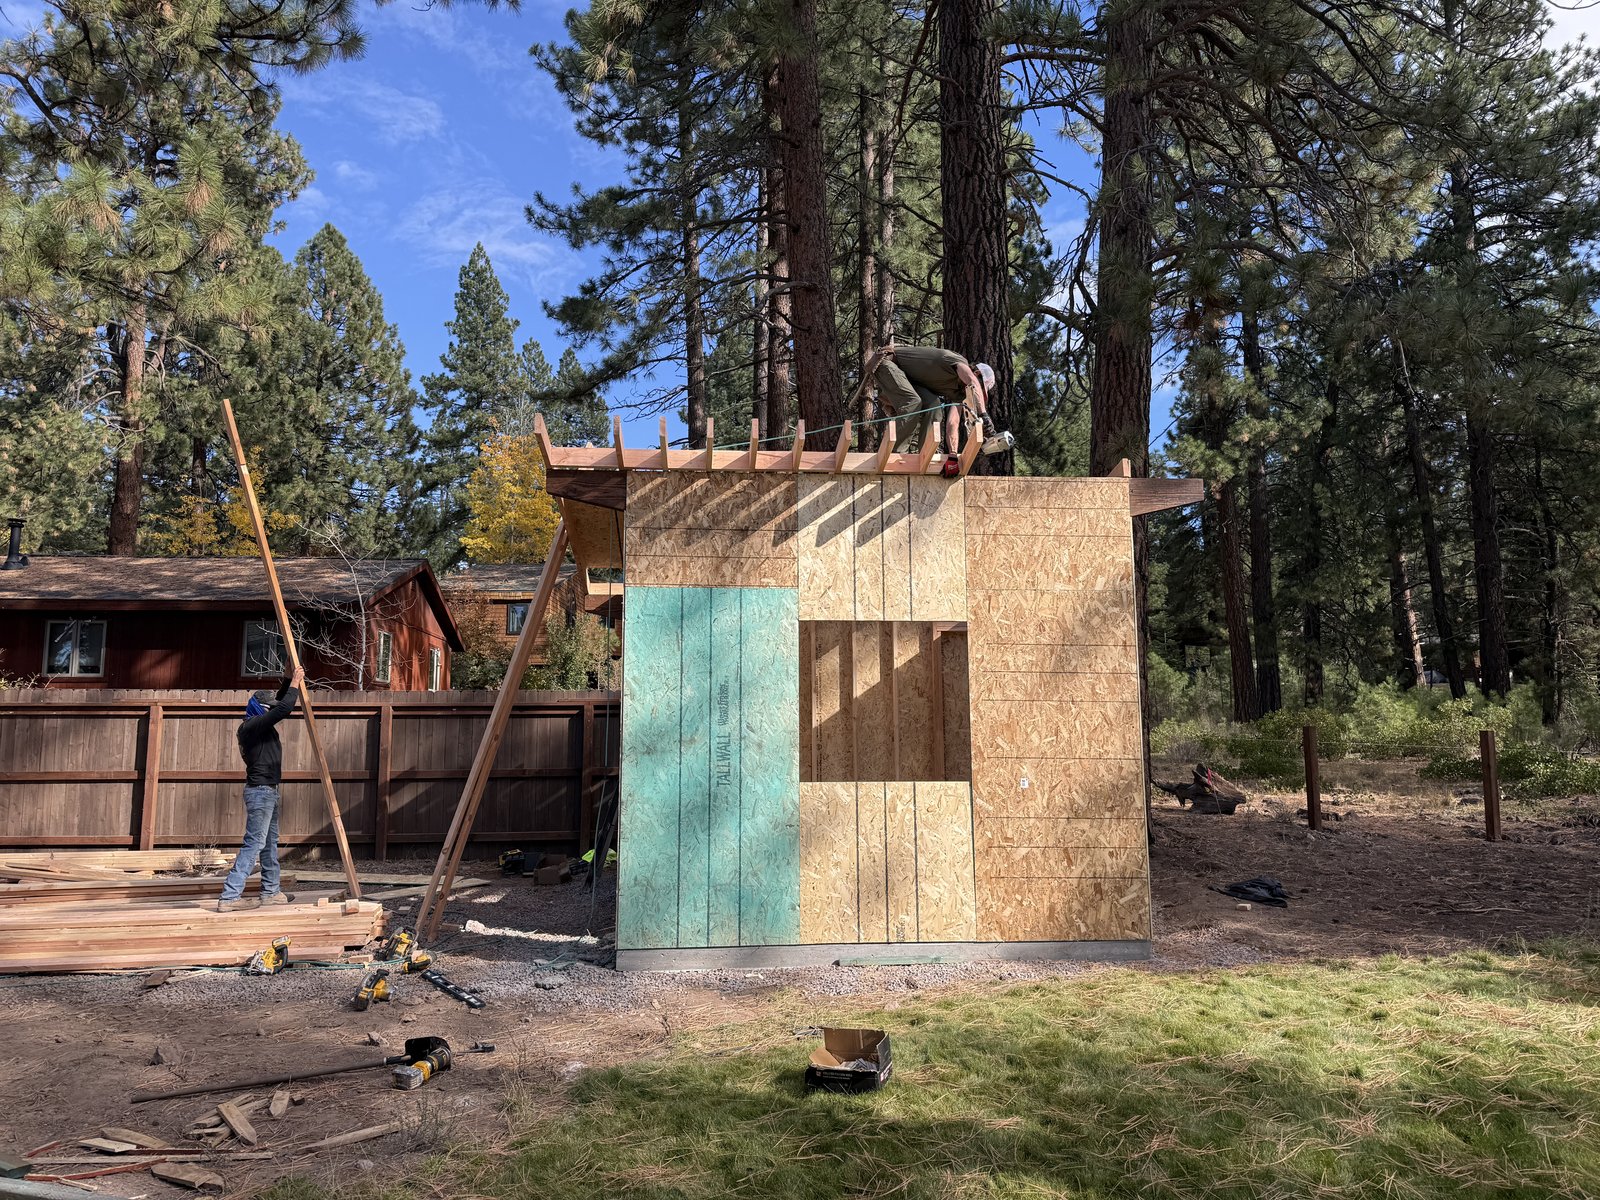
October 2025 was the big push. Three weeks, one shed. Wall framing tilted up, rafters set with the mono-slope tilt toward the back, sheathing screwed home, building wrap stapled. Mono-slope metal roof installed — standing-seam, dark grey, tilted away from prevailing winter weather so snow sheds clean off the back.
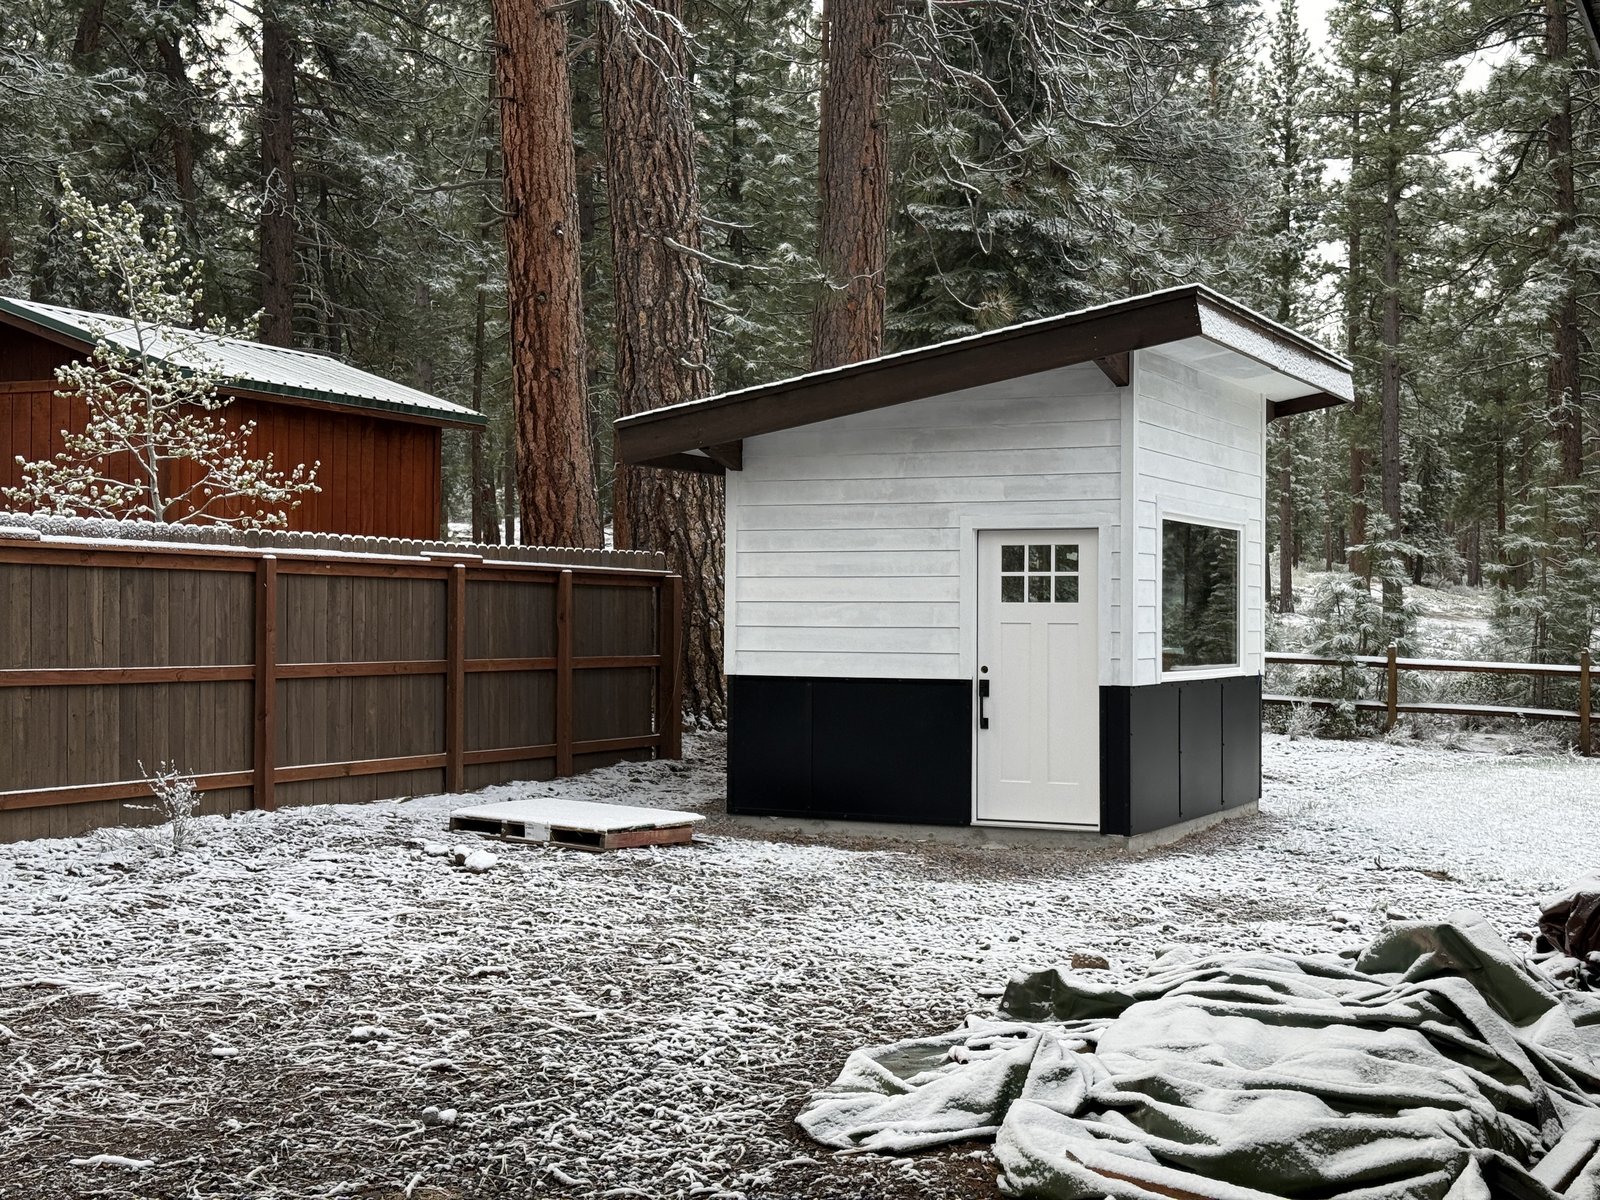
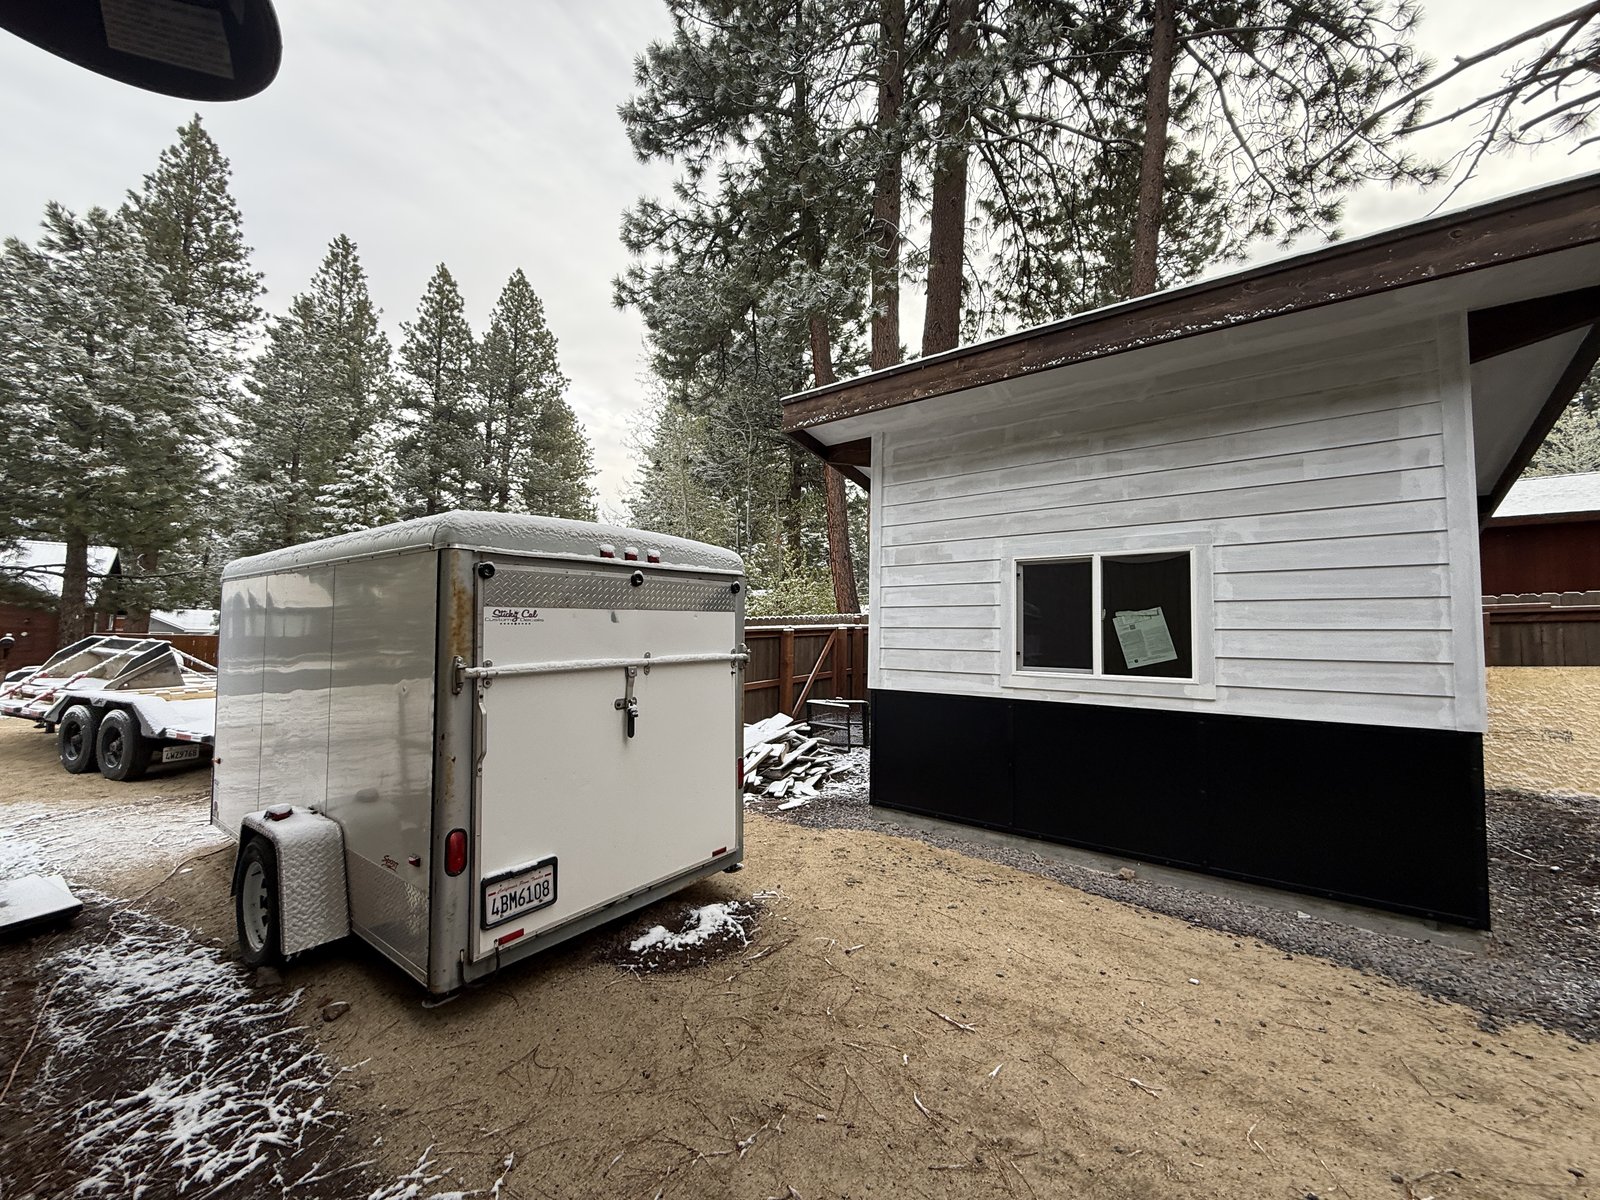
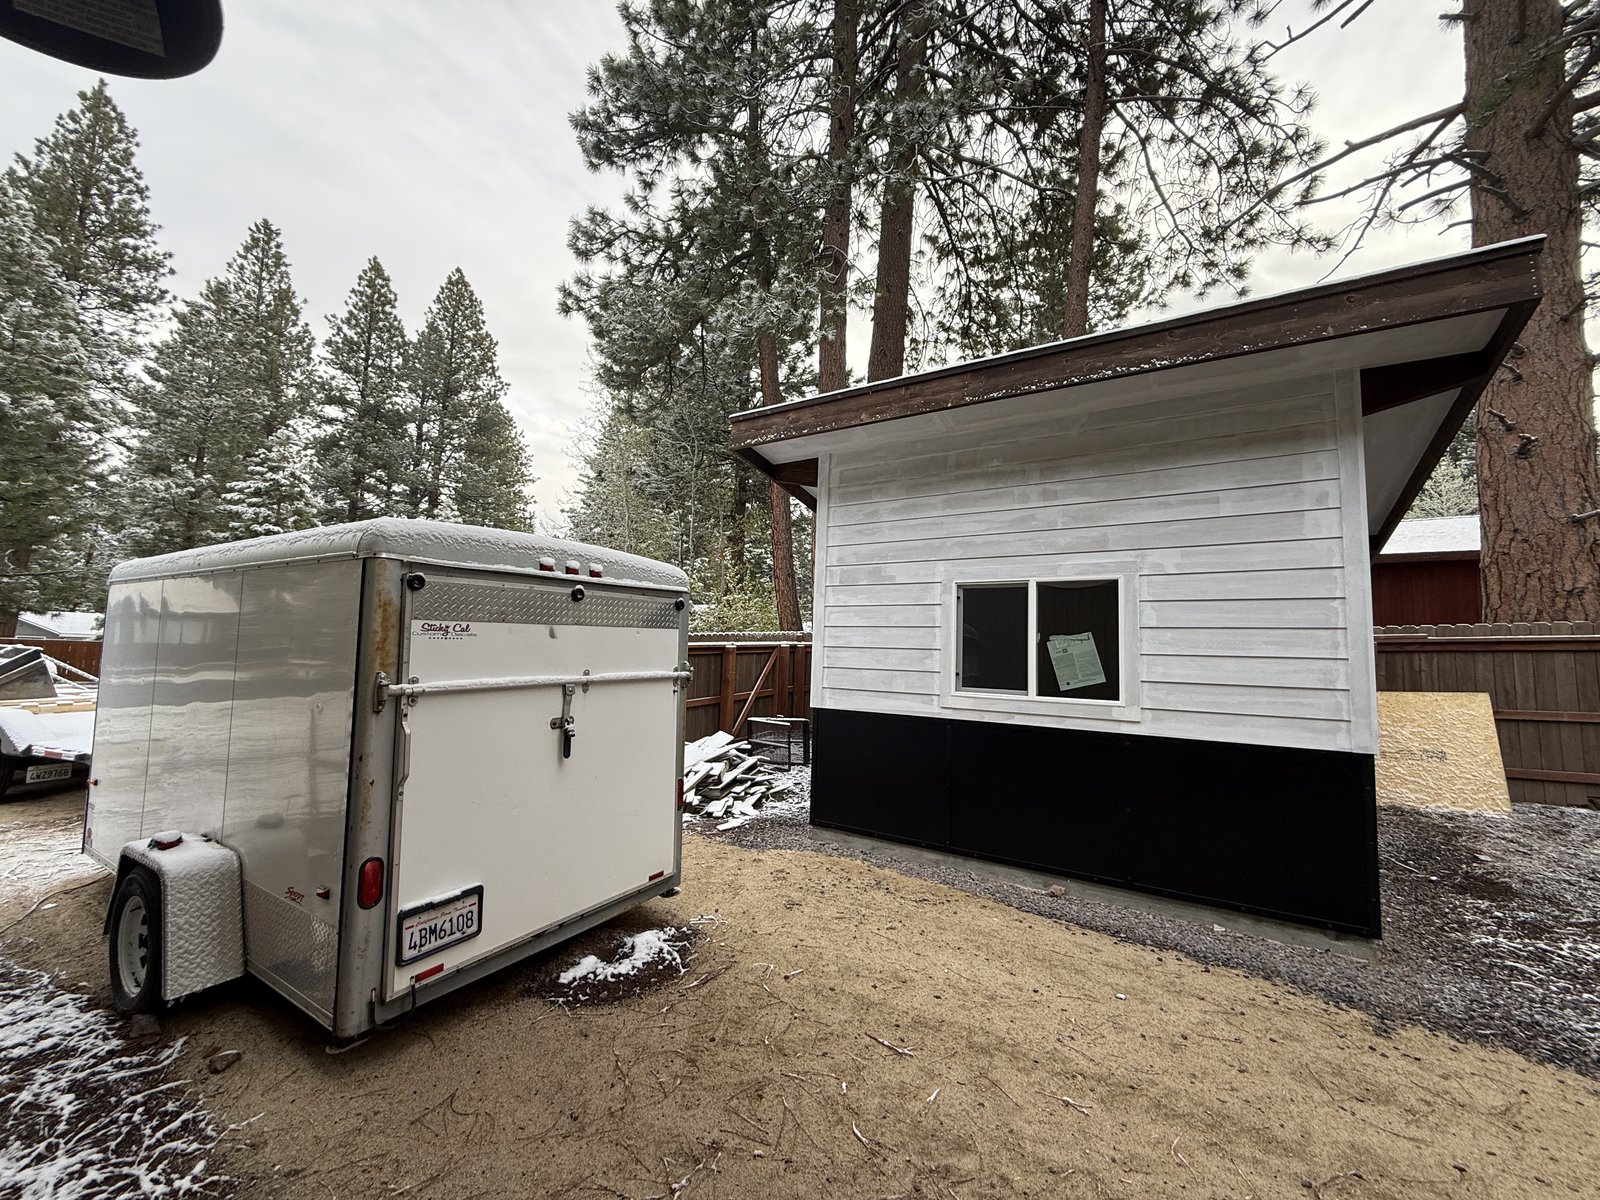
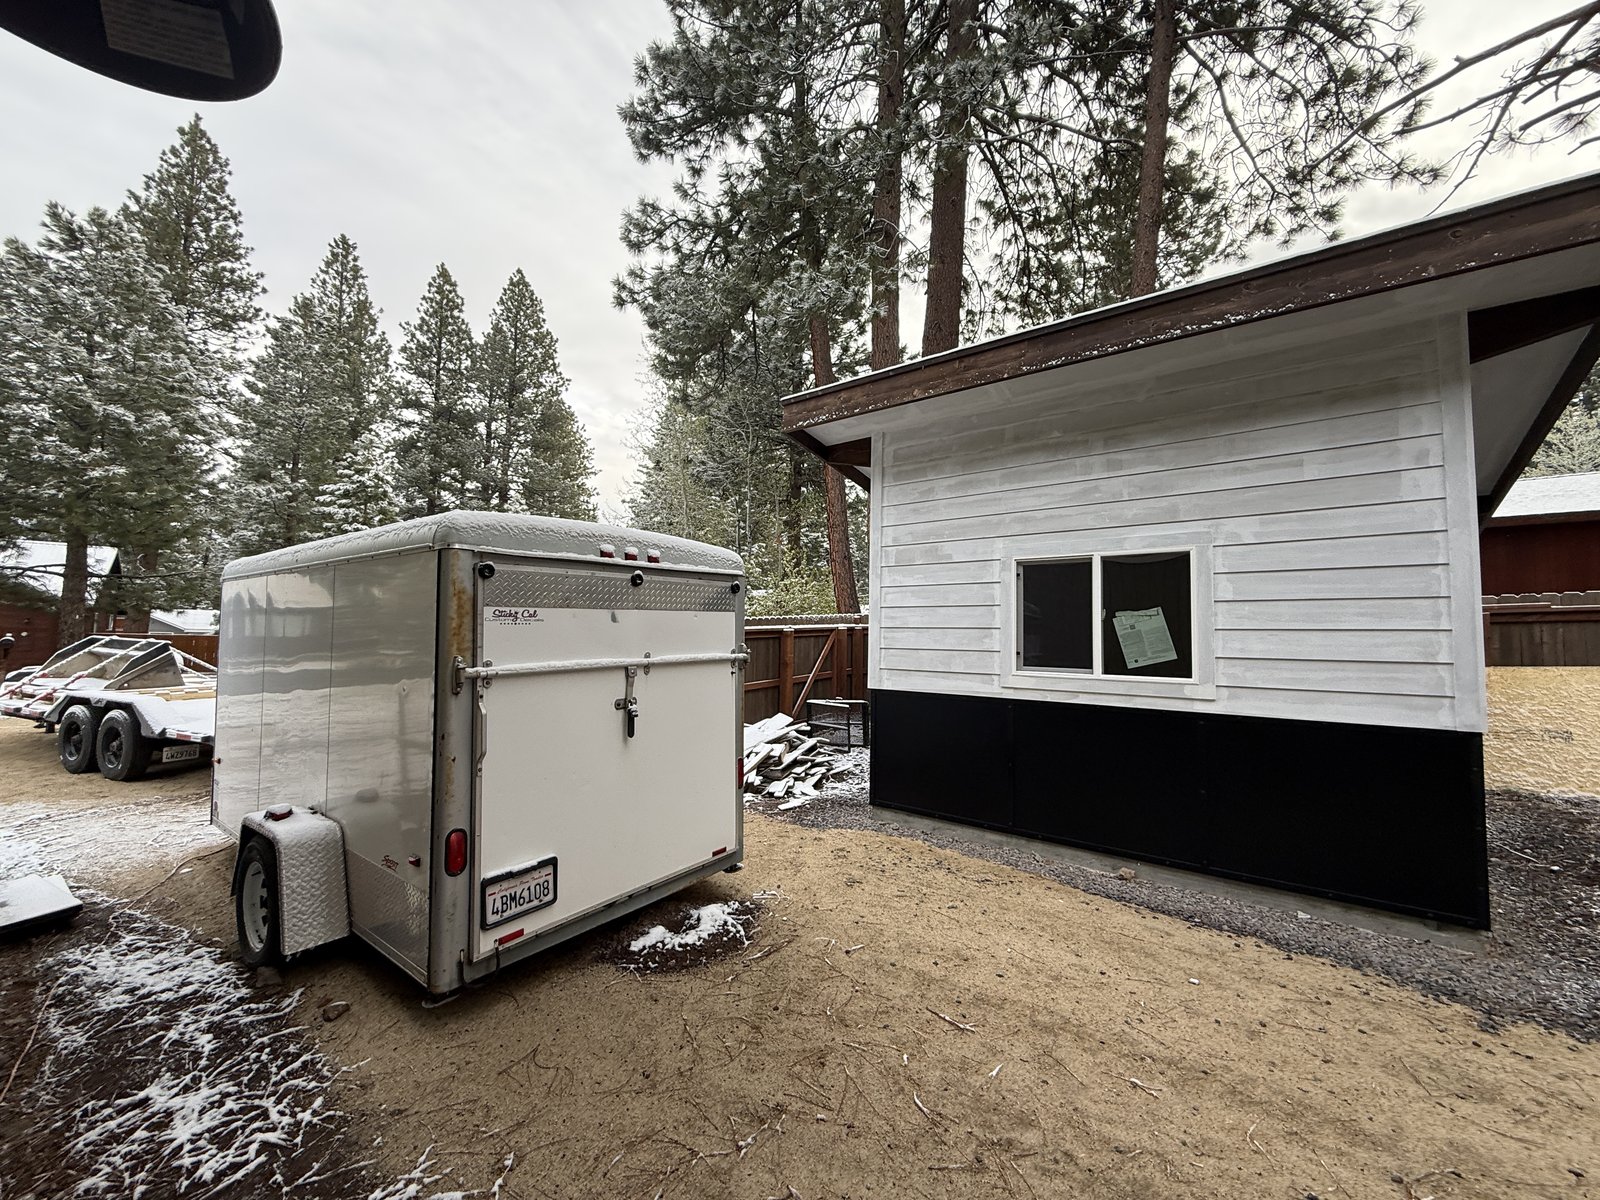
The cream lap siding goes on the upper half. The matte-black wainscot goes on the lower portion — a visual break that hides the dirt-splash zone and grounds the shed against the pine duff floor. JW casement window set on the south wall for morning light. 6-lite prehung door on the gable end, wide enough to roll a wheelbarrow through. Trim painted black to match the wainscot.
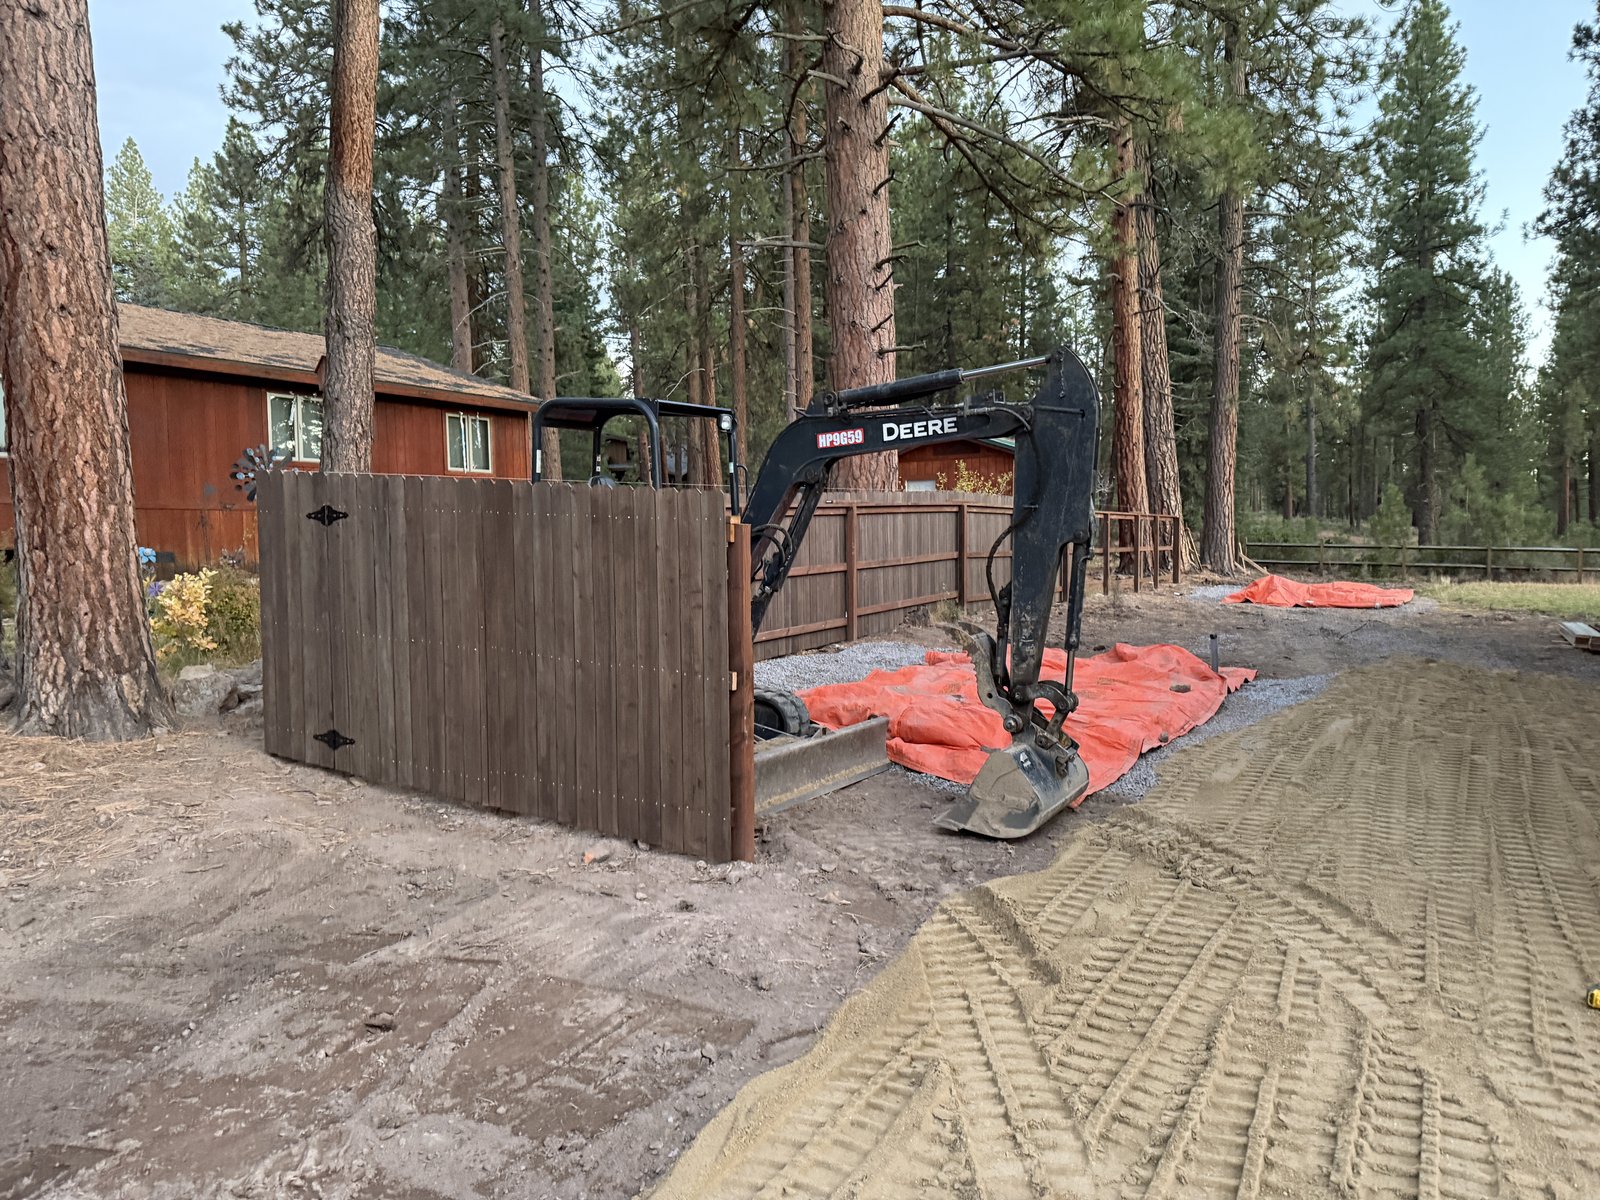
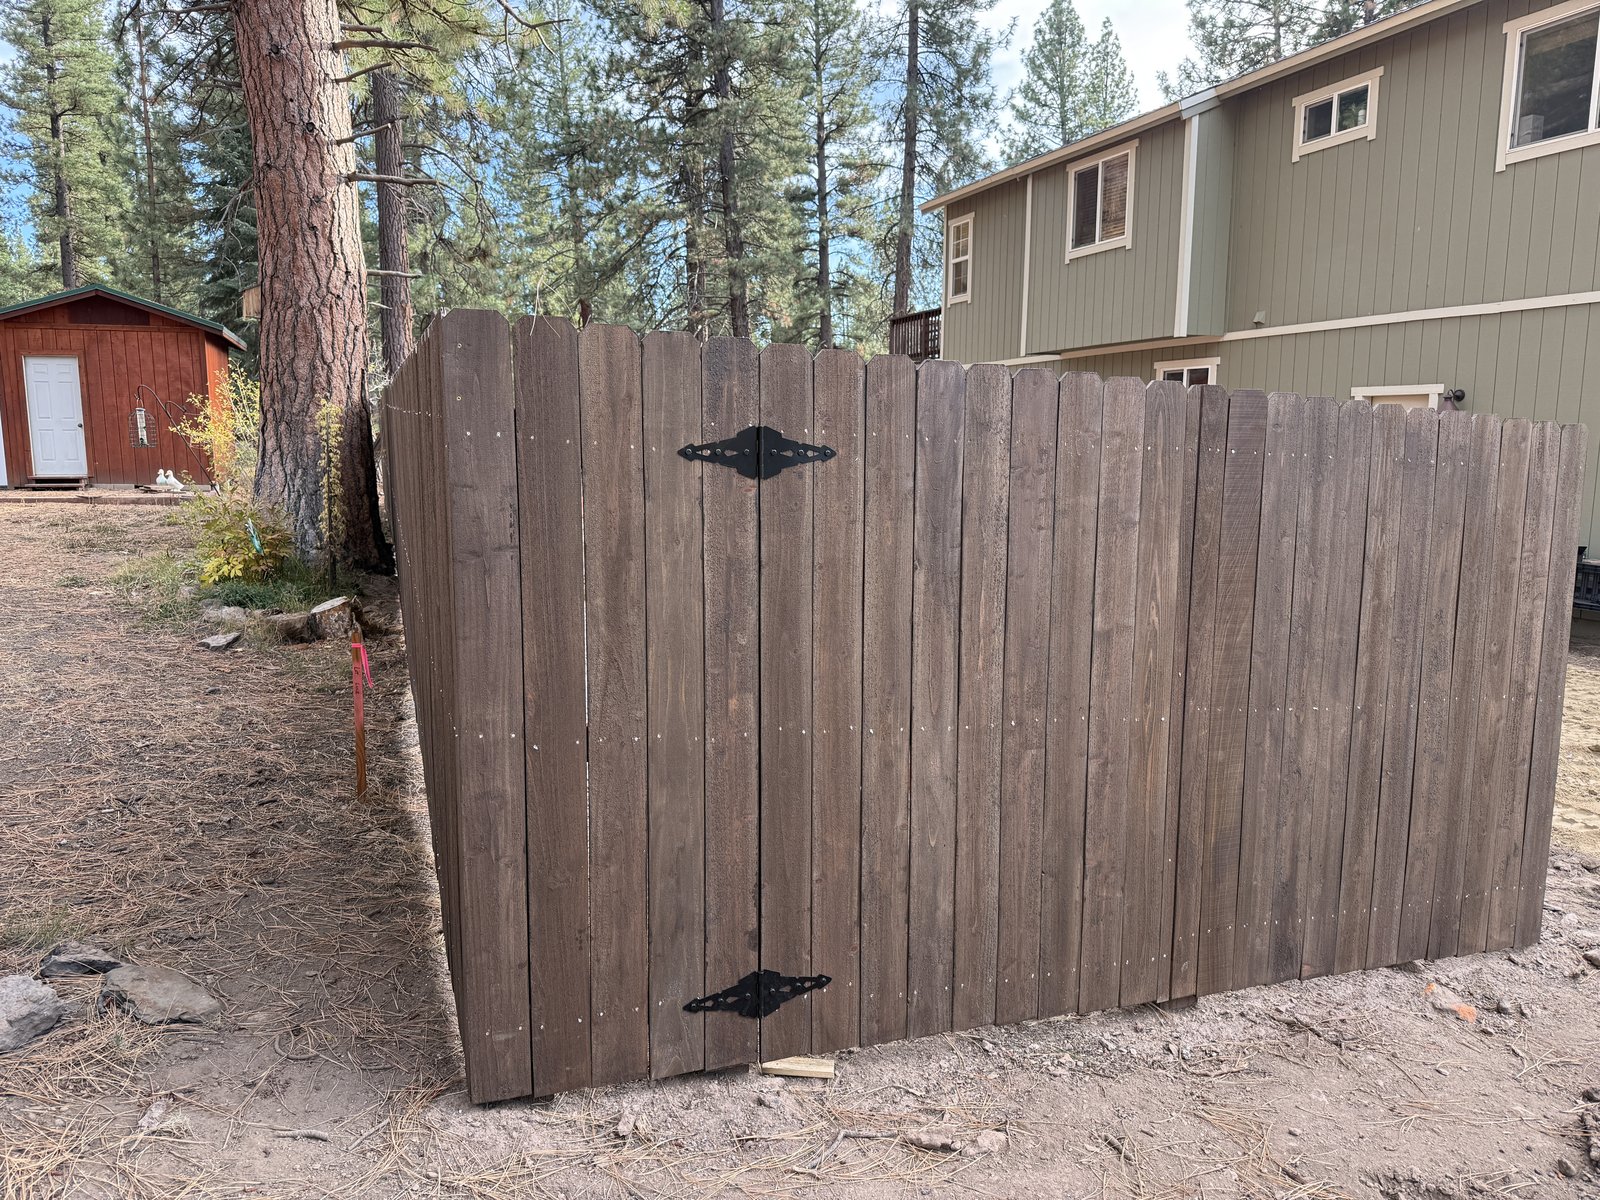
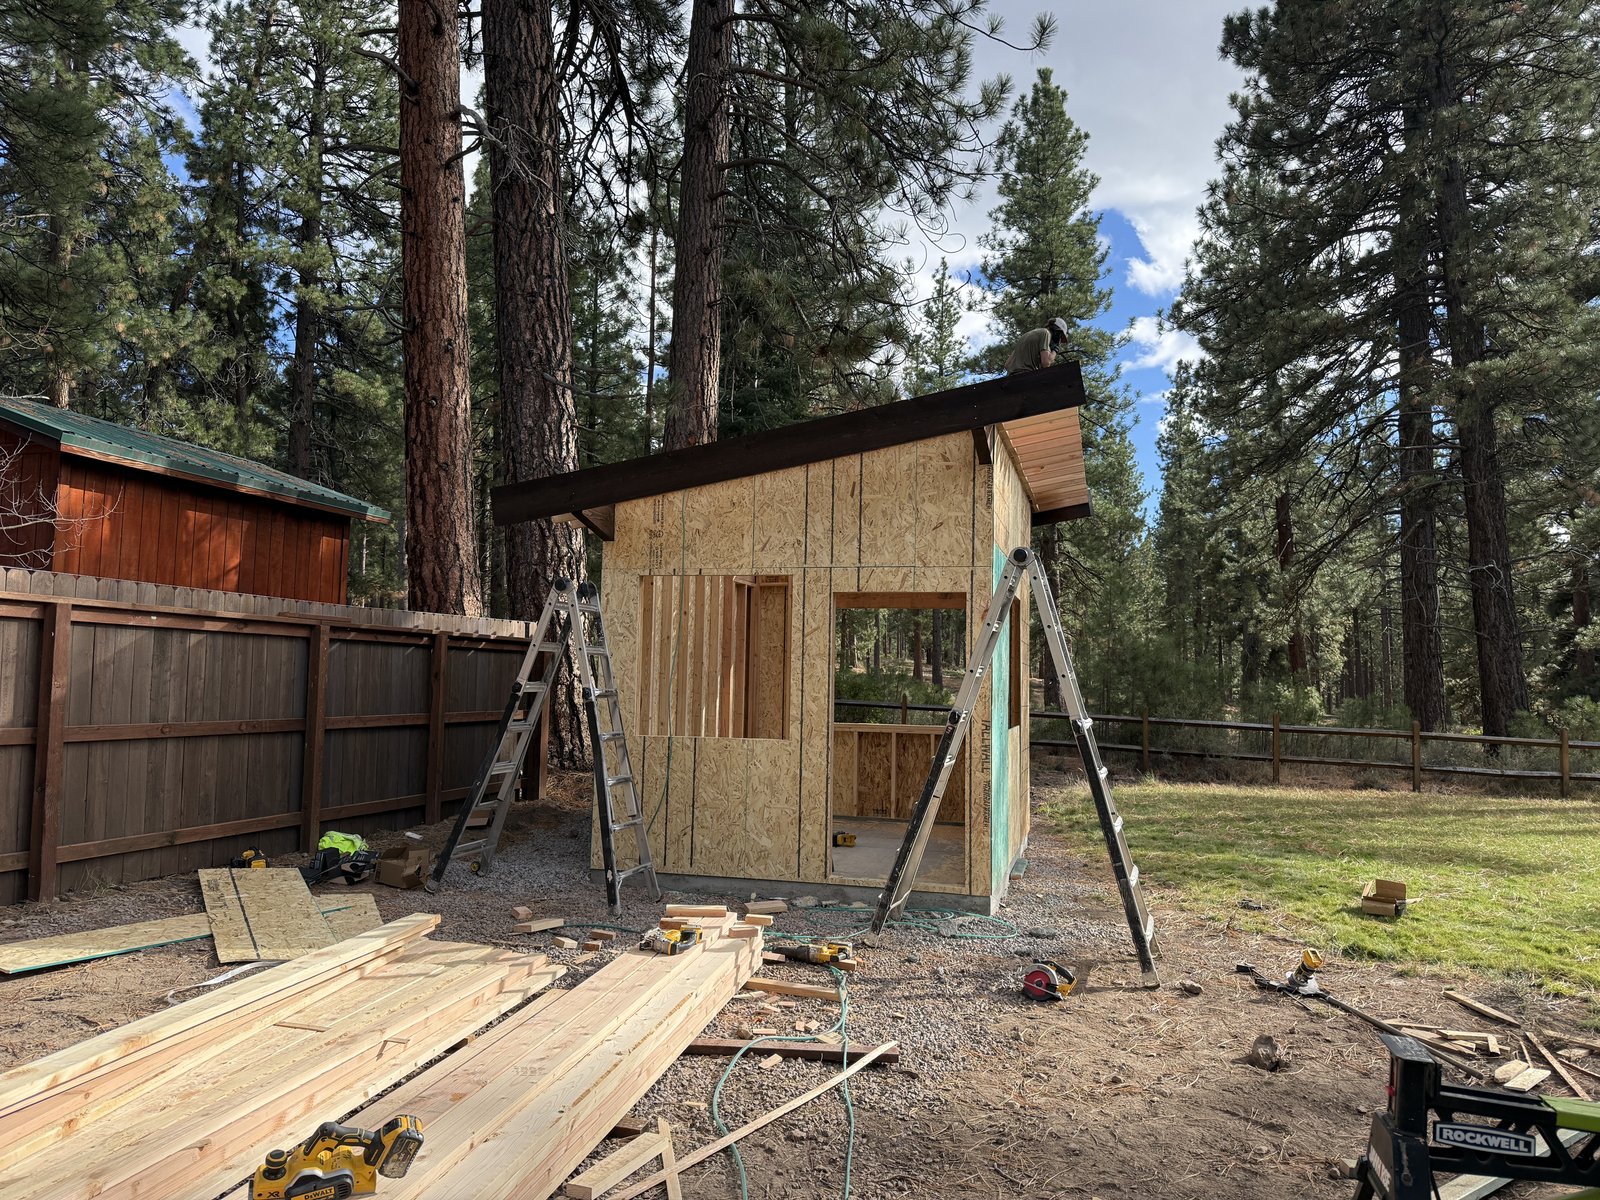
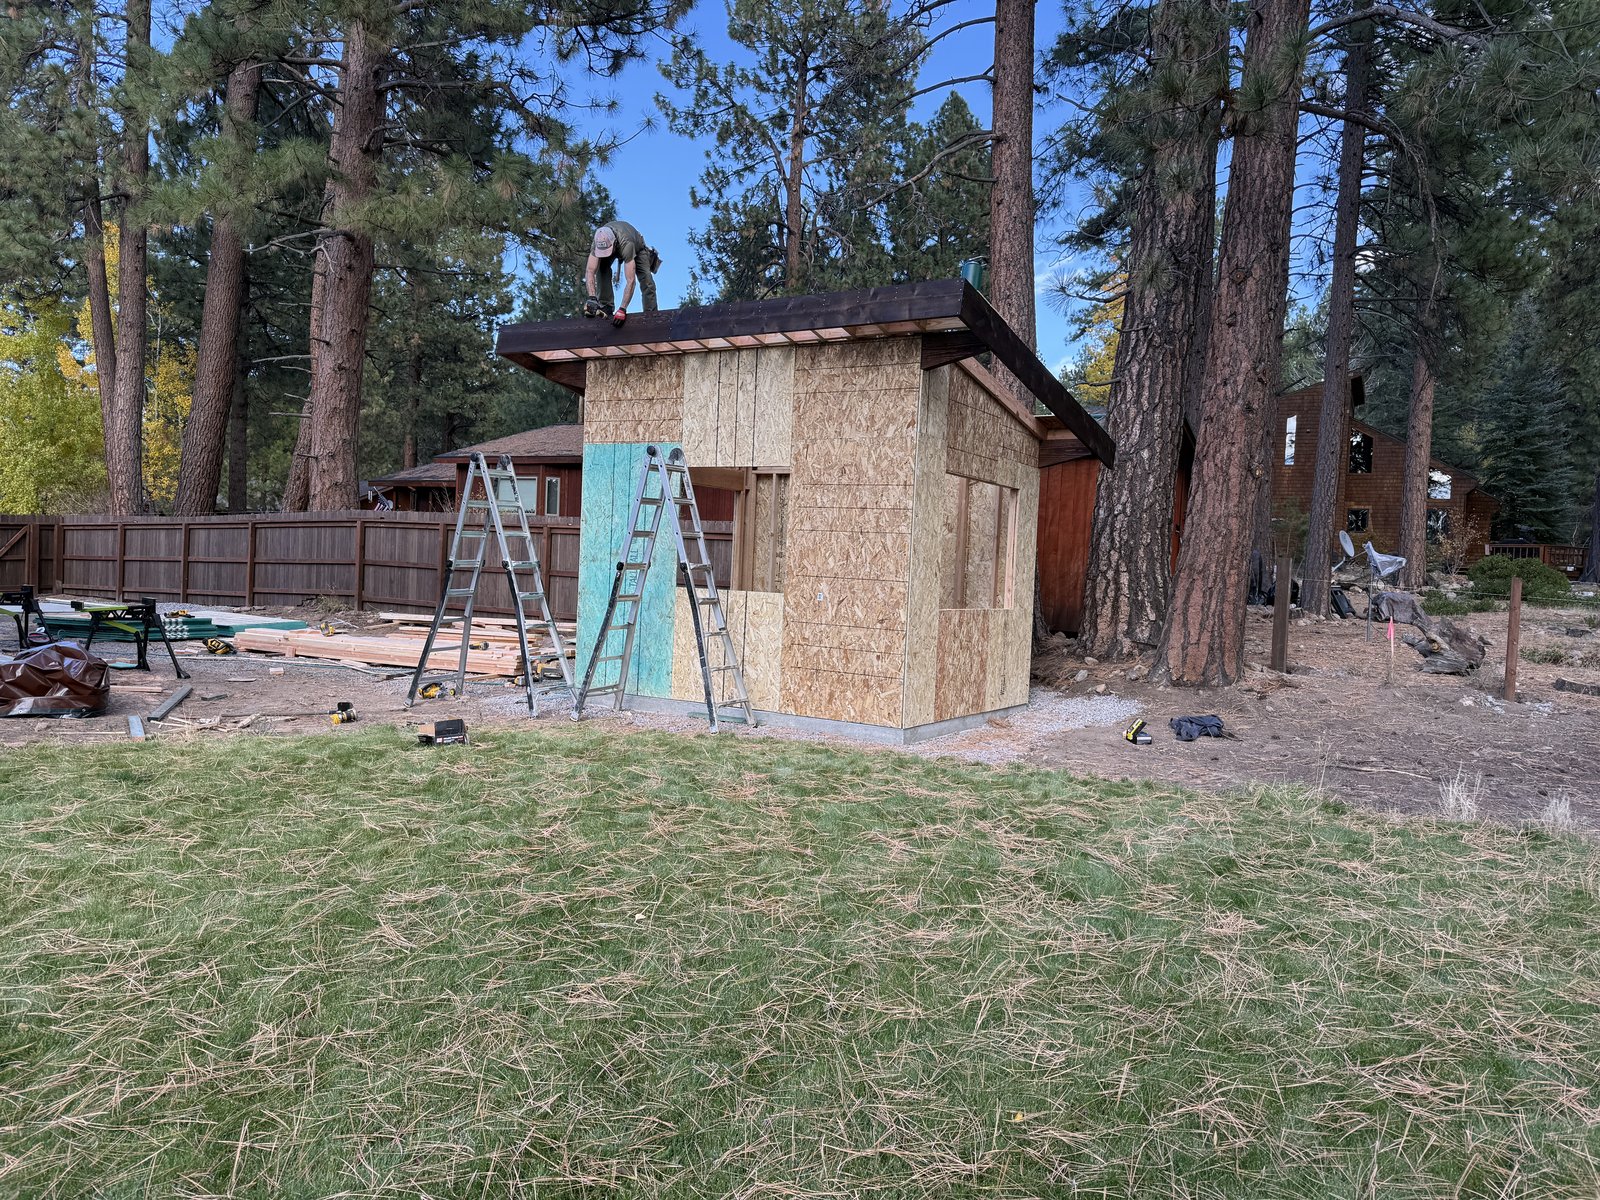
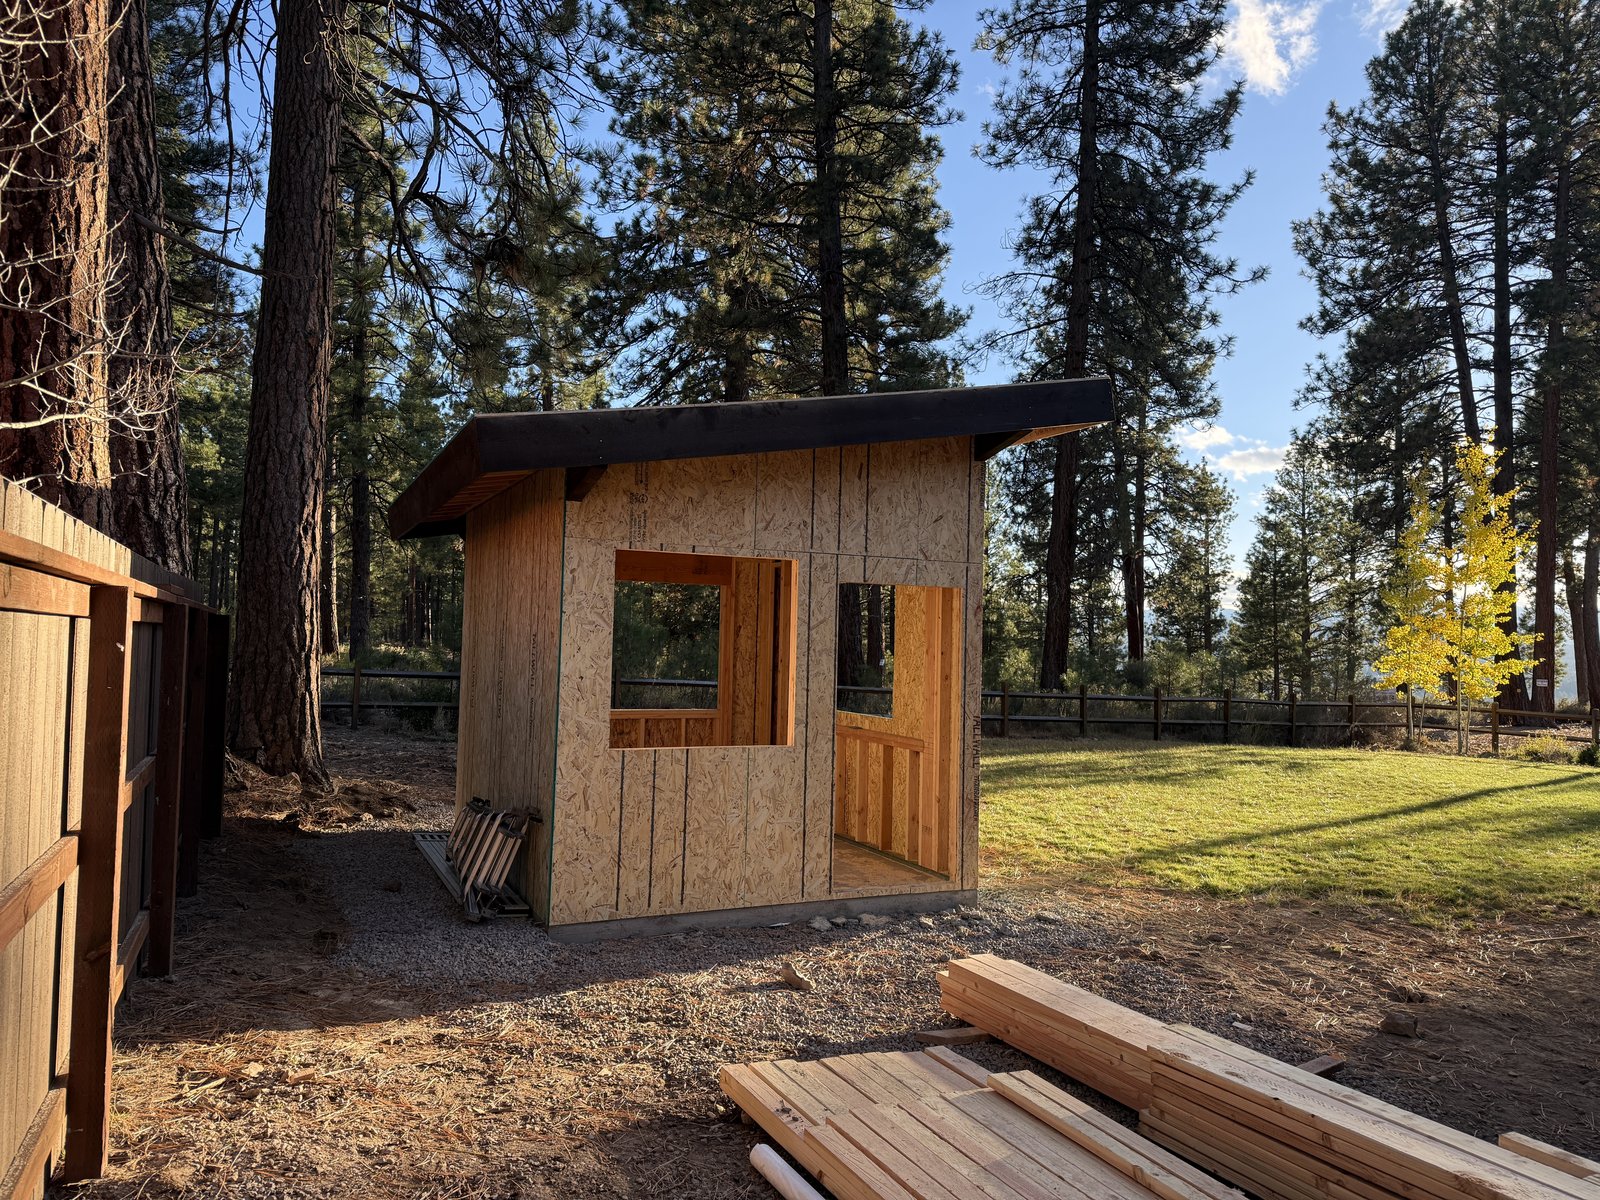
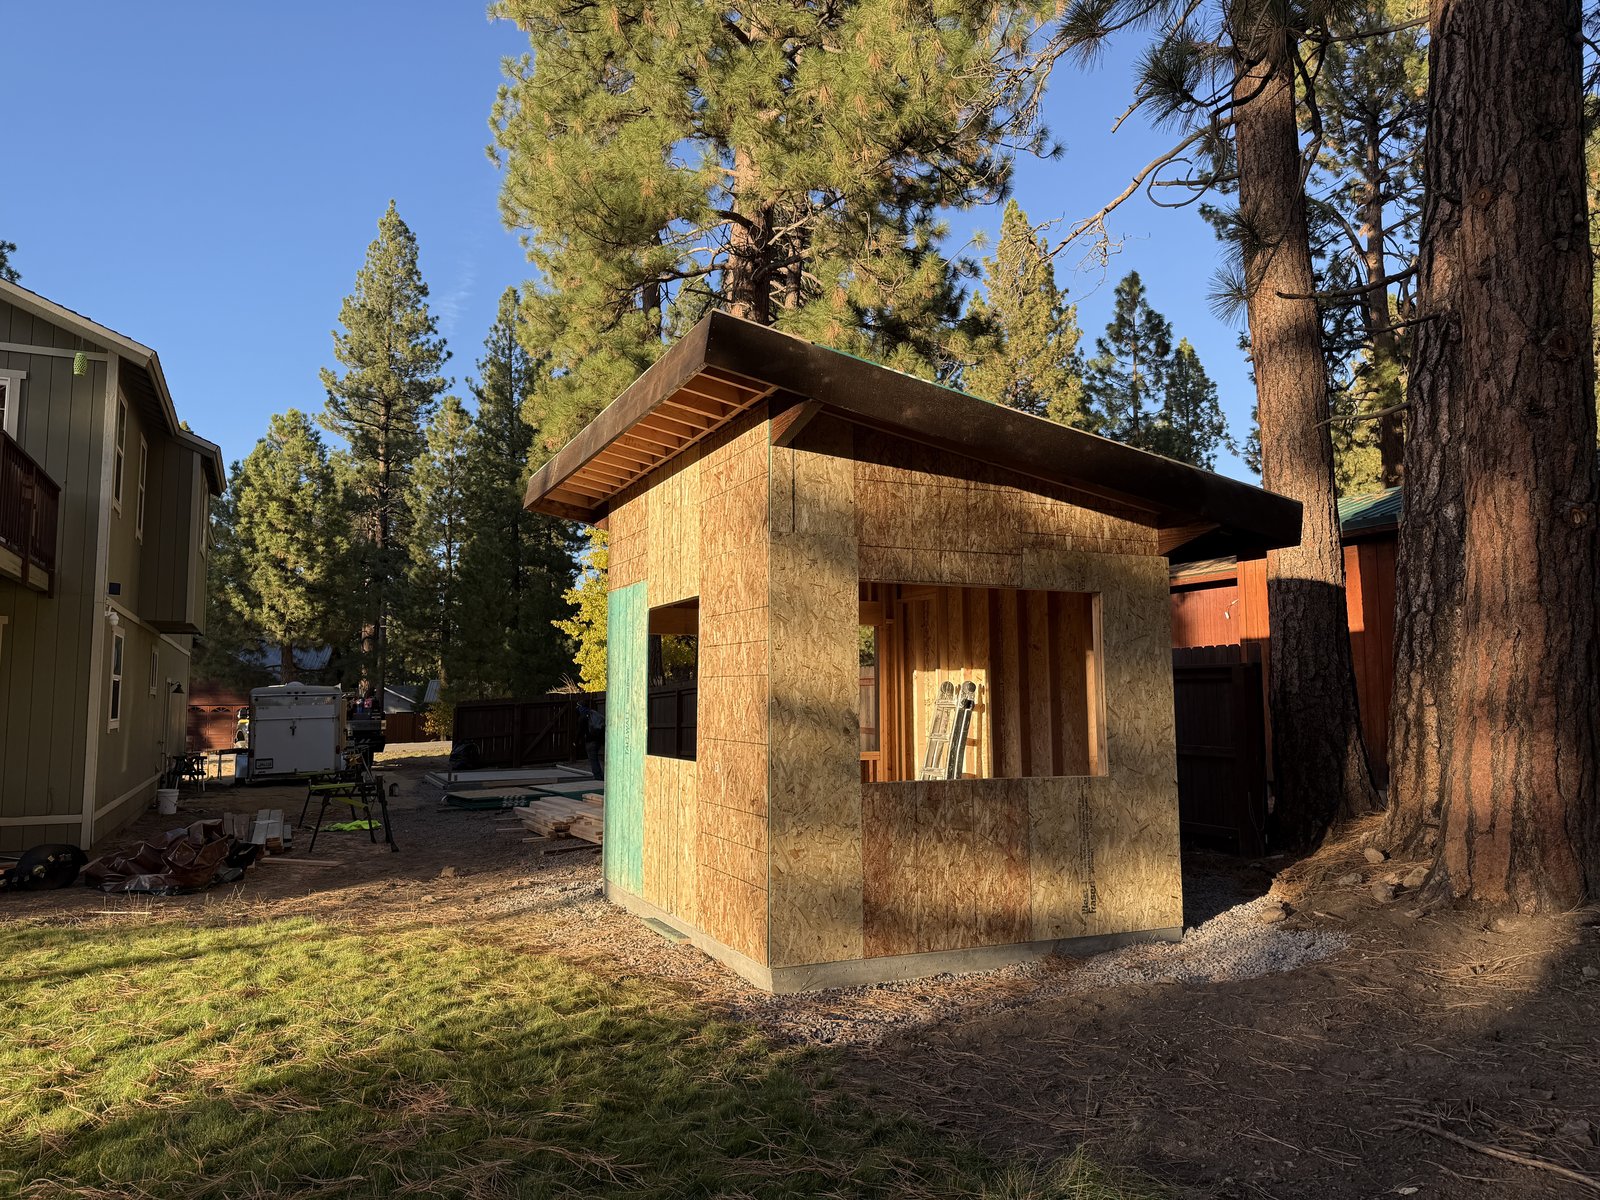
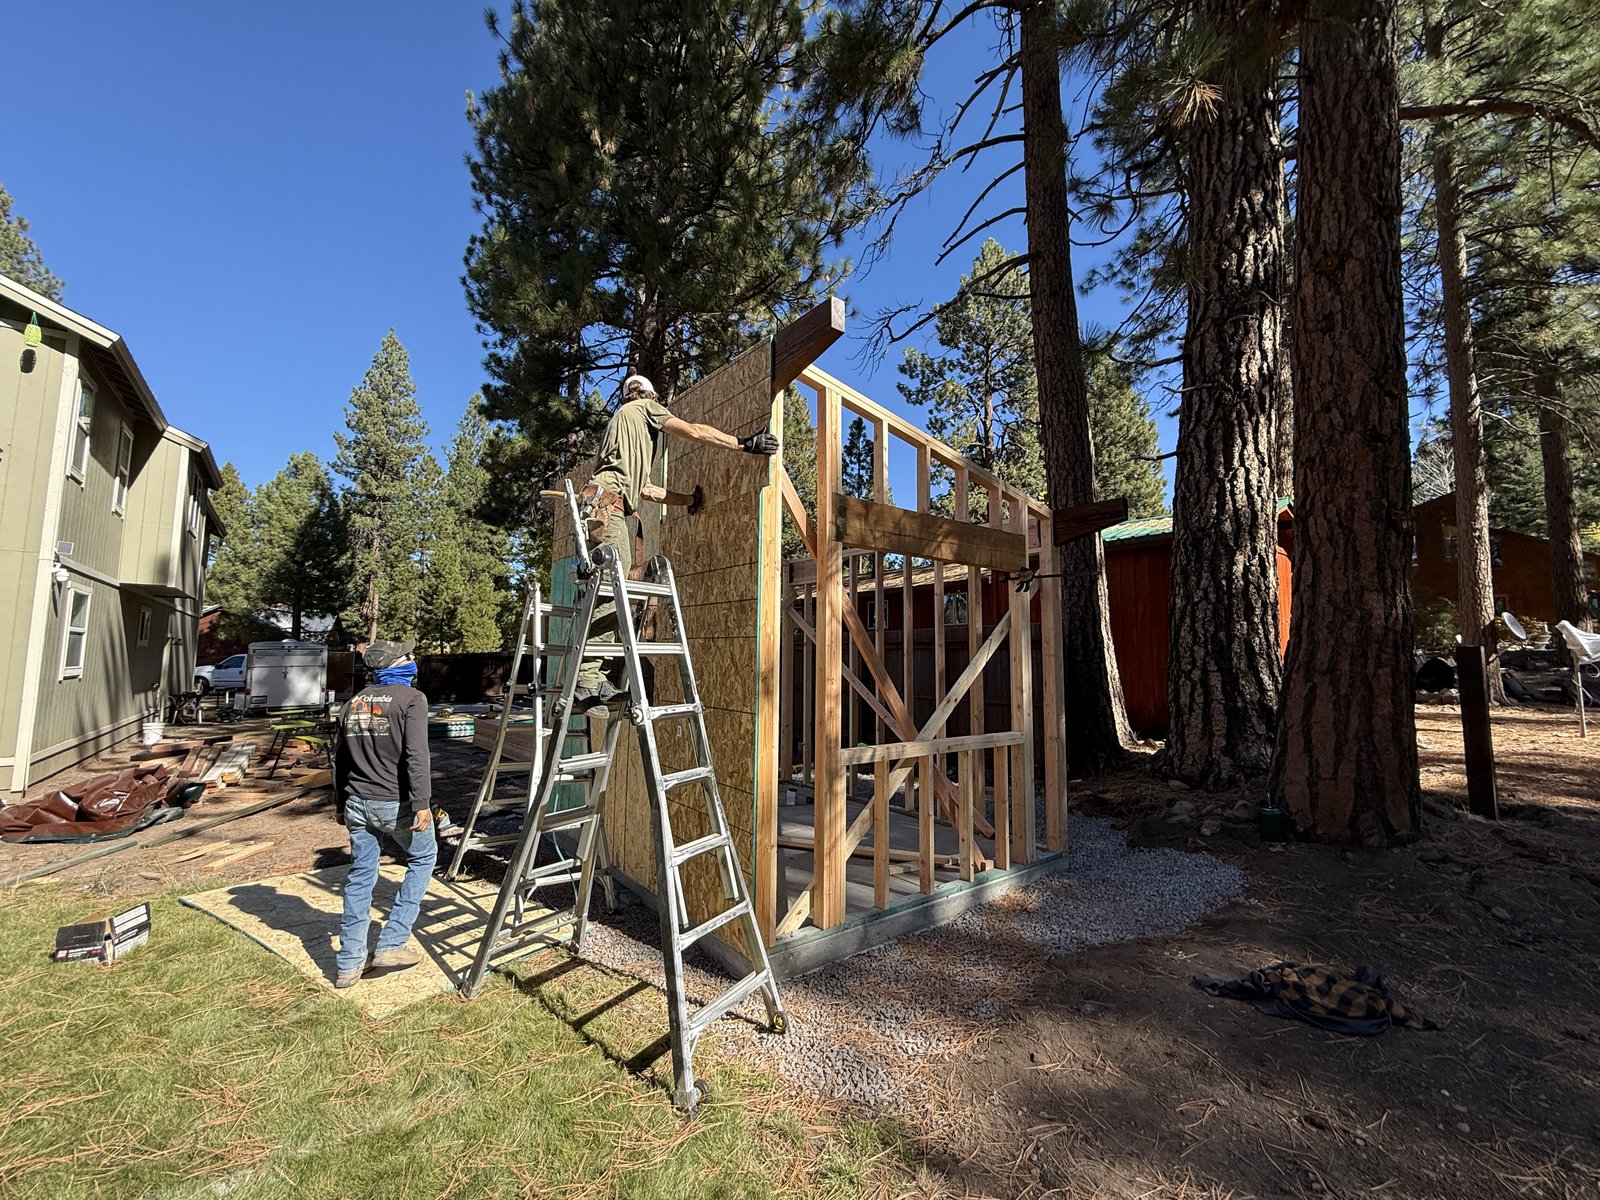
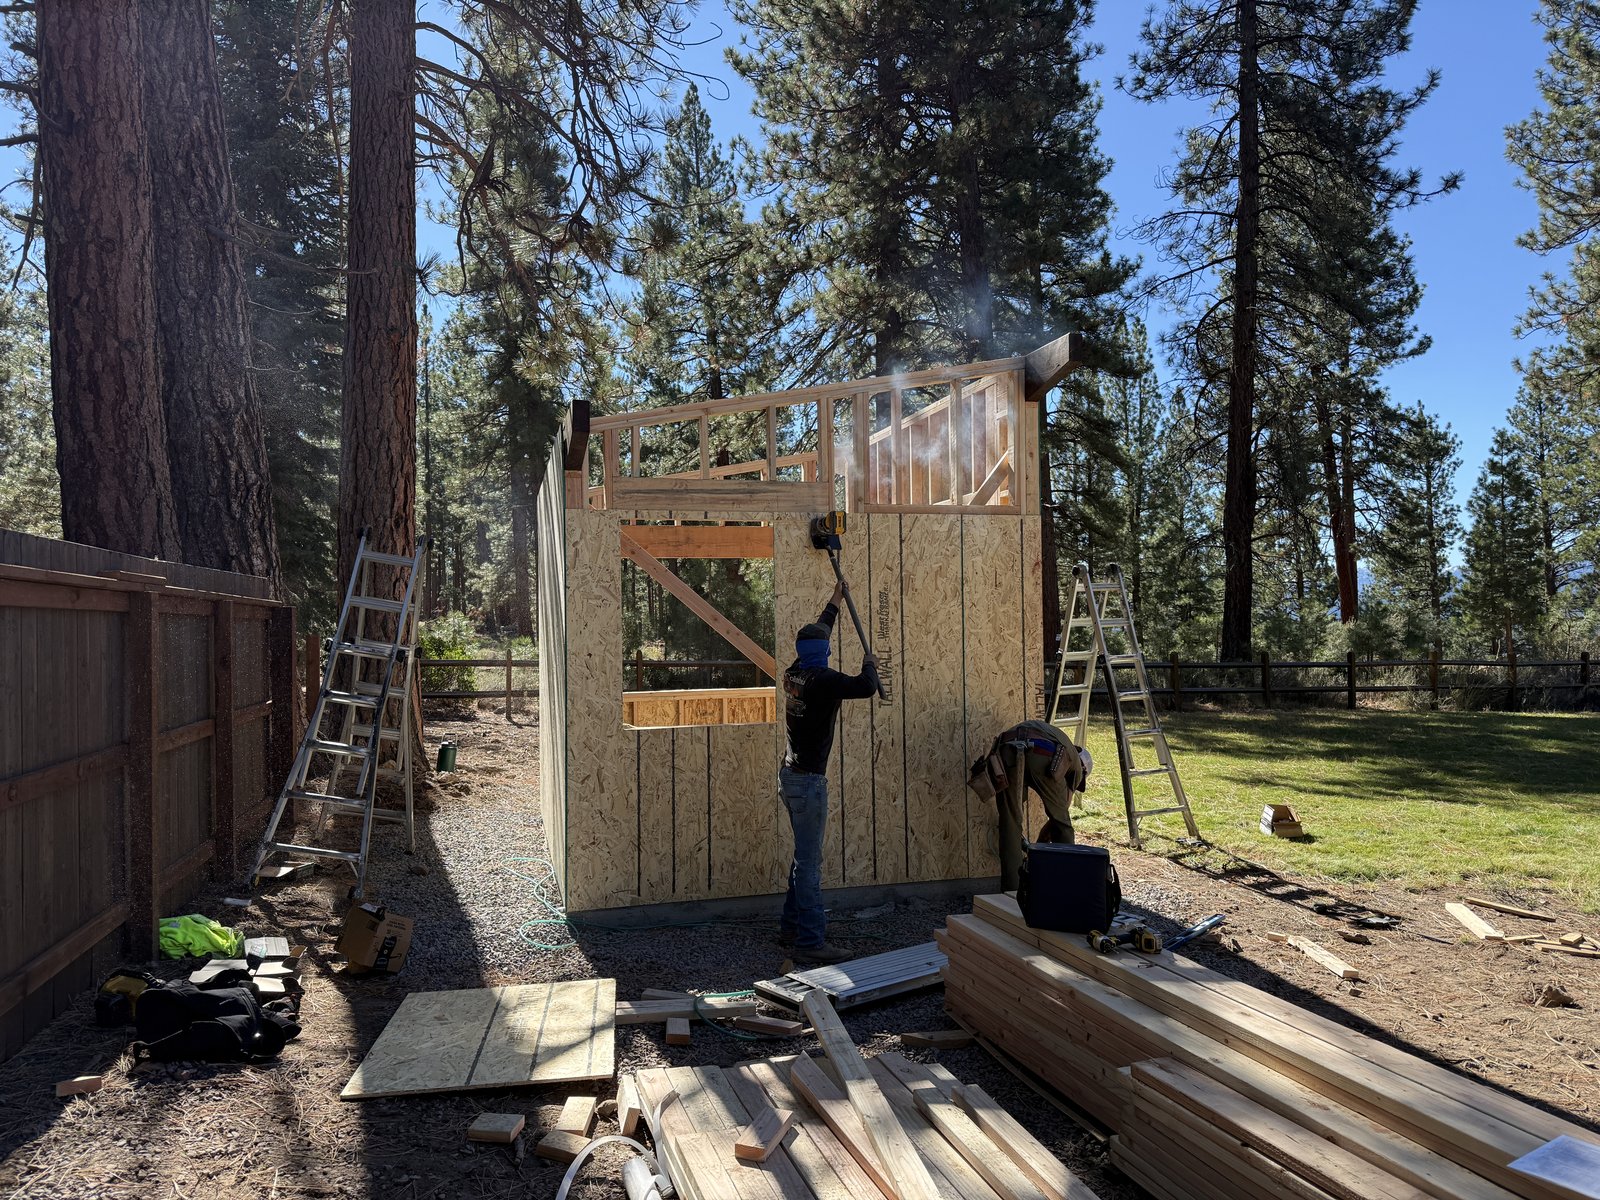
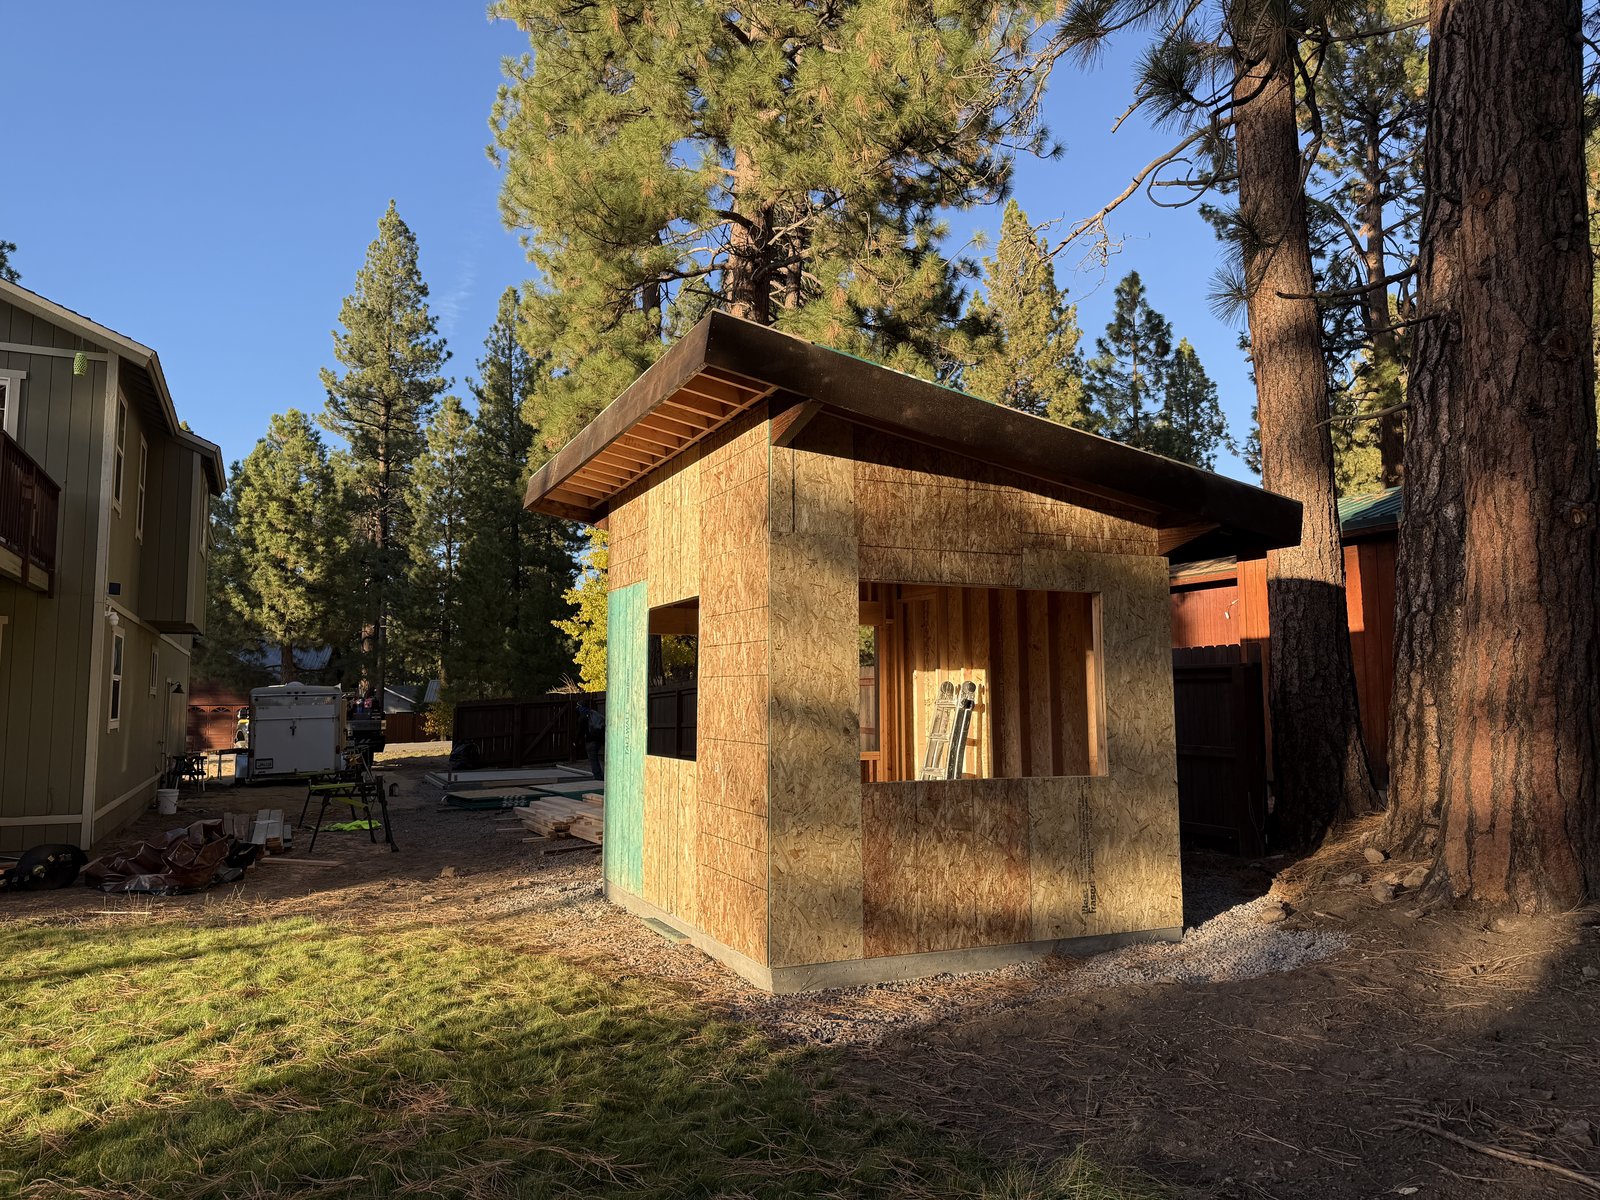
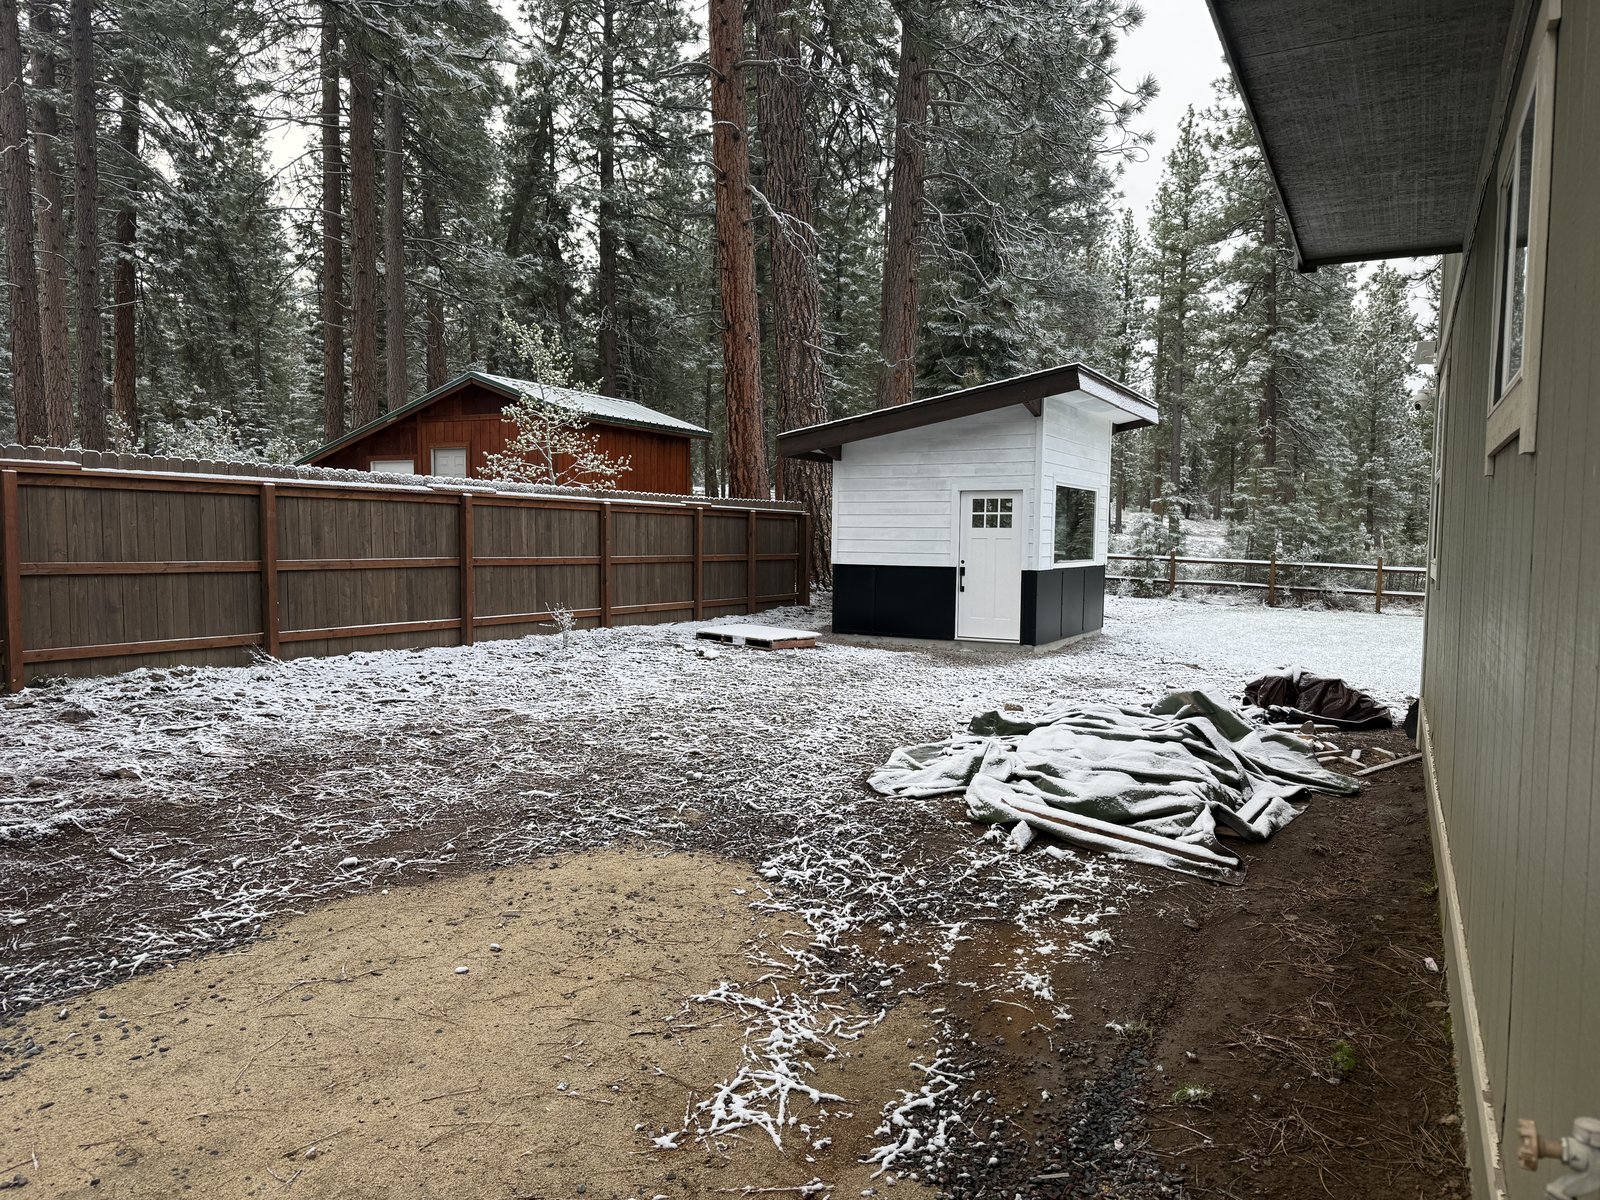
January 2026. The exterior is closed in. The 6-lite white prehung door goes in on a cold morning, snow on the ground. Caulking, flashing, weatherstrip, threshold. The shed is now weather-tight — anything stored inside is safe through the rest of the Sierra winter.
Final interior trim. Floor swept. Door swings true. The shed is functionally done. Finishing touches deferred to spring when the air warms enough for paint and caulk to cure properly.
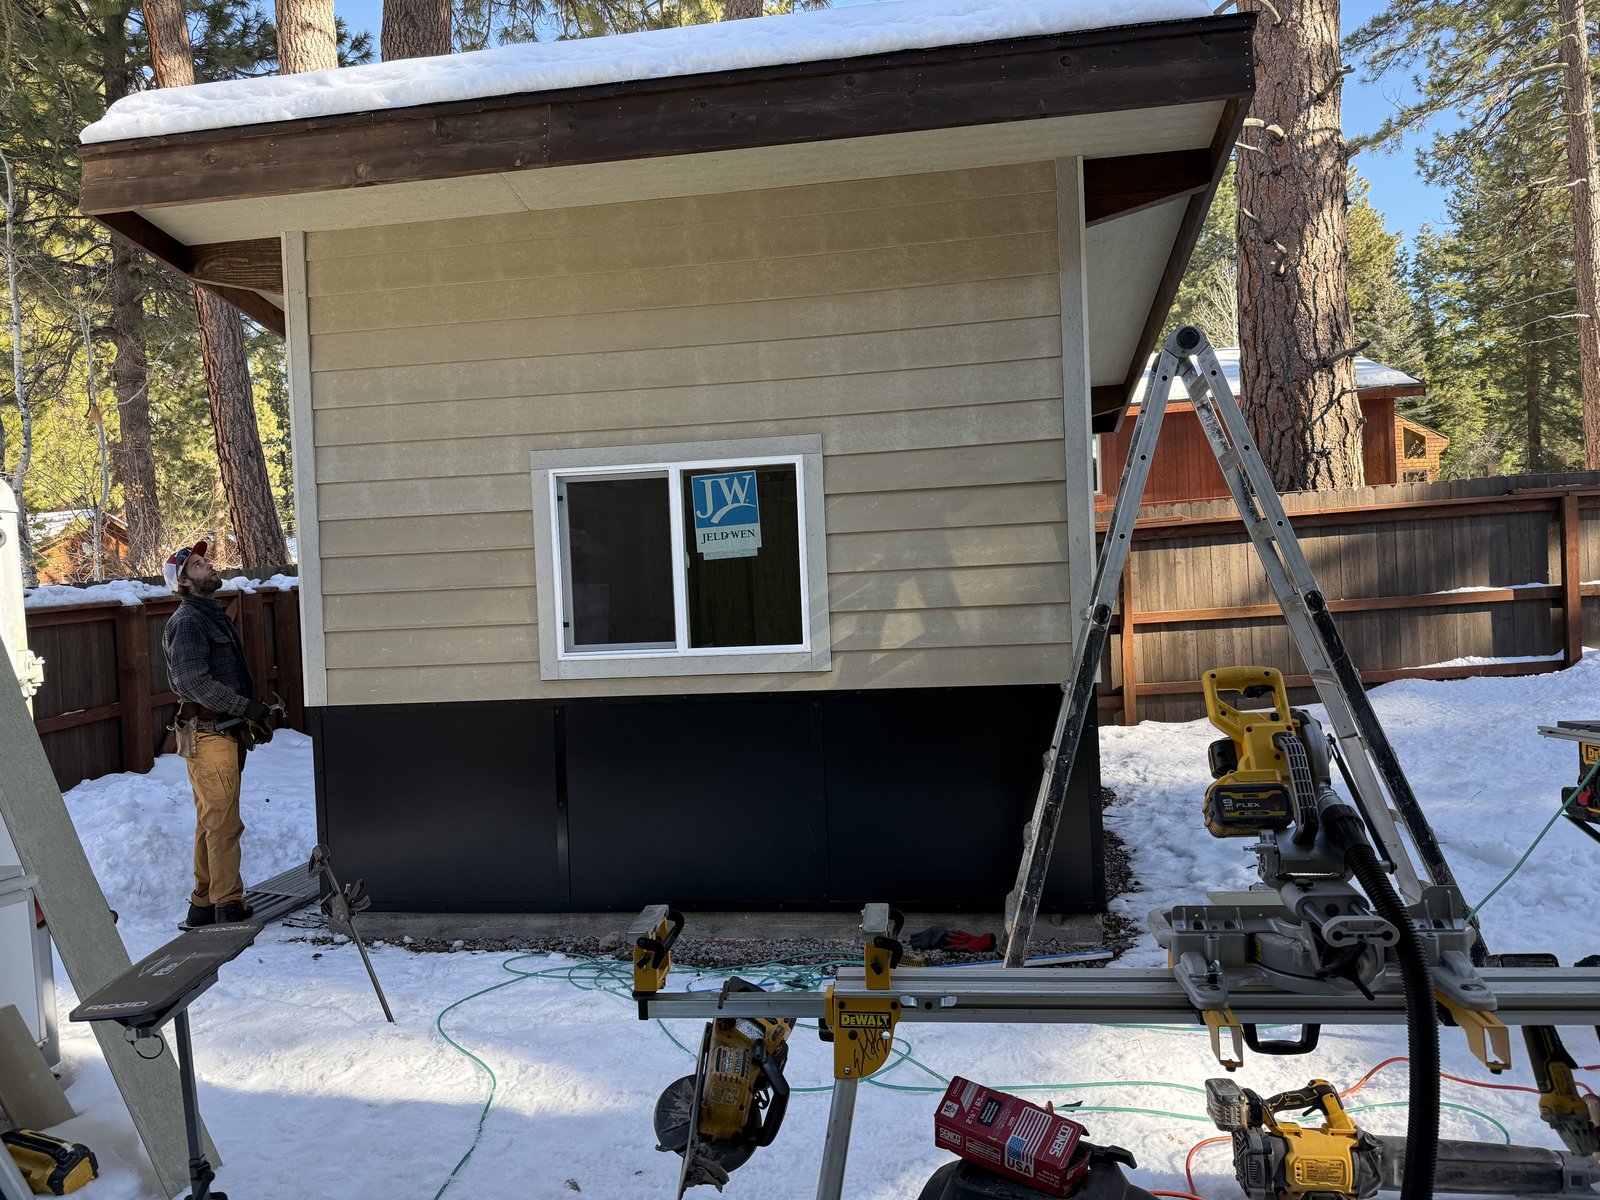
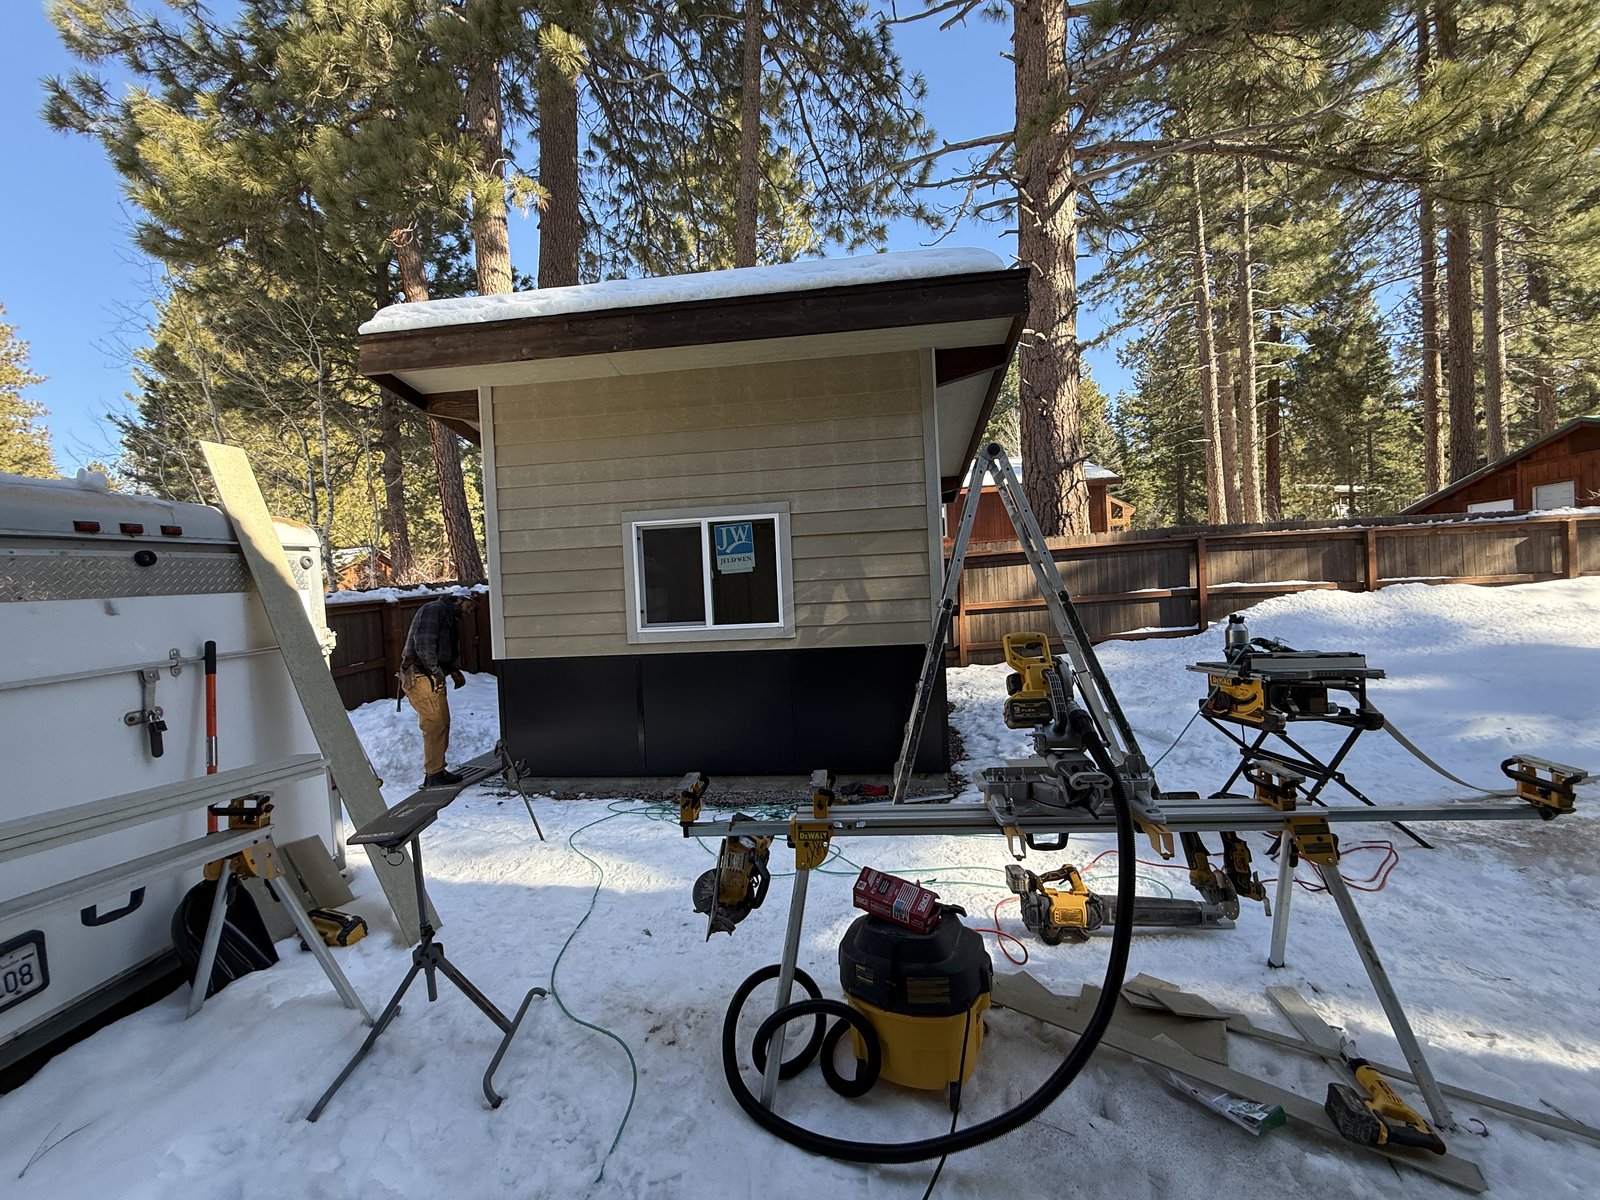
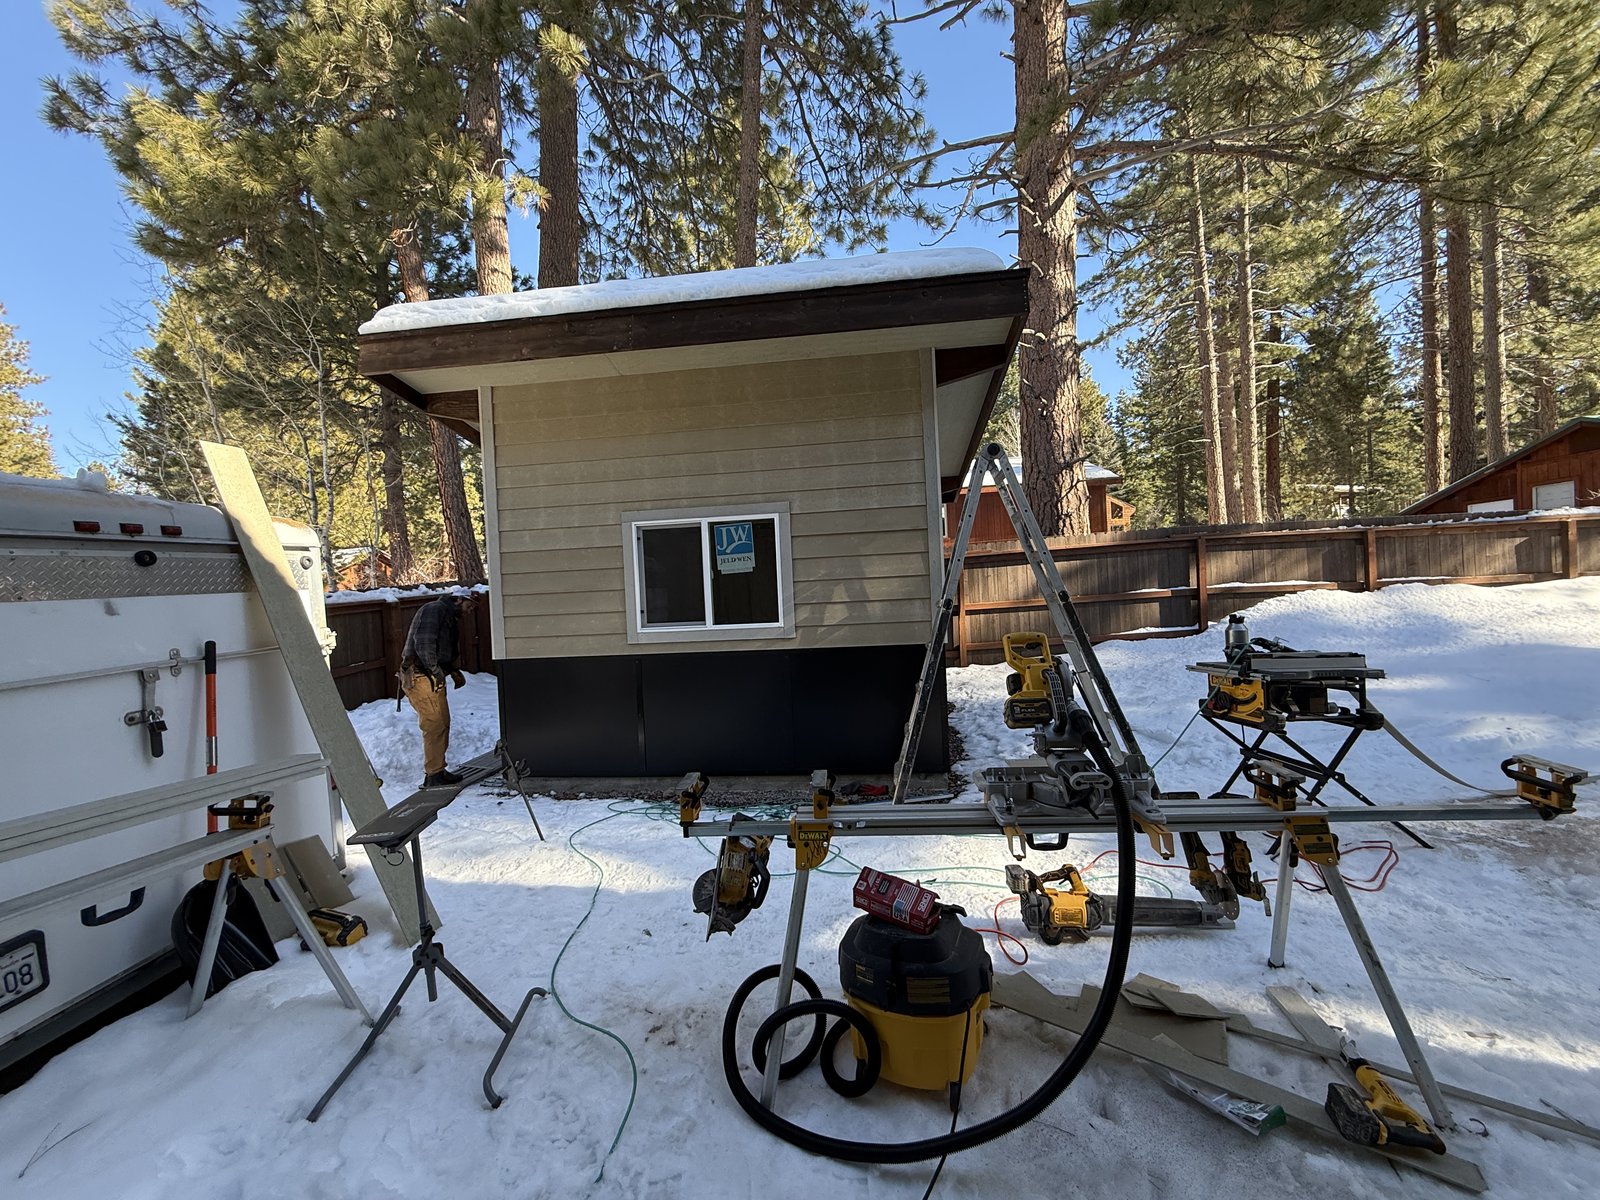
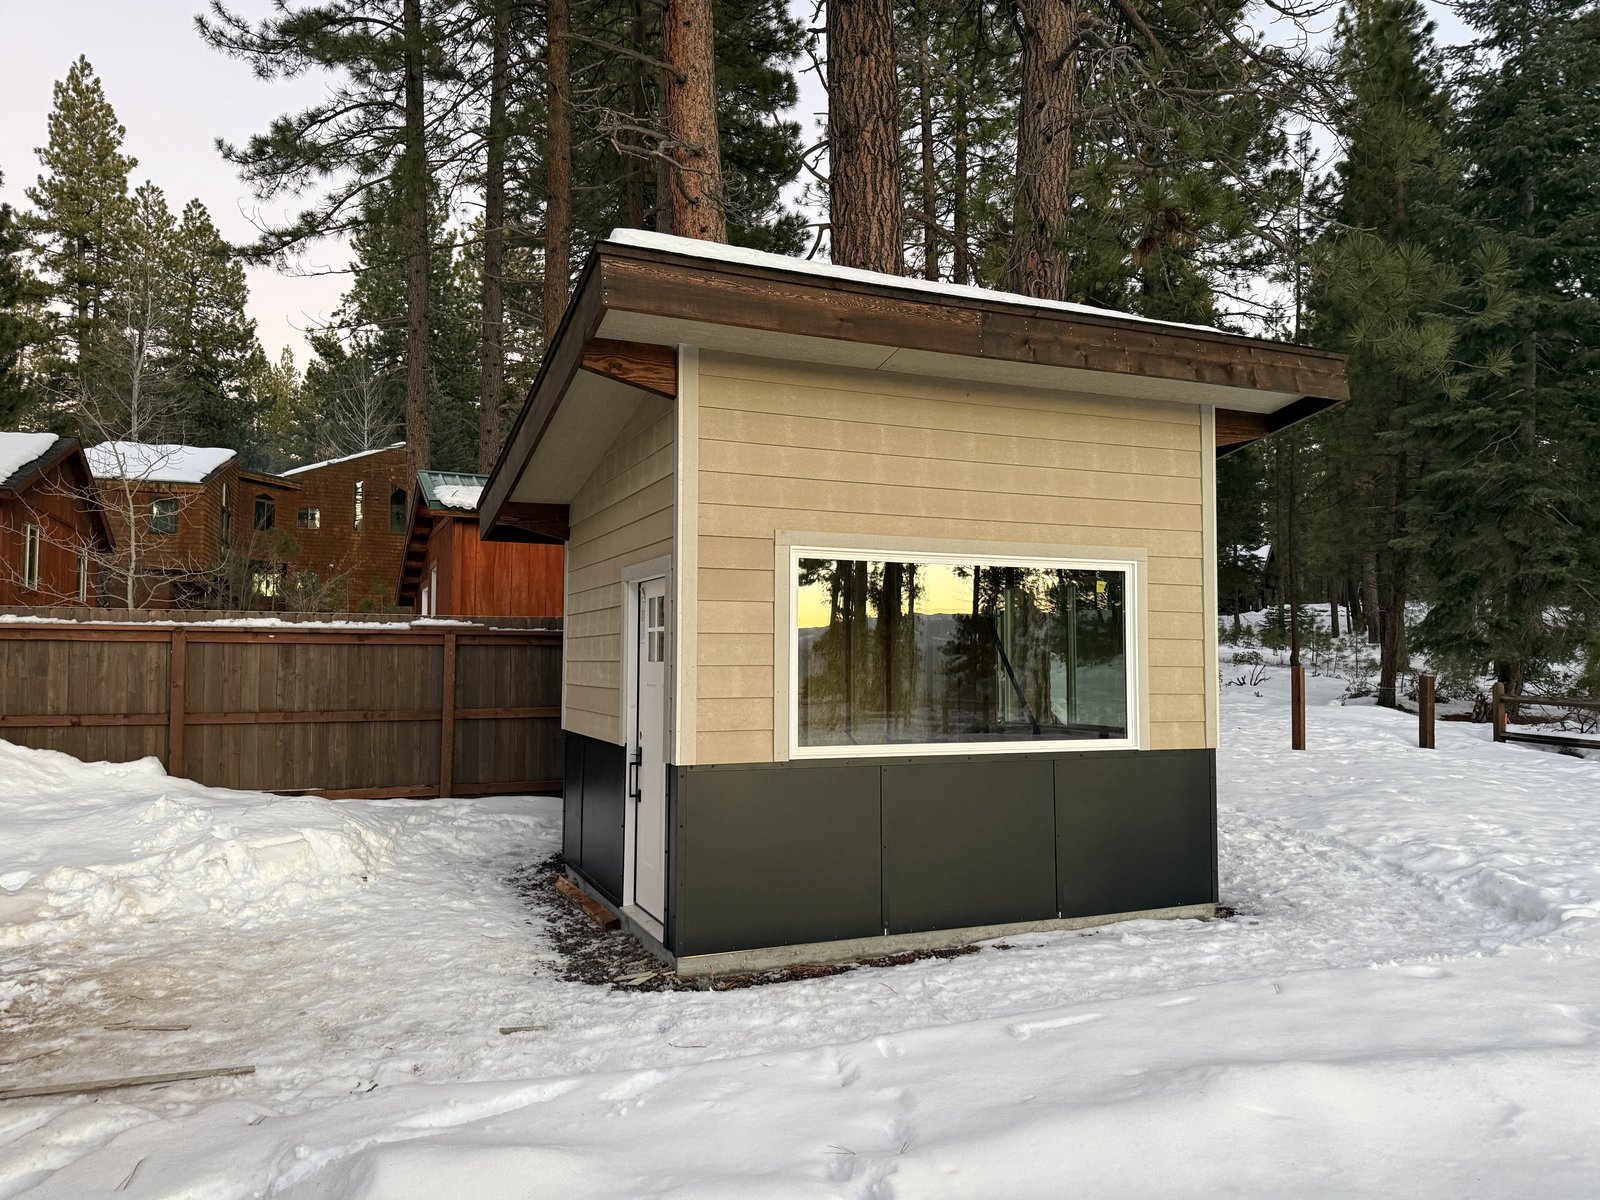
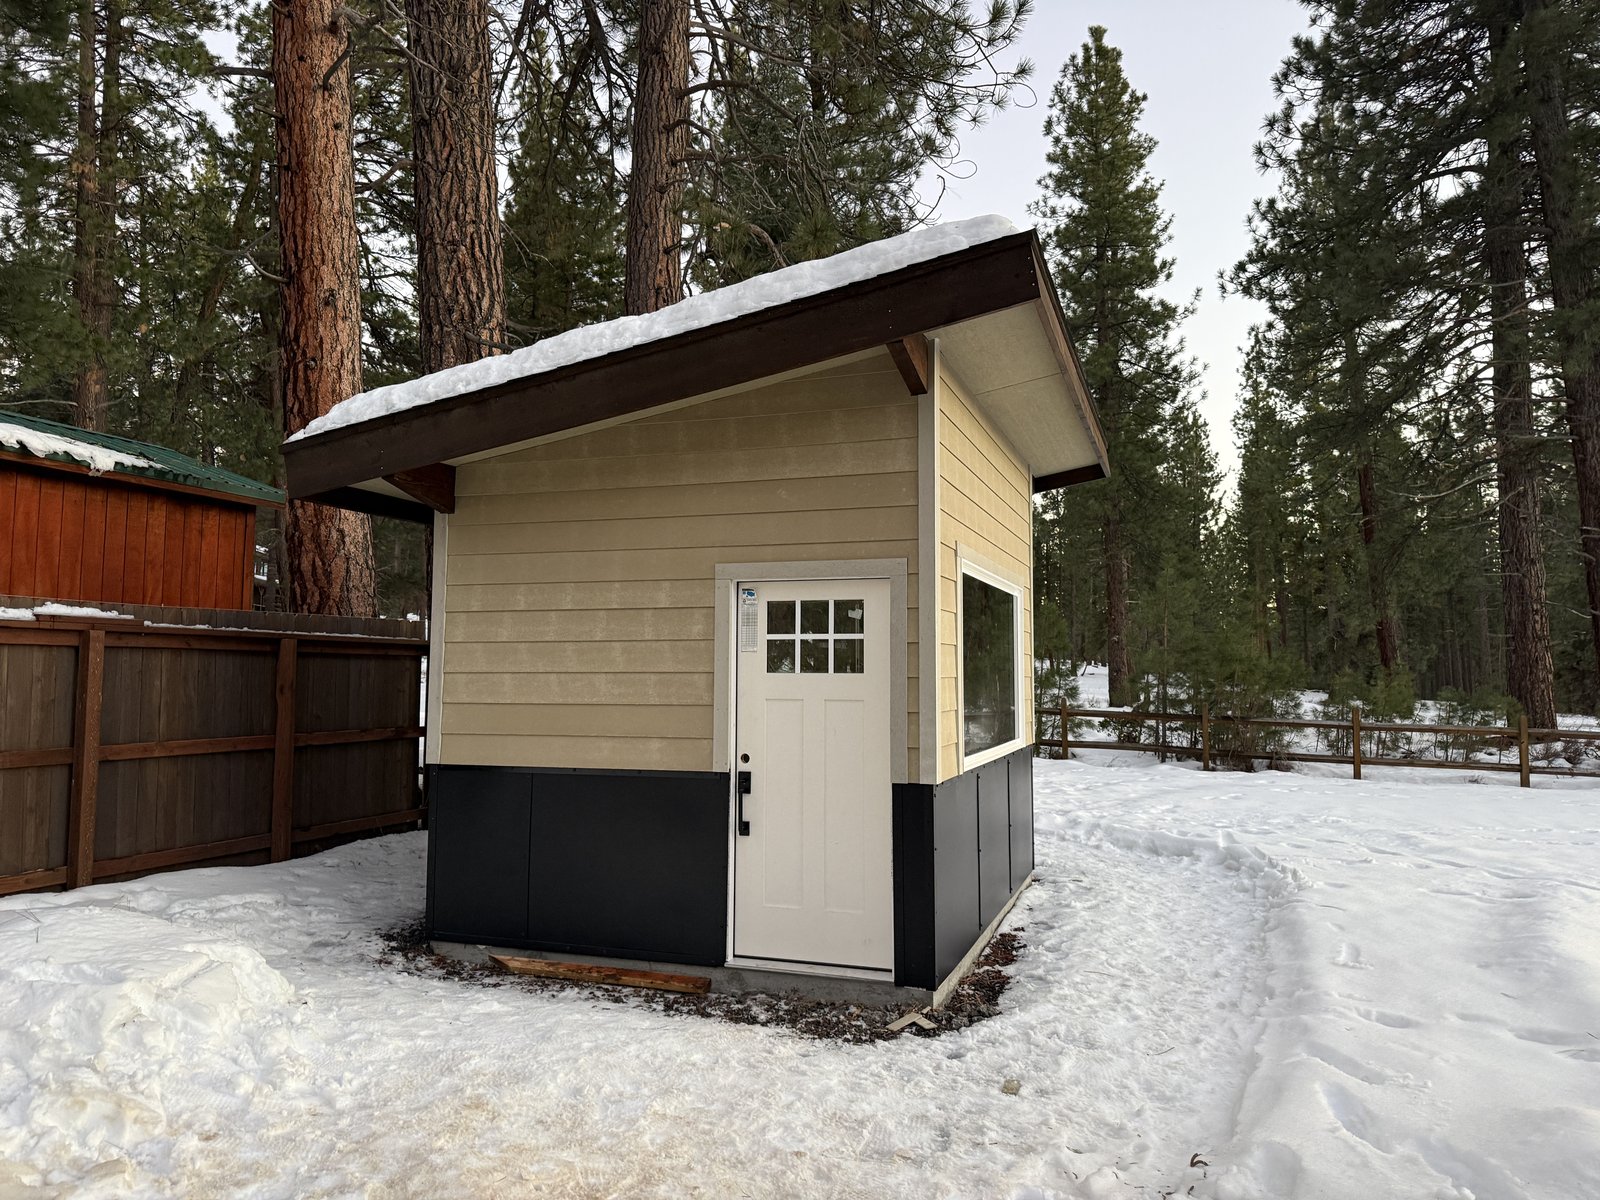
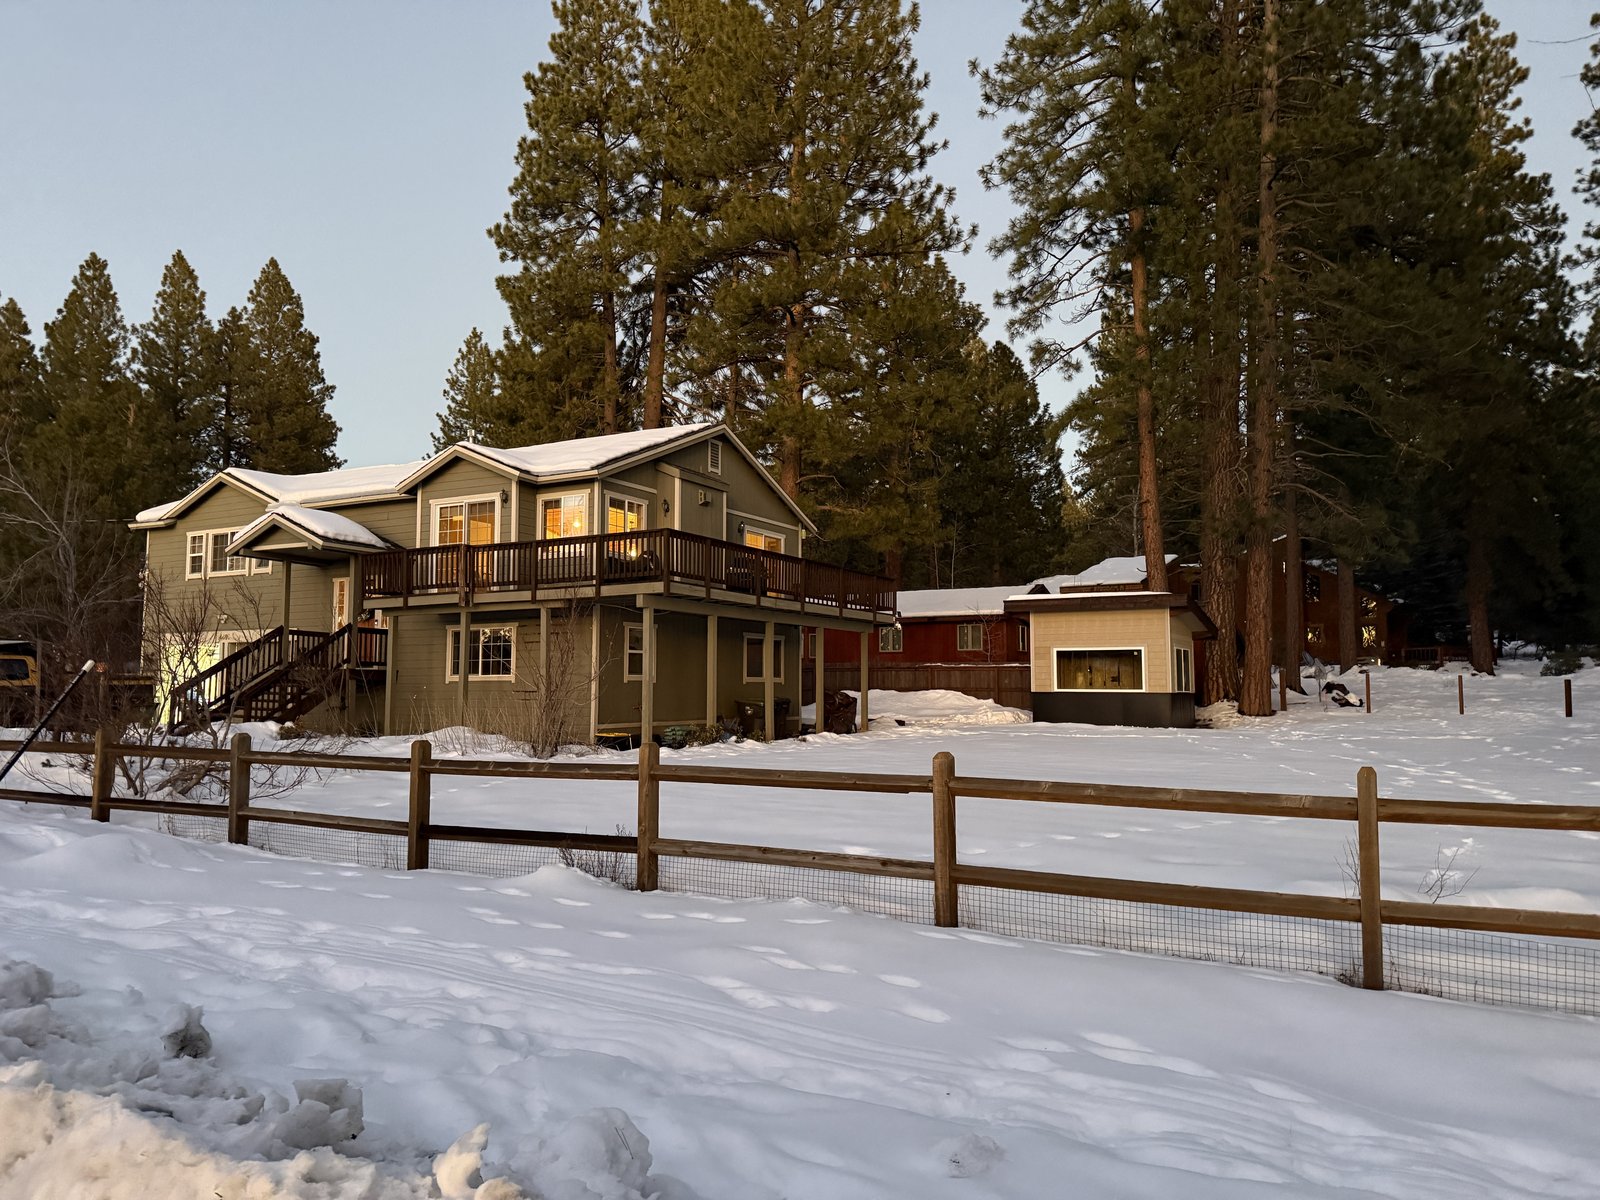
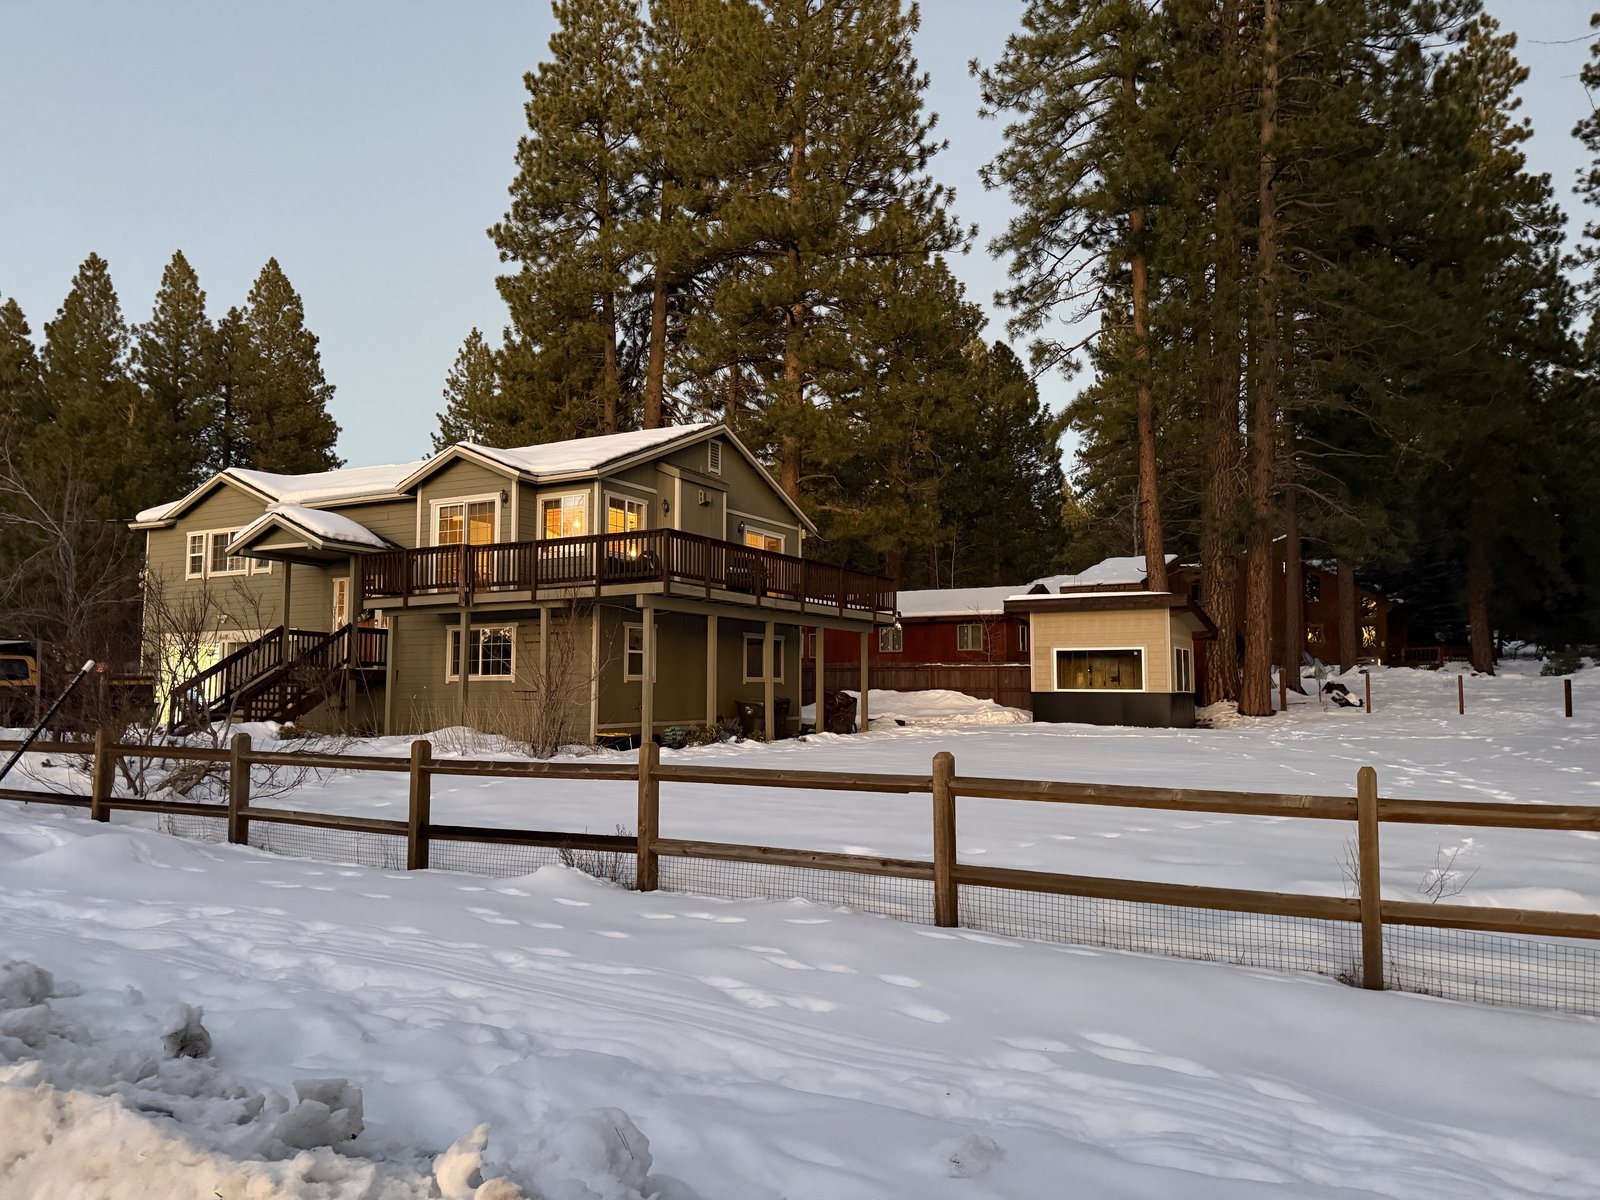
April 2026. The snow is off. The air is warm enough for paint to cure. Final coats on the lap siding, the wainscot, the trim. The shed reads exactly as planned — modern, intentional, grounded against the pines. Tucked next to the Carpentry Trailer between Jeffrey pines on the property.
Twenty months of intermittent work. One winter spent buttoning up. One spring finishing what the fall couldn't. This is what a real DIY build looks like — not a single weekend, but the patient layering of work across seasons until the thing is right.
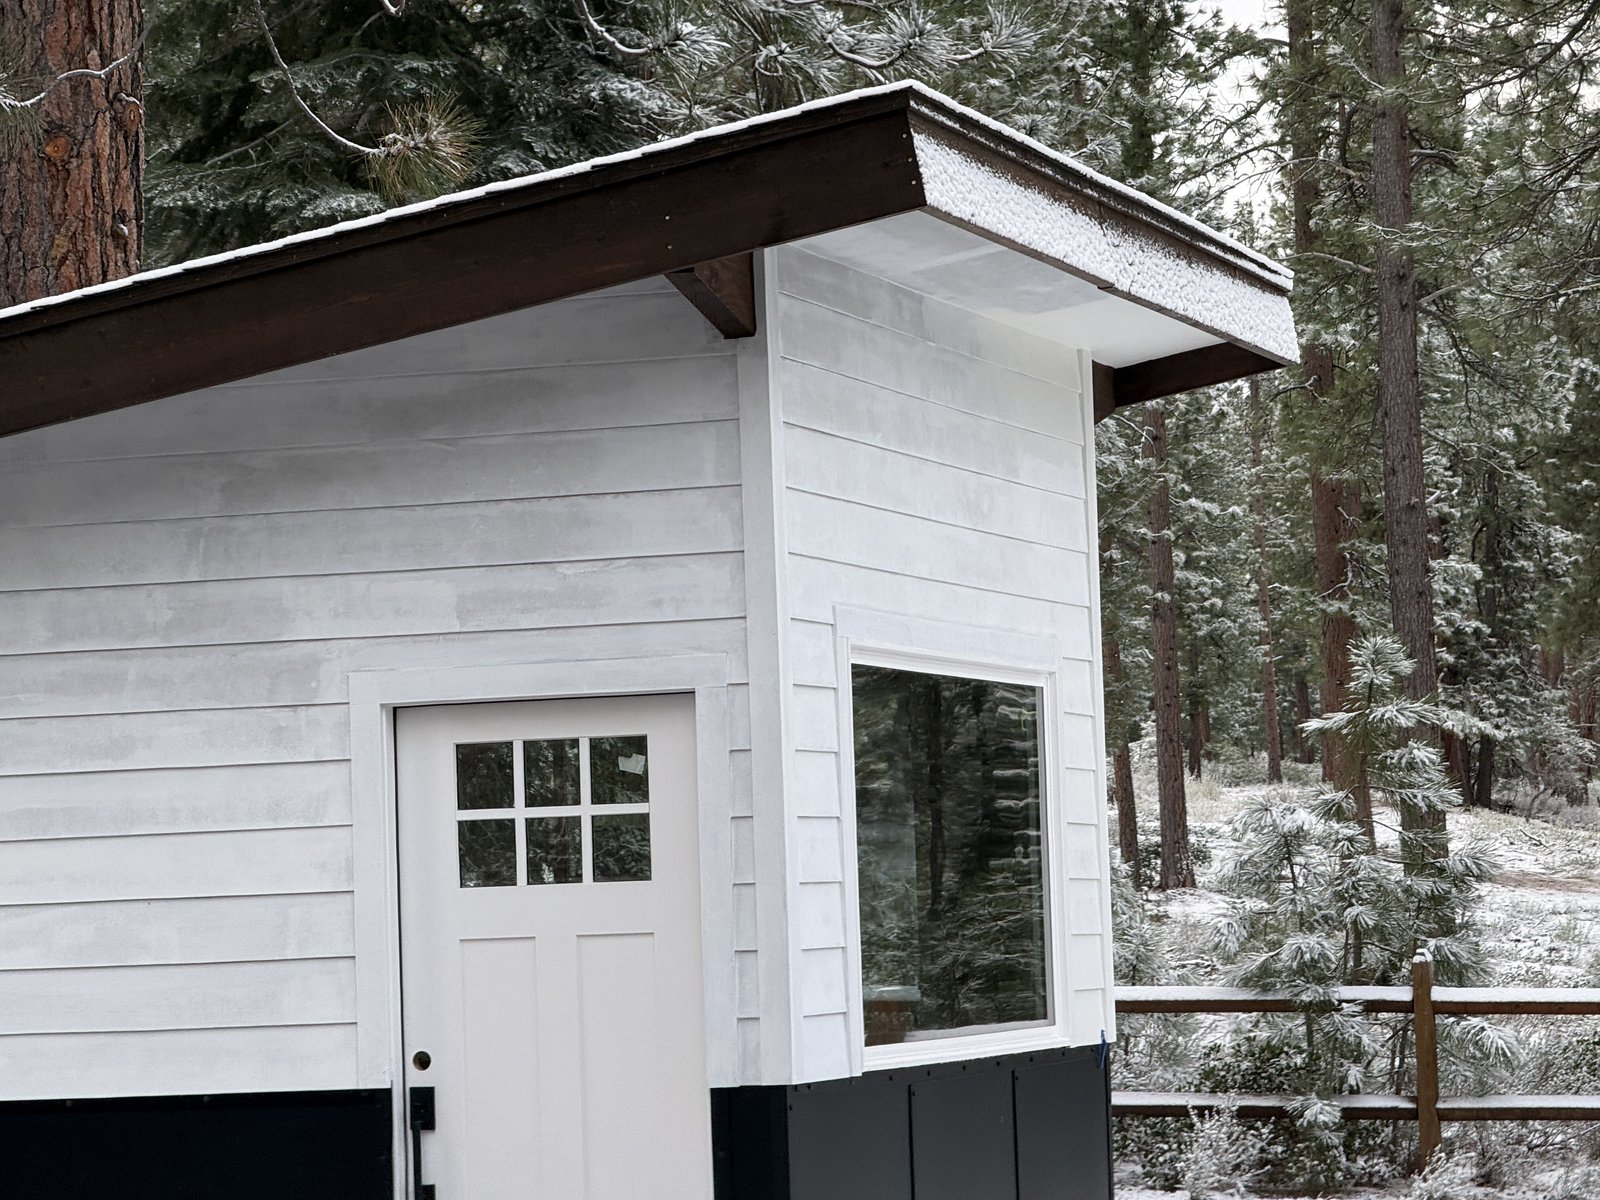
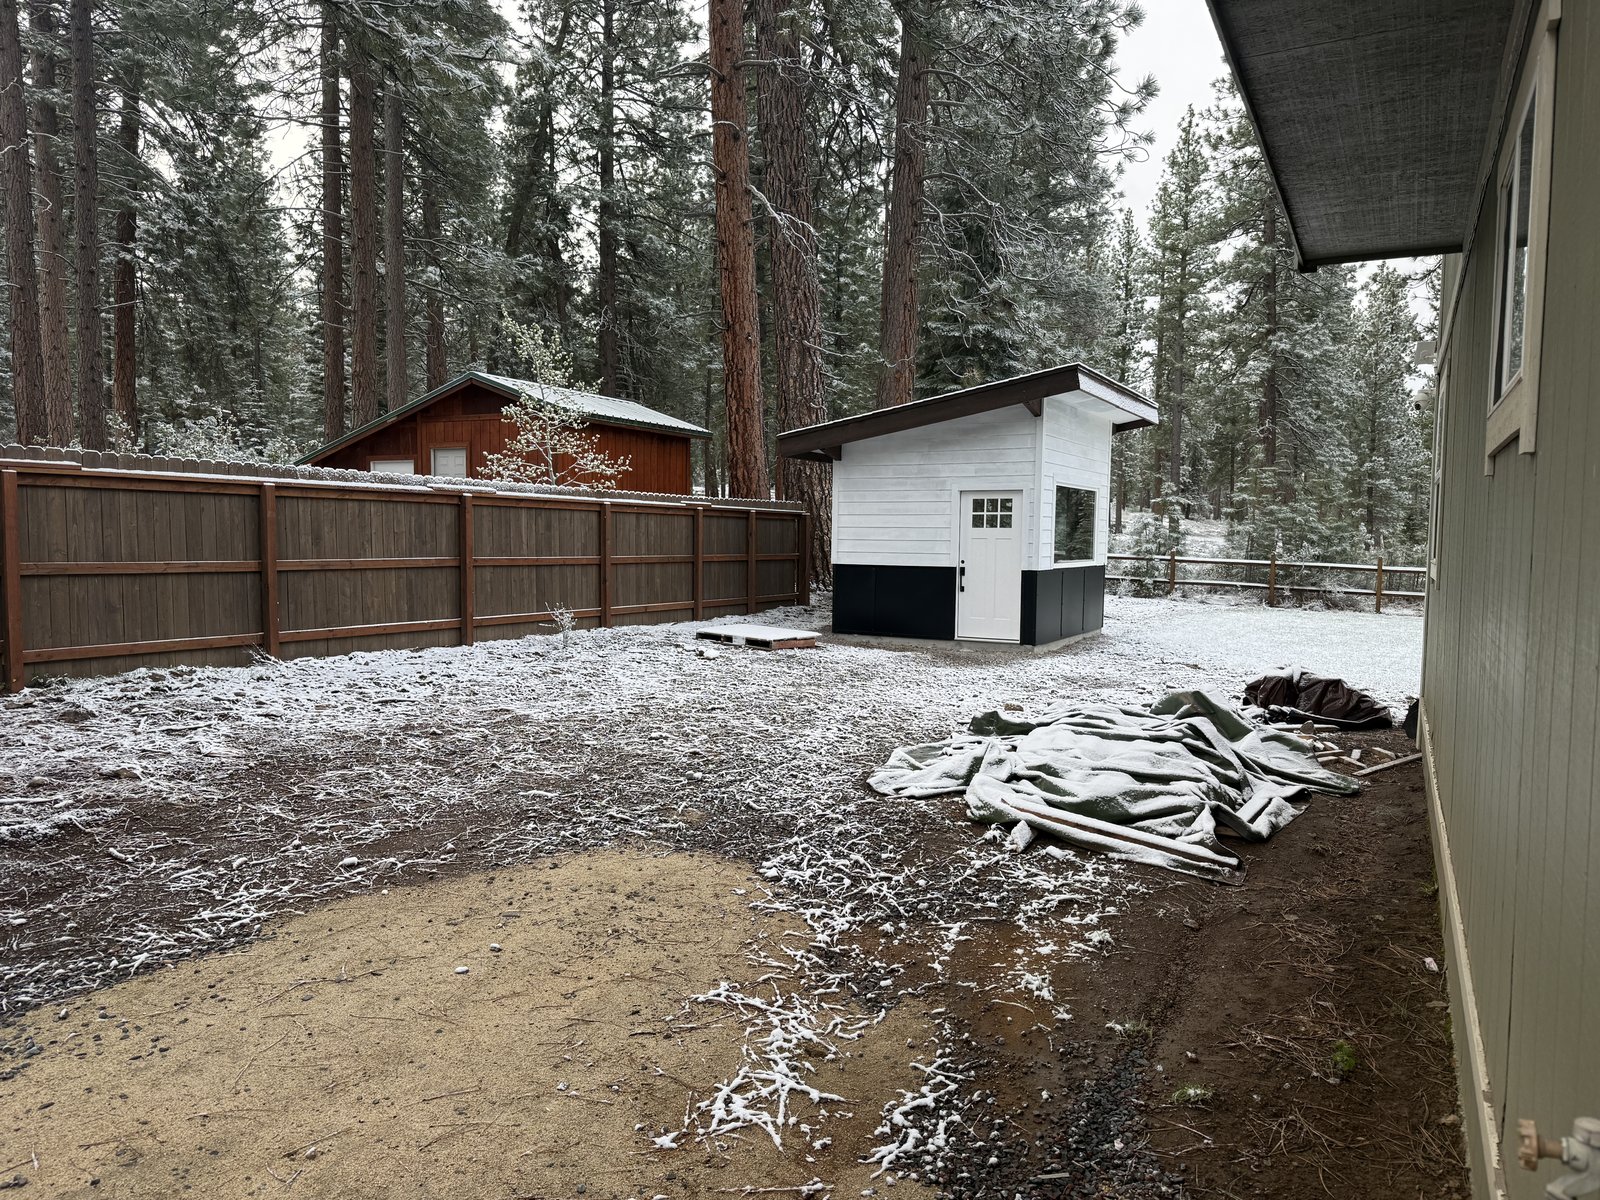
Stick-frame, sheathing, roof, siding, fenestration — what built a 10×12 mono-slope
| Item | Detail | Qty | Notes |
|---|---|---|---|
| Frame | |||
| 2×4 wall studs | 16″ OC framing | ~40 | Pressure-treated bottom plate |
| 2×6 rafters | Mono-slope, 24″ OC | ~7 | Tilted toward back wall |
| 4×4 corner posts | Bottom-fixed to slab | 4 | Anchor bolt set |
| 1/2″ CDX sheathing | Walls + roof deck | ~10 sheets | Screwed not nailed |
| Roof | |||
| Standing-seam metal panels | Dark grey · 24-gauge | 120 sq ft | Mono-slope tilted away from weather |
| Drip edge + ridge cap | Color-matched | ~20 ft + 10 ft | Pre-bent on site |
| Roofing underlayment | Synthetic, ice + water shield | 1 roll | Full roof + lower 36″ for ice dam |
| Siding + Trim | |||
| Cement-fiber lap siding | Cream painted, upper portion | ~280 sq ft | James Hardie or equivalent |
| Lap siding wainscot | Matte black painted, lower portion | ~110 sq ft | Different paint scheme for visual break |
| 1×4 trim boards | Door + window casing, corner trim | ~60 ft | Painted black to match wainscot |
| Fenestration | |||
| JW casement window | South wall · operable | 1 | Daylight + cross-ventilation |
| 6-lite prehung exterior door | White · gable end | 1 | Wheelbarrow-wide |
| Equipment Used | |||
| John Deere 35G mini excavator | Site prep + foundation work | 1 | E Kerr LLC |
A mono-slope (single-pitched) roof on a small shed beats a gable for three reasons. (1) Snow sheds in one direction, so you can position the shed to dump snow away from doors and paths. (2) The high wall gives you tall storage on the loft side — wheelbarrows + ladders go vertical. (3) Cleaner modern aesthetic — looks intentional, not "shed-like."
Hardware + tools + accessories for a 10×12 stick-framed Sierra shed. Bulk lumber + cement-fiber siding pull from the local lumberyard; everything else linked below. As an Amazon Associate, Errol earns from qualifying purchases.
Frame-to-frame, sill-to-stud, rafter-to-top-plate. No predrill, no splitting. The screw that ties a shed together better than nails.
Shop on Amazon →Bottom plate to slab. Code-compliant for Sierra wind loads. Pre-set in the slab pour or epoxy-anchored after.
Shop on Amazon →Lower 36″ + valleys. Critical for Sierra snow load — keeps melt water from backing up under metal panels. Self-seals around fastener penetrations.
Shop on Amazon →Full roof. Walks safer than felt, doesn't tear in the Sierra wind during install, won't degrade if the metal panels take a week to land.
Shop on Amazon →Stud walls + rafters + sheathing. No compressor, no hose. Sequential or bump-fire. The framing tool that builds a shed in a weekend.
Shop on Amazon →Cuts 2×4 studs + 2×6 rafters + 1×4 trim. Rafter birdsmouth + ridge cuts. Lives on a folding stand at the site for the duration.
Shop on Amazon →Sheathing rips + roof deck cuts. Worm-drive torque for full-thickness CDX. Cordless freedom on a site with no power yet.
Shop on Amazon →Stainless resists rust streaks on the painted lap. Hot-dip galvanized acceptable but stainless is the right call for a build meant to last decades.
Shop on Amazon →Lower-third matte black on cement-fiber lap. The two-tone scheme that breaks up an otherwise plain box. Two coats over primer.
Shop on Amazon →All 37 photos from the 20-month build, in EXIF order. Click any to enlarge.
Photos are hosted on Cloudflare Pages. Full-resolution originals mirrored to Google Drive at ~/My Drive/06-Website/DIY/royal-way-shed/.
A 10×12 mono-slope is the right size for a Sierra backyard. Big enough to swallow a wheelbarrow + ladders + a full season of yard tools. Small enough that a single owner-builder can stick-frame it over weekends across one summer + one fall + one winter button-up + one spring finish. Patient layering across seasons.
All DIY Builds