MOBILE CARPENTRY TRAILER
A self-contained jobsite shop, documented end-to-end
FULL STEP-BY-STEP BUILD GUIDE
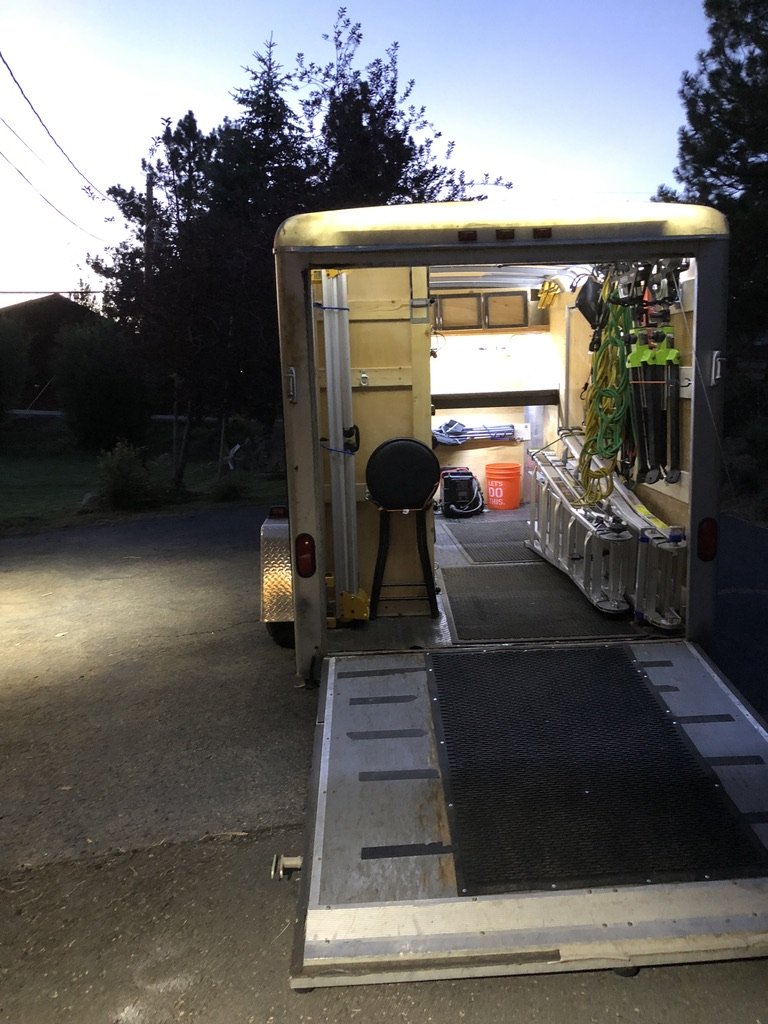
A self-contained jobsite shop, documented end-to-end
A 6×12 enclosed cargo trailer turned into a real mobile shop — documented across nine phases so you can replicate it
An enclosed cargo trailer is a clean slate. The factory leaves you with a diamond-plate rubber floor, thin plywood walls, three roof clearance lights, and one dome bulb. Useful as a closed box. Useless as a workshop. This build turns the box into a working carpentry shop that drives — 12V house power off a deep-cycle battery, 110V shore power for the saws, an eight-channel marine switch panel for every circuit, LED strip lighting wired into the ribs, and DeWalt jobsite saws on dedicated platforms aimed straight out the open ramp door so you can cut sixteen-foot stock without taking the saws outside.
Every phase below is documented from the original build photos, sequenced by EXIF date. This is not a rendering. This is what actually got built between October 2017 and July 2018.
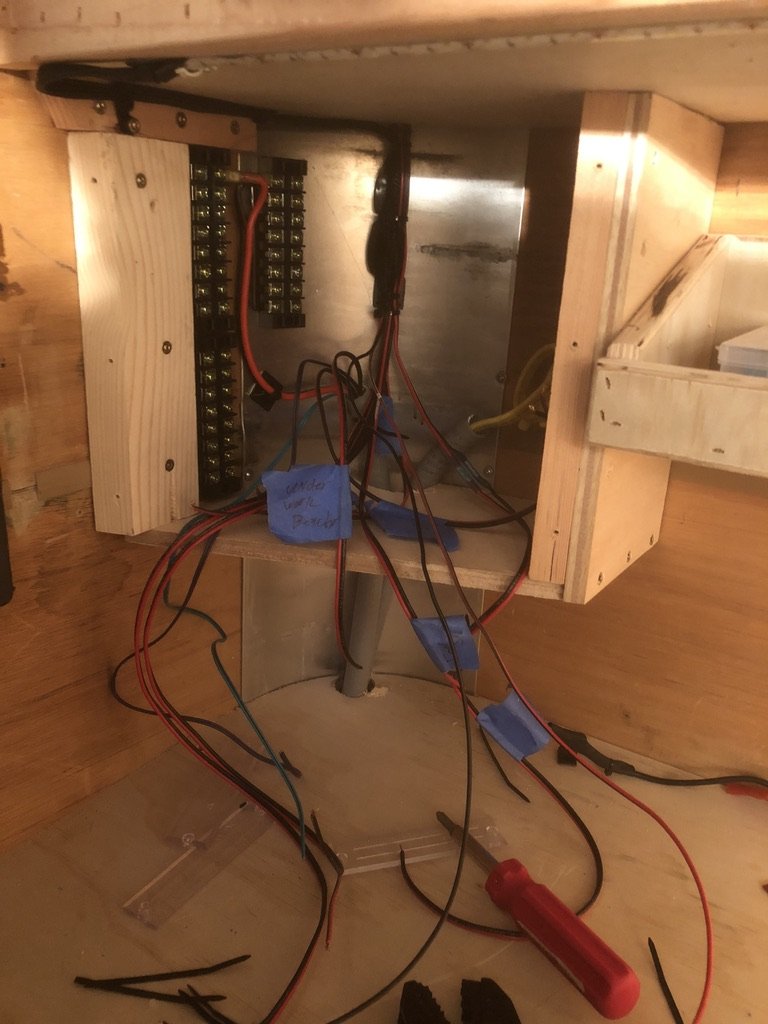
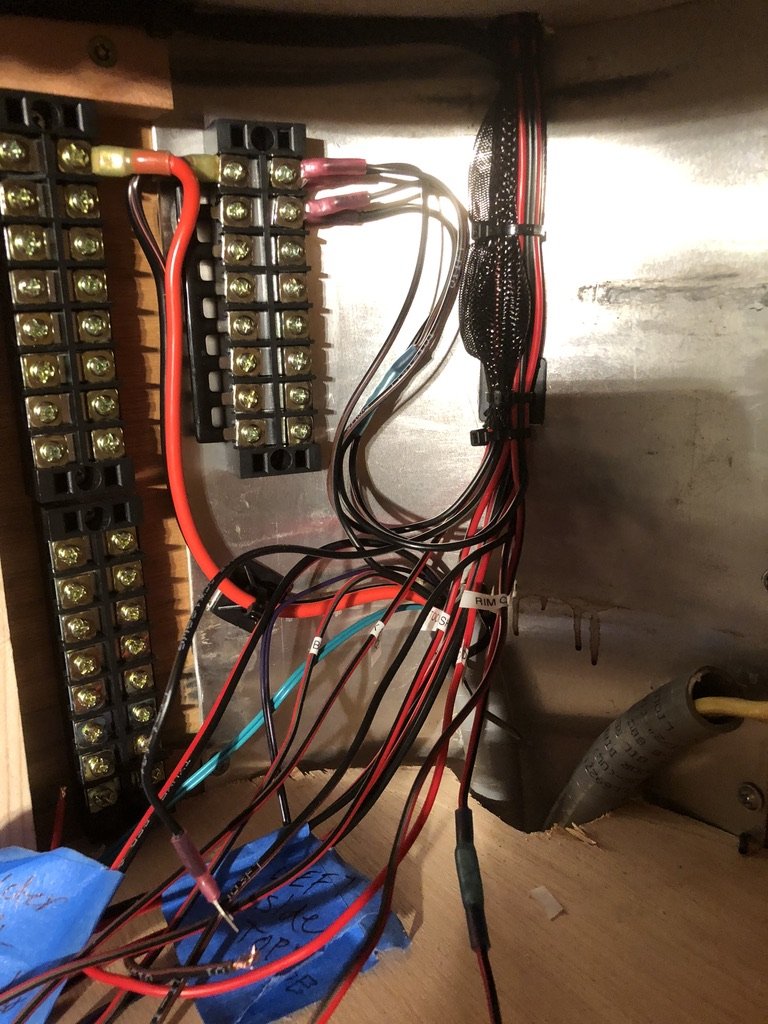
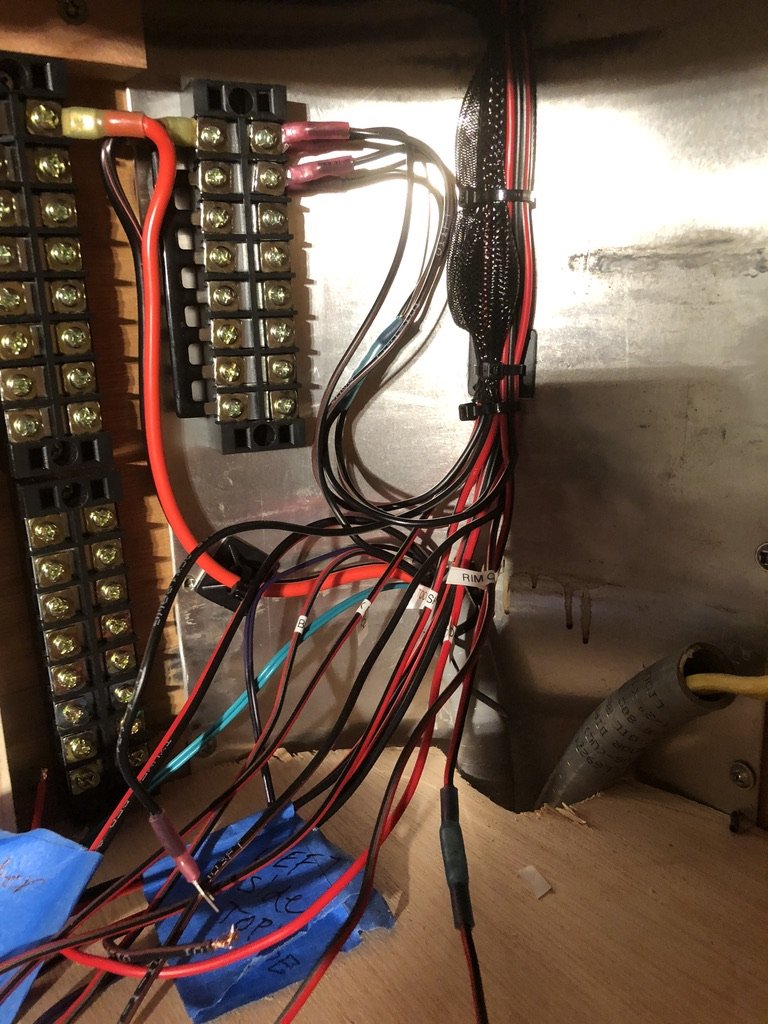
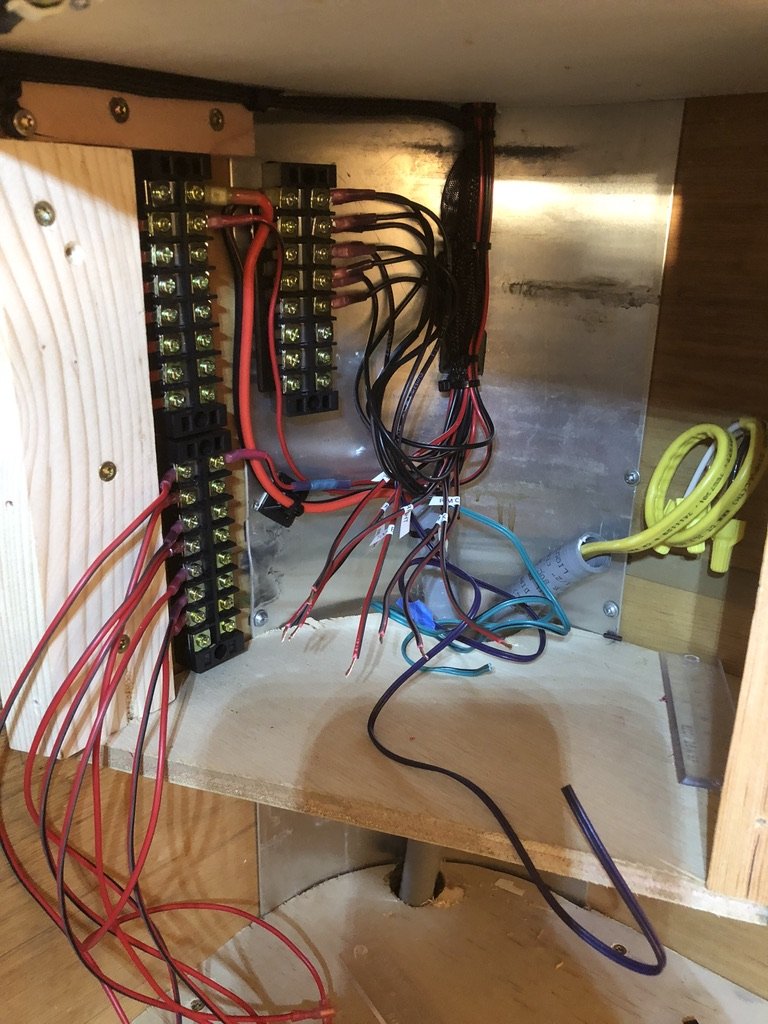
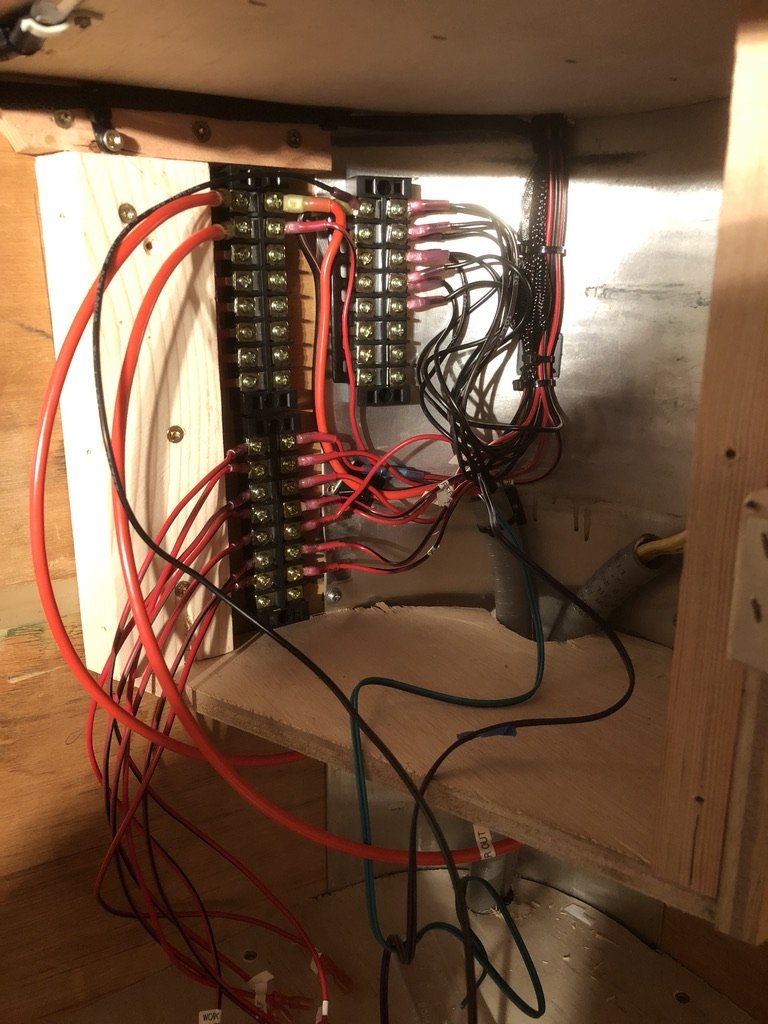
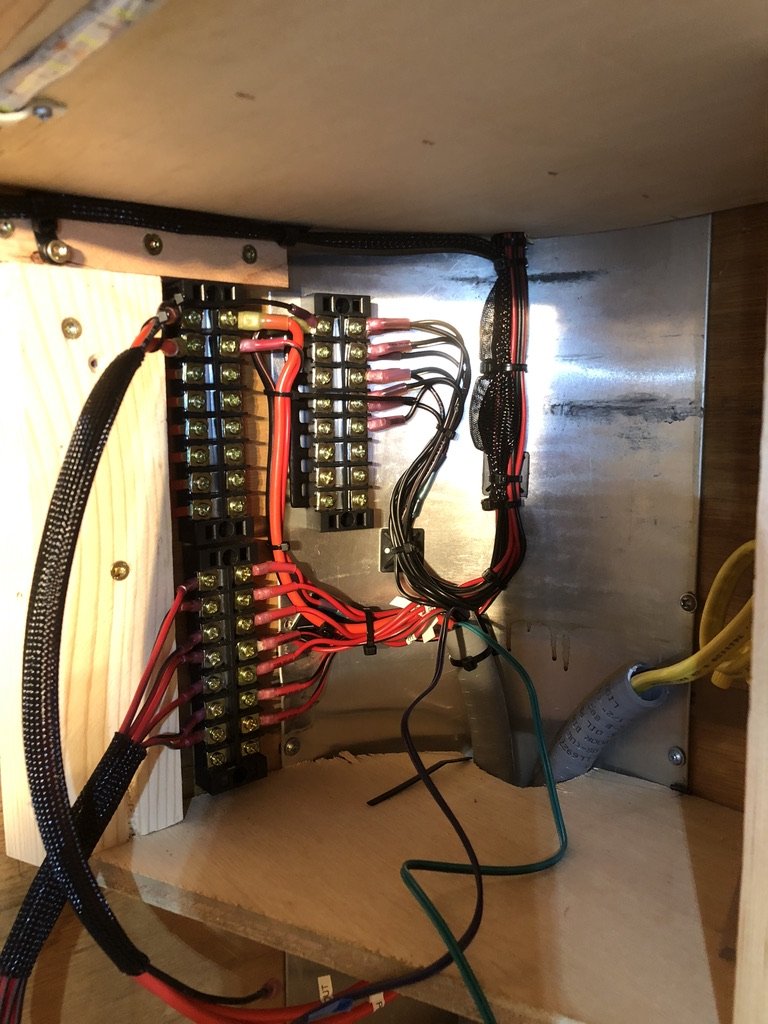
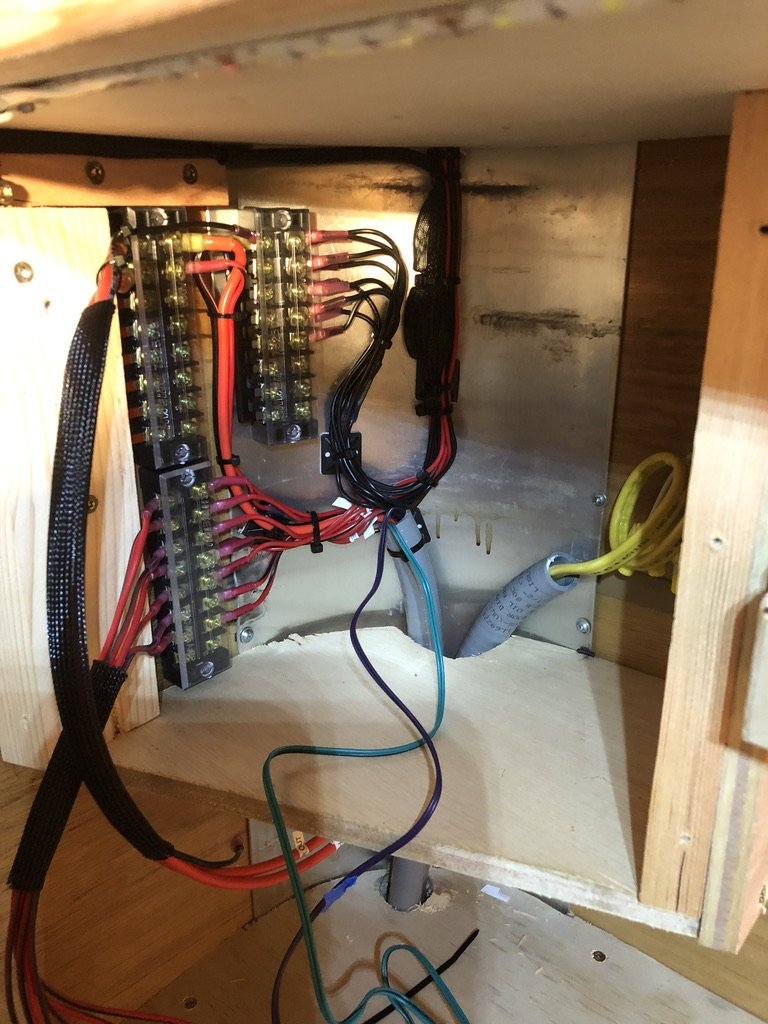
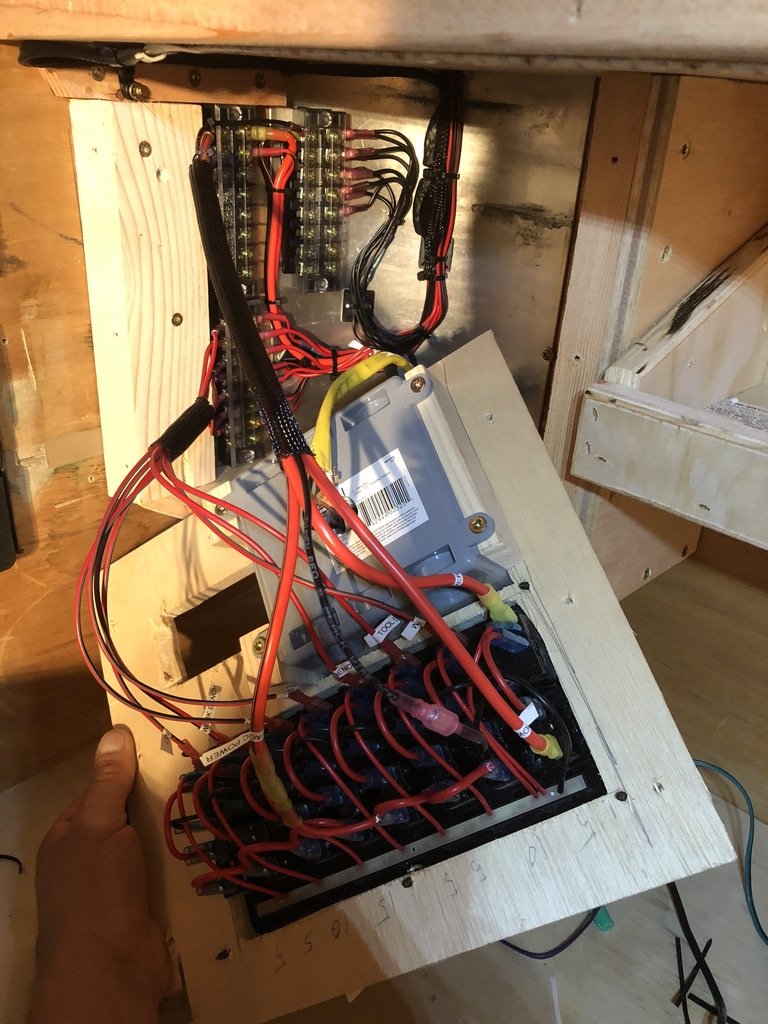
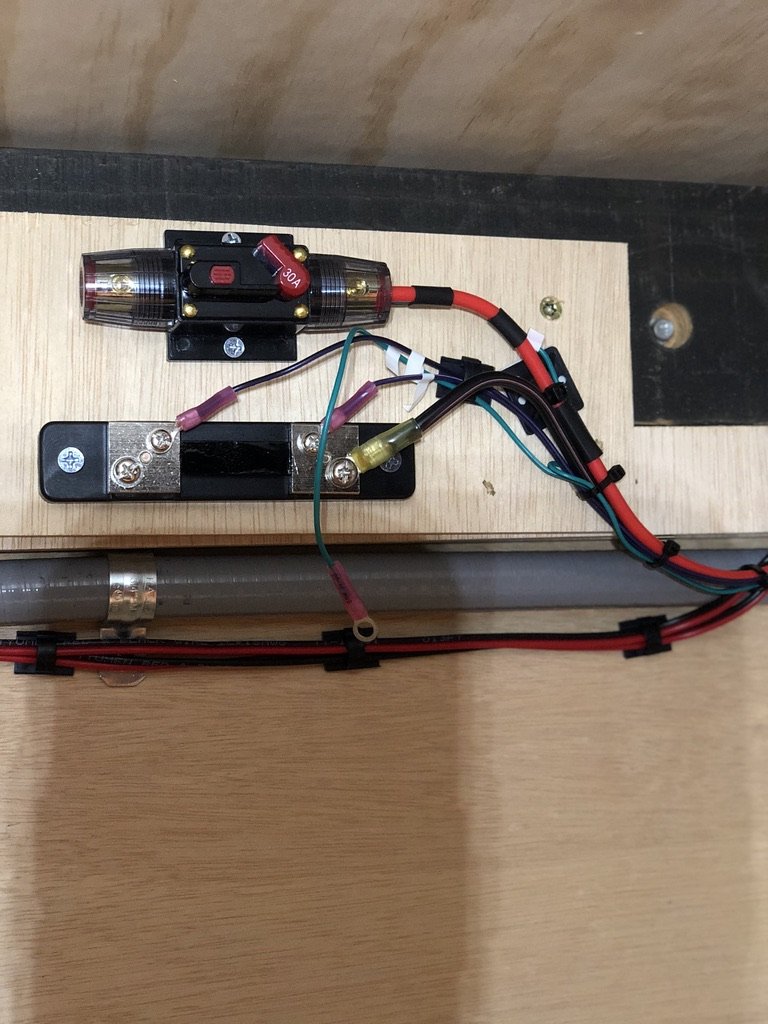
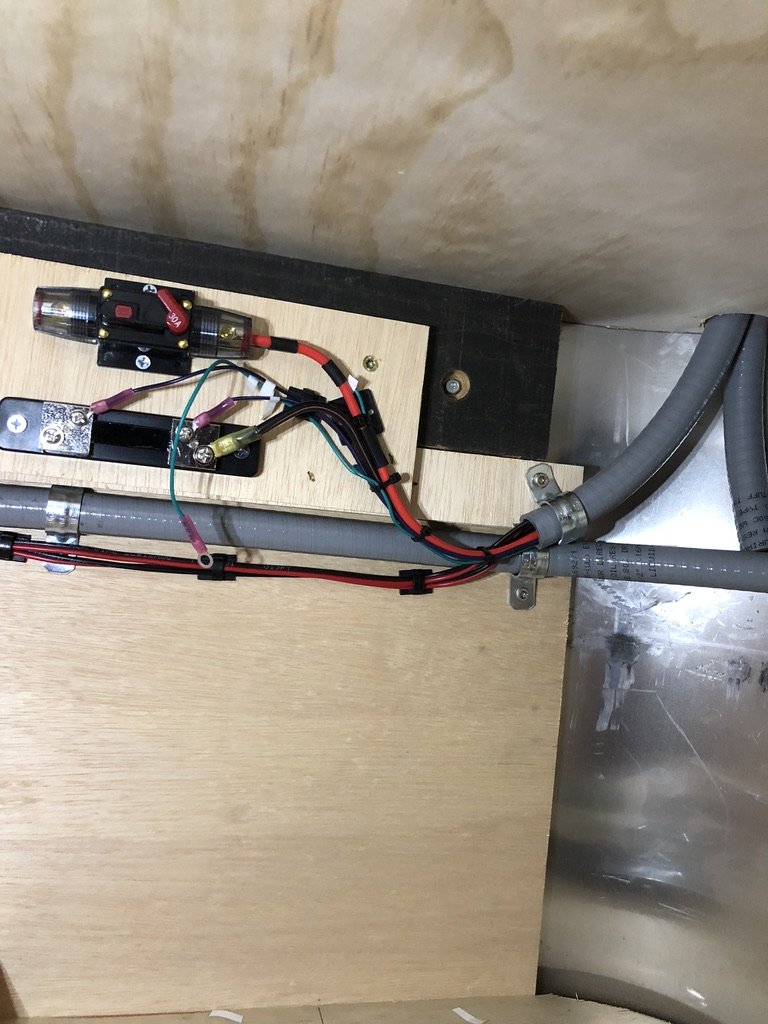
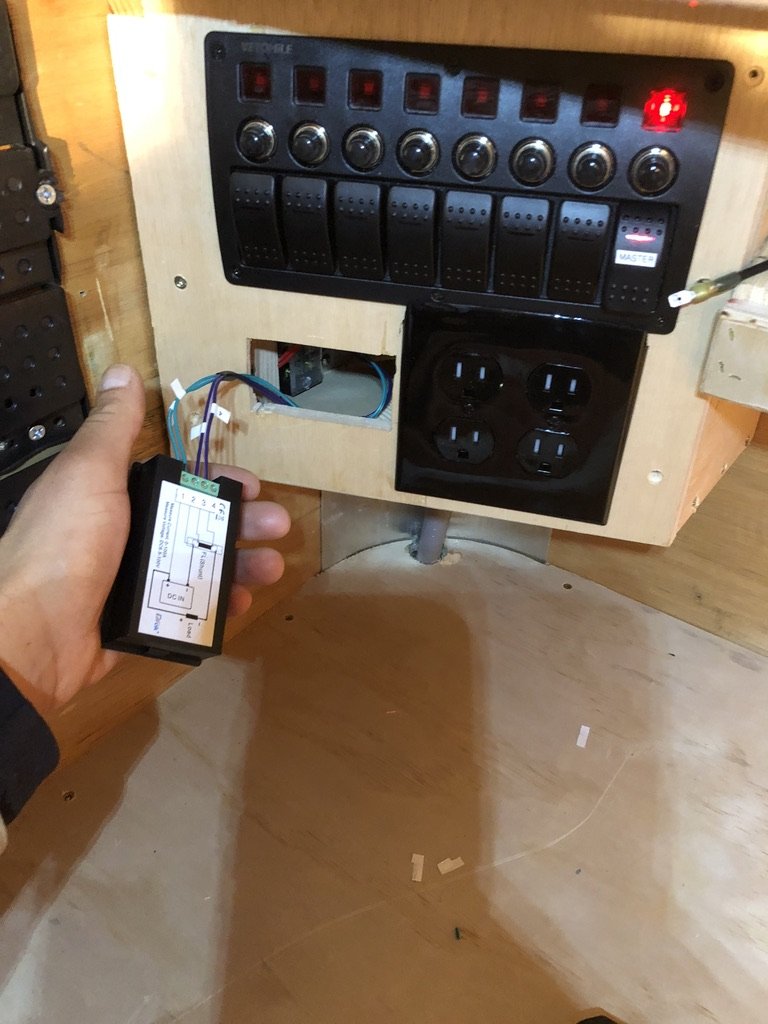
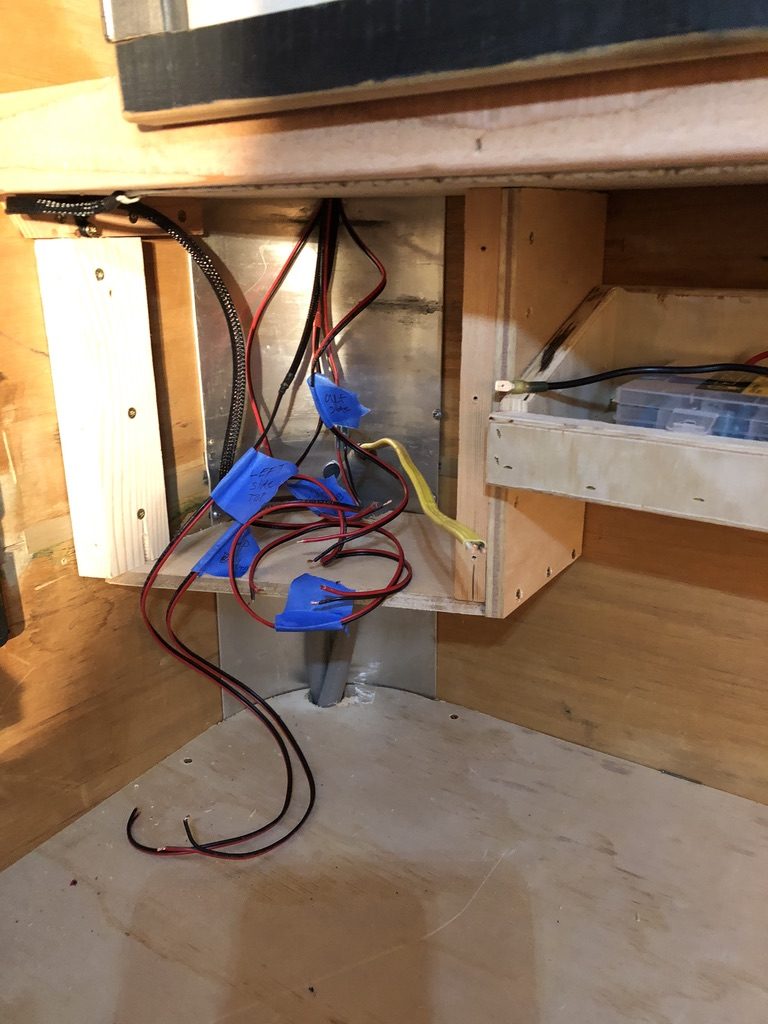
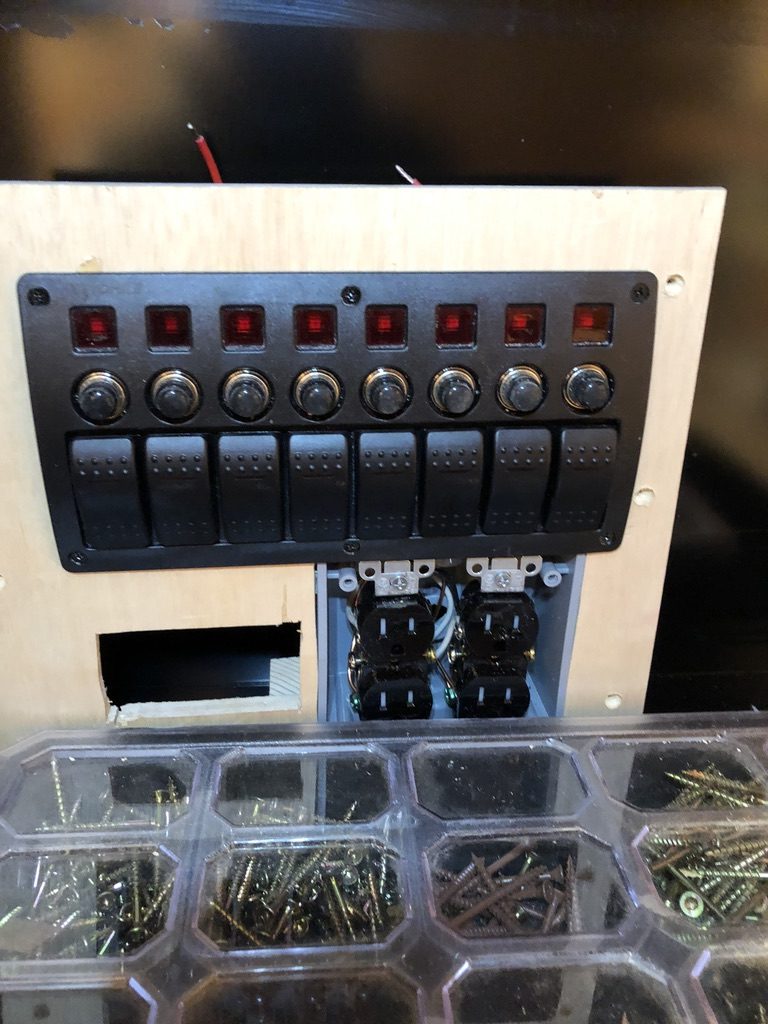
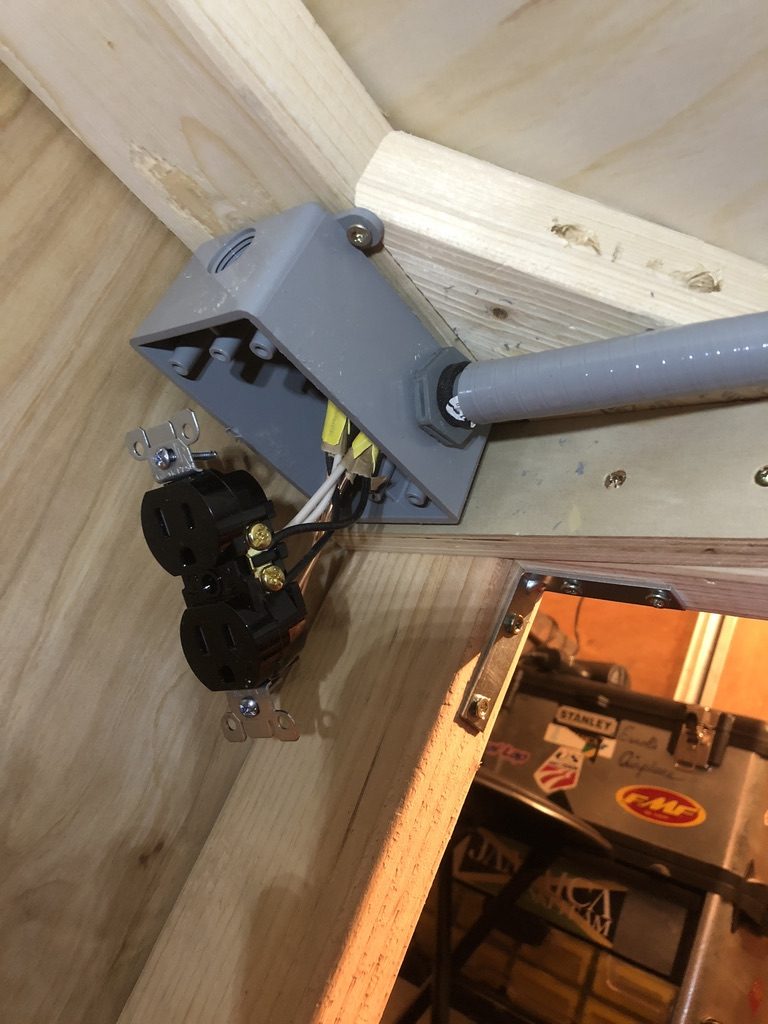
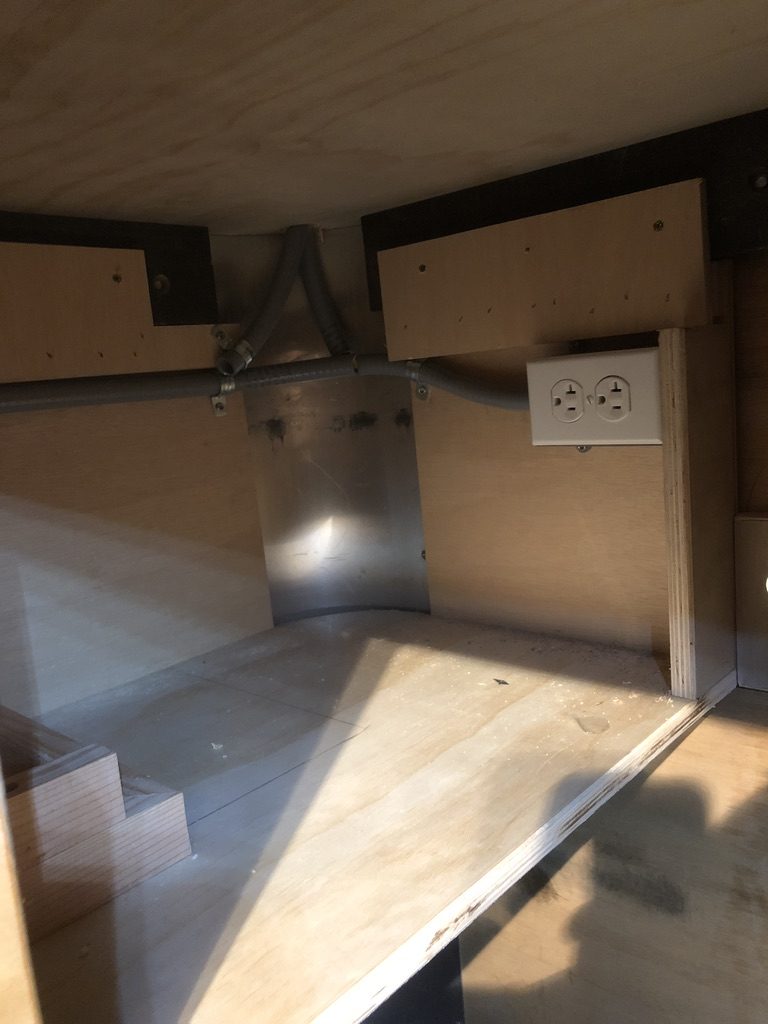
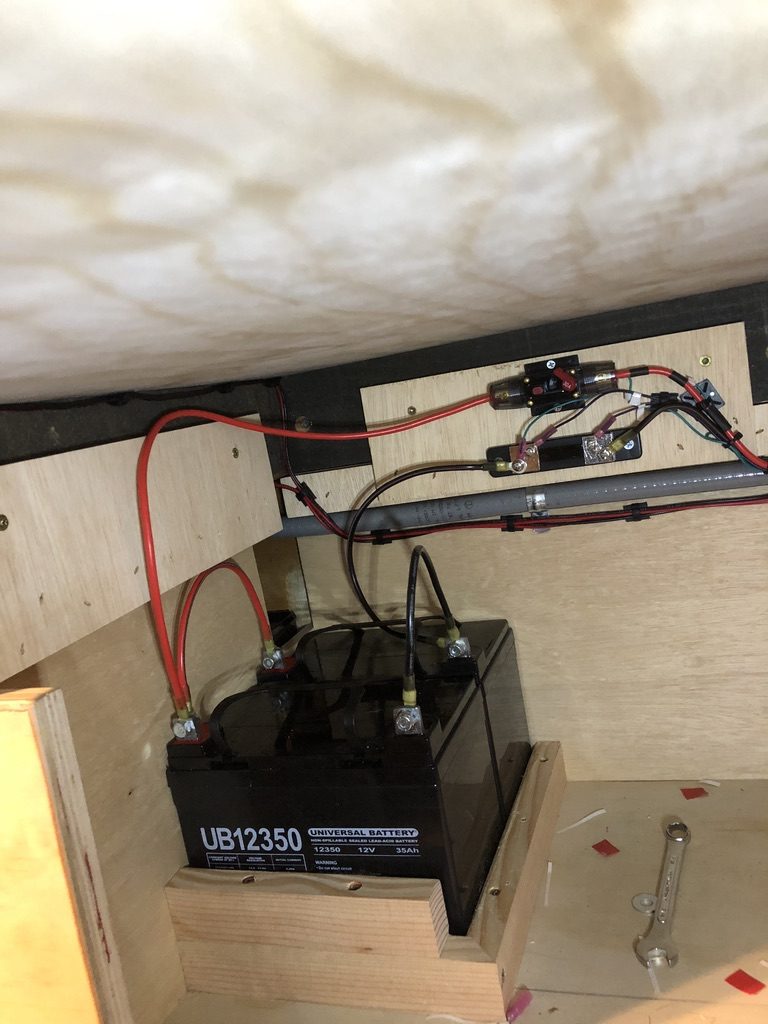
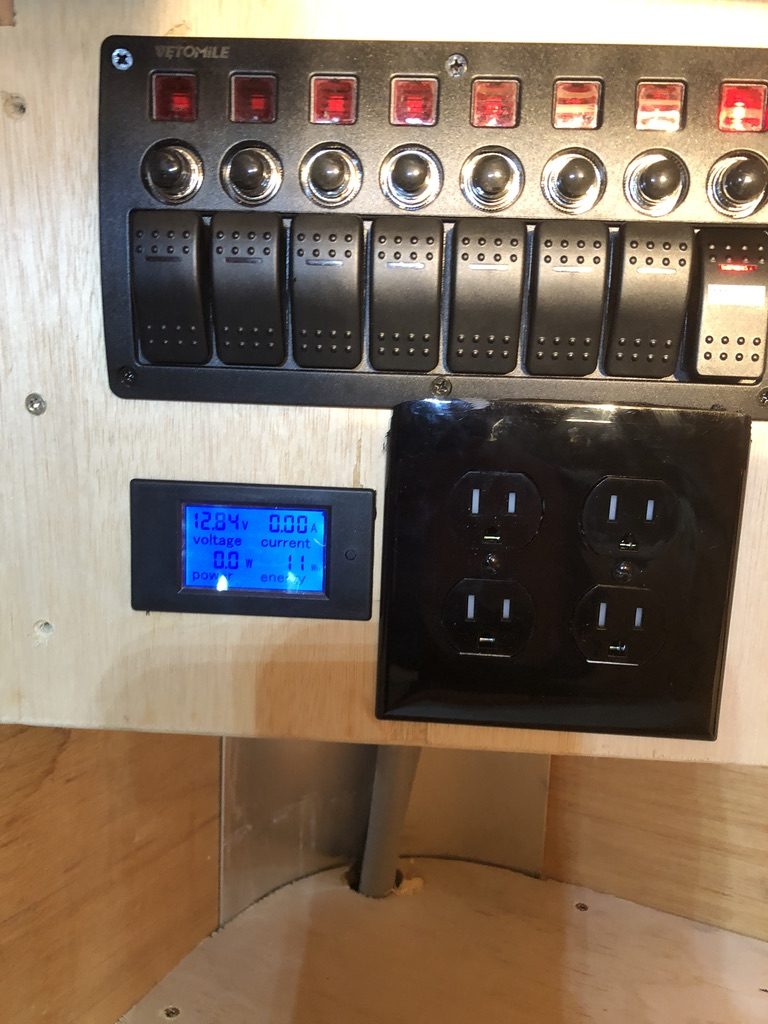
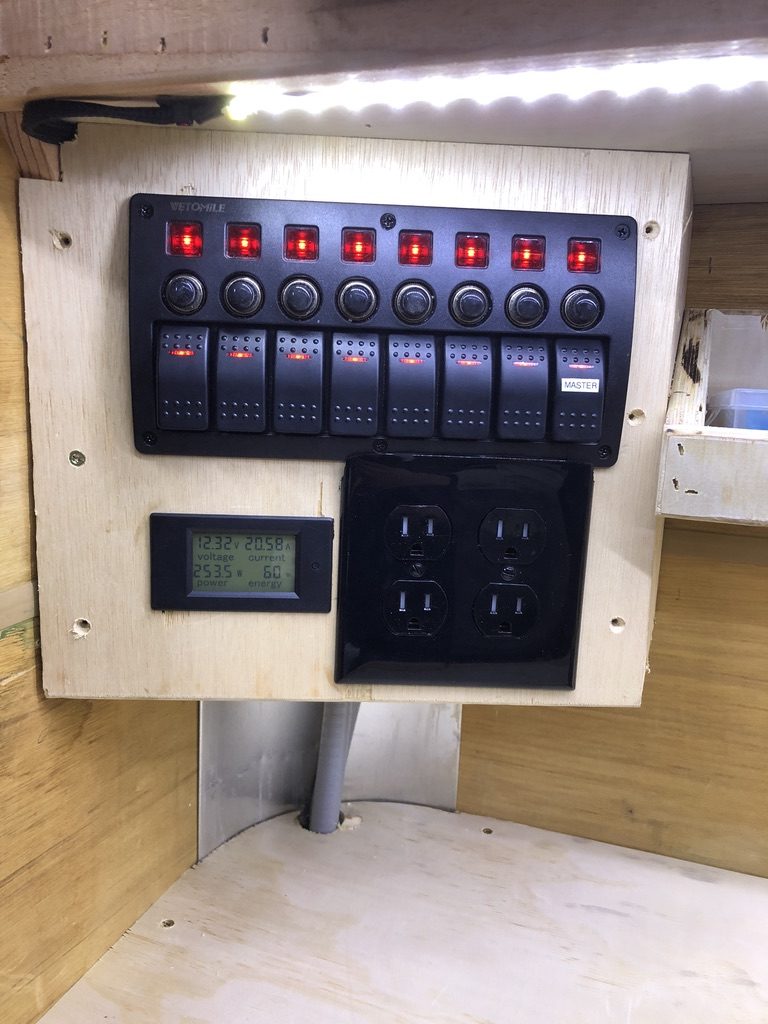
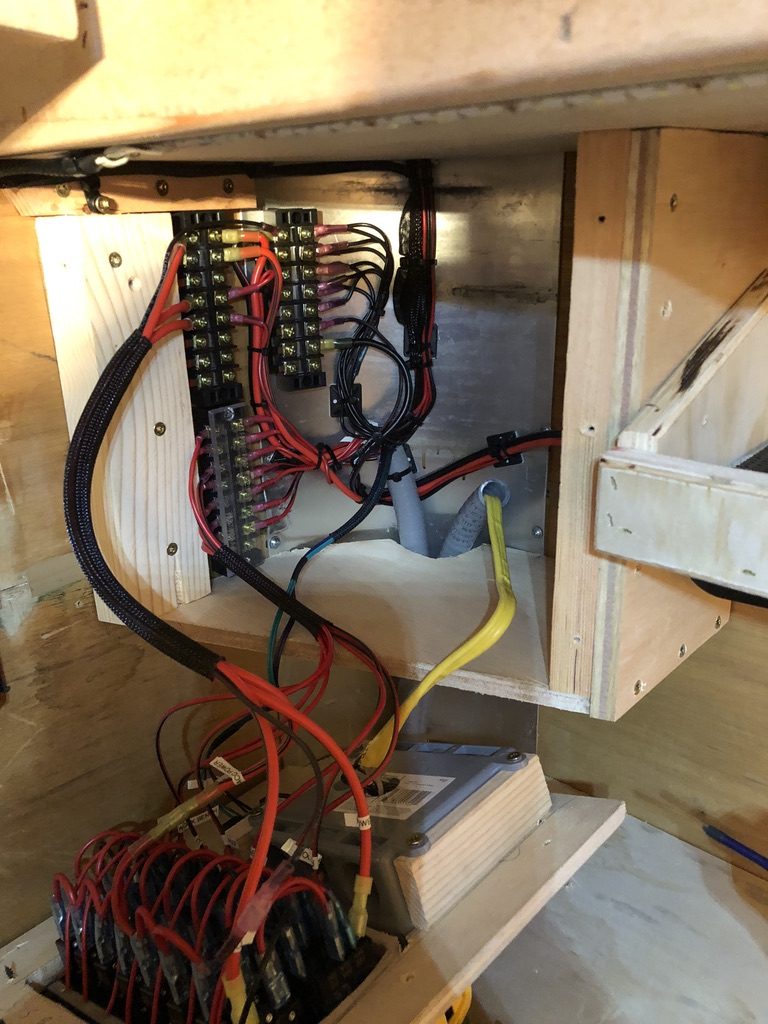
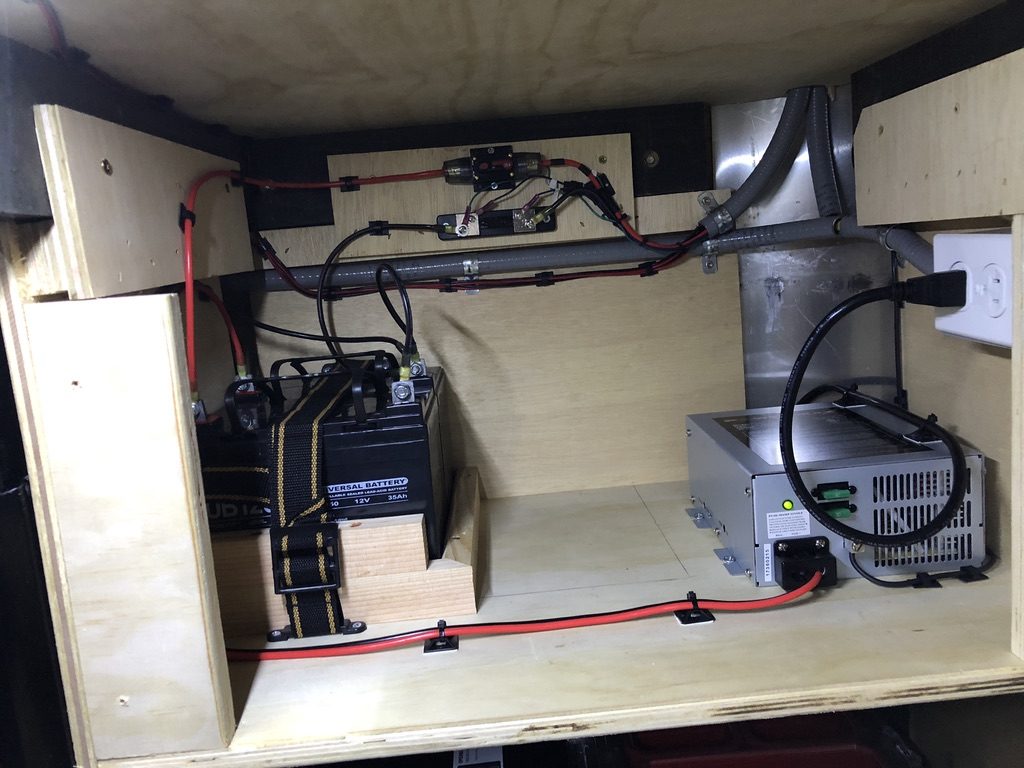
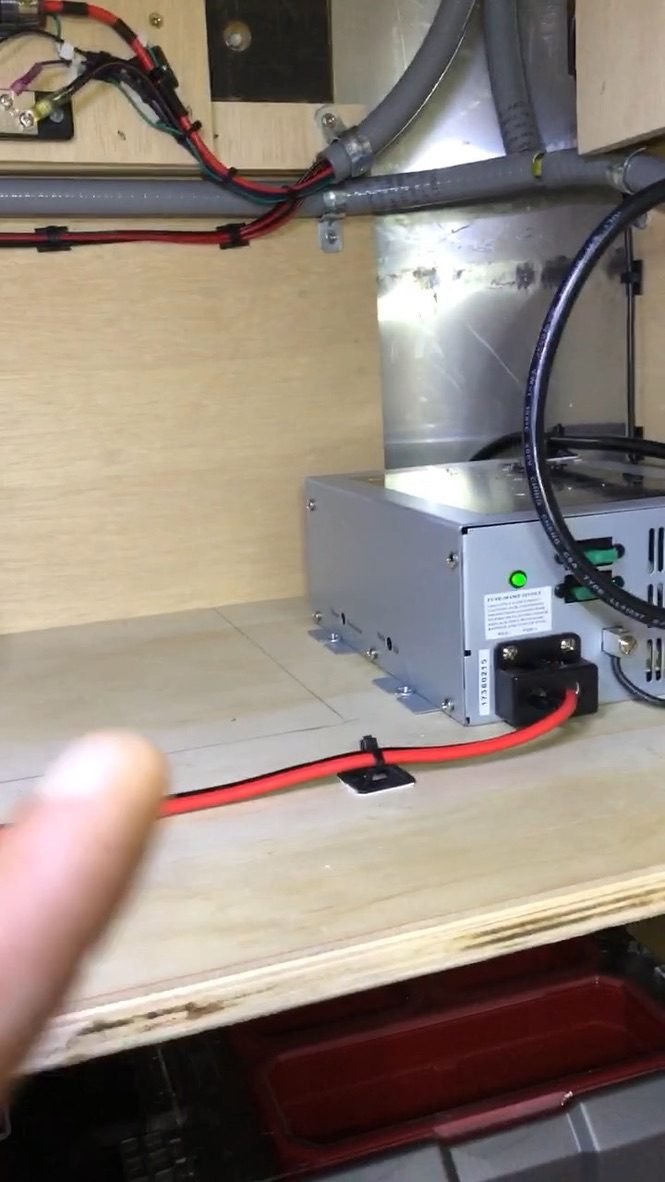
The electrical phase (Phase 4 + Phase 5) is the one that earns the page. Bus bars, Anderson Power Pole terminals, a 30A waterproof breaker, a shunt for current monitoring, a 12V→110V converter PSU, an 8-channel lit marine rocker panel, and a bank of four NEMA outlets. Every run labeled with painter's tape. Voltmeter mounted on the panel so you know what the battery's doing at a glance. That section alone is worth the read if you've ever wondered what a "do it right the first time" trailer wiring job actually looks like.
Bottom line: hitch up in the morning, drive to the site, plug in shore power if it's there or run off the battery if it isn't. Saws ready. Parts bins in arm's reach. Lights bright enough for finish carpentry in a dark garage. Built for Truckee 5,820 ft — cold mornings, dusty afternoons, snow on the ramp — and built to keep moving for the next ten years. Eight years in now and counting.
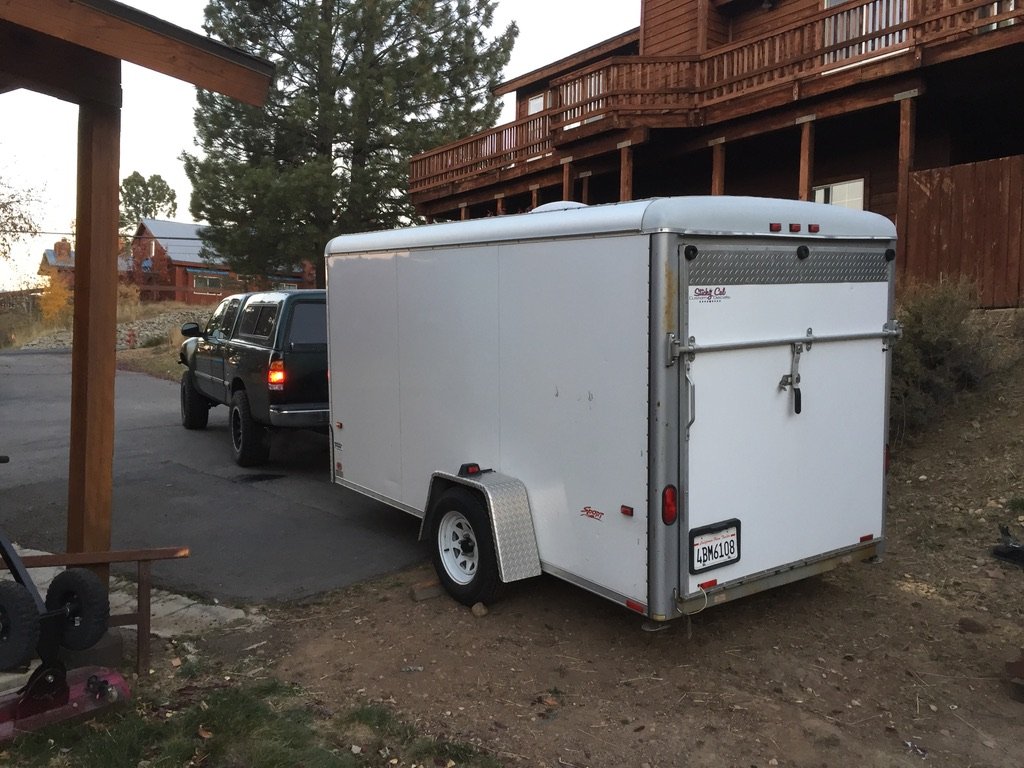
This is the trailer the day it came home. 6×12 single-axle enclosed cargo trailer, white aluminum skin, factory diamond-plate ramp door at the rear with a side man-door on the curb side, three LED roof clearance lights, one 12V dome bulb inside, factory rubber + diamond-plate floor mat. CA plate 4BM6108. Hitched behind a green Toyota Tacoma — the same truck that will pull it to every site for the next eight years.
It sat for three months before the first cut. That wait is the most important part of the build. A trailer is a box of opportunity that punishes hasty decisions — drill the wrong stud, mount the saw at the wrong height, run the wires in the wrong order, and you're paying for it for the next decade. So I spent the time. Three sets of sketches, two material lists, one rebuild of the plan, and then it was time.
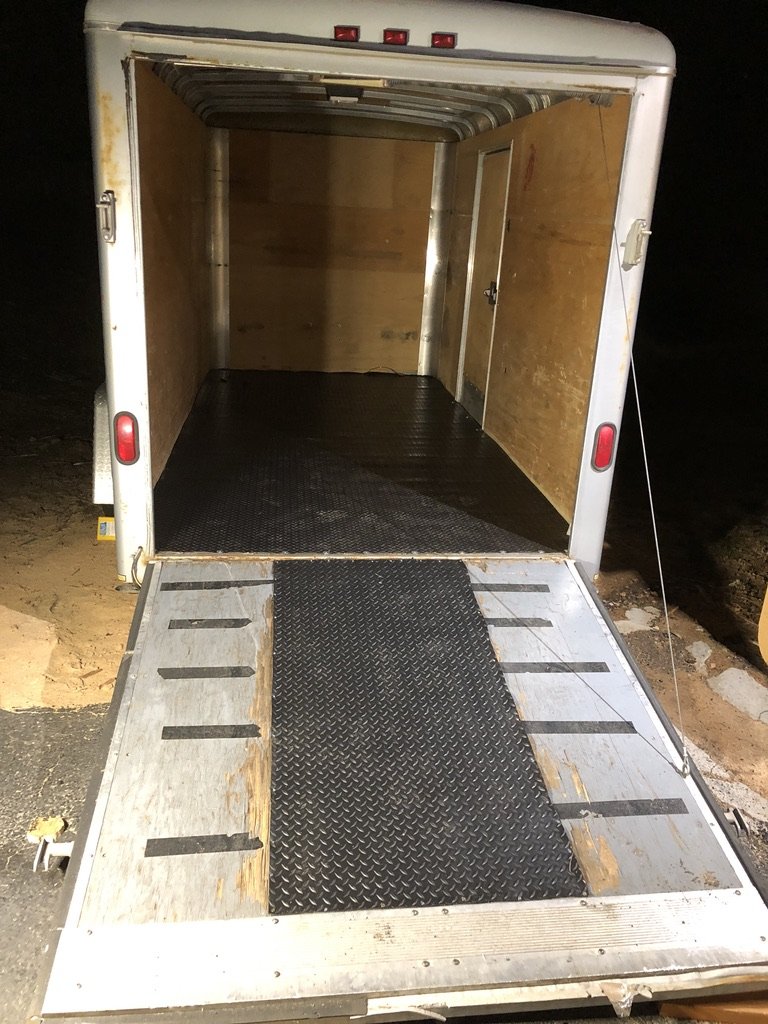
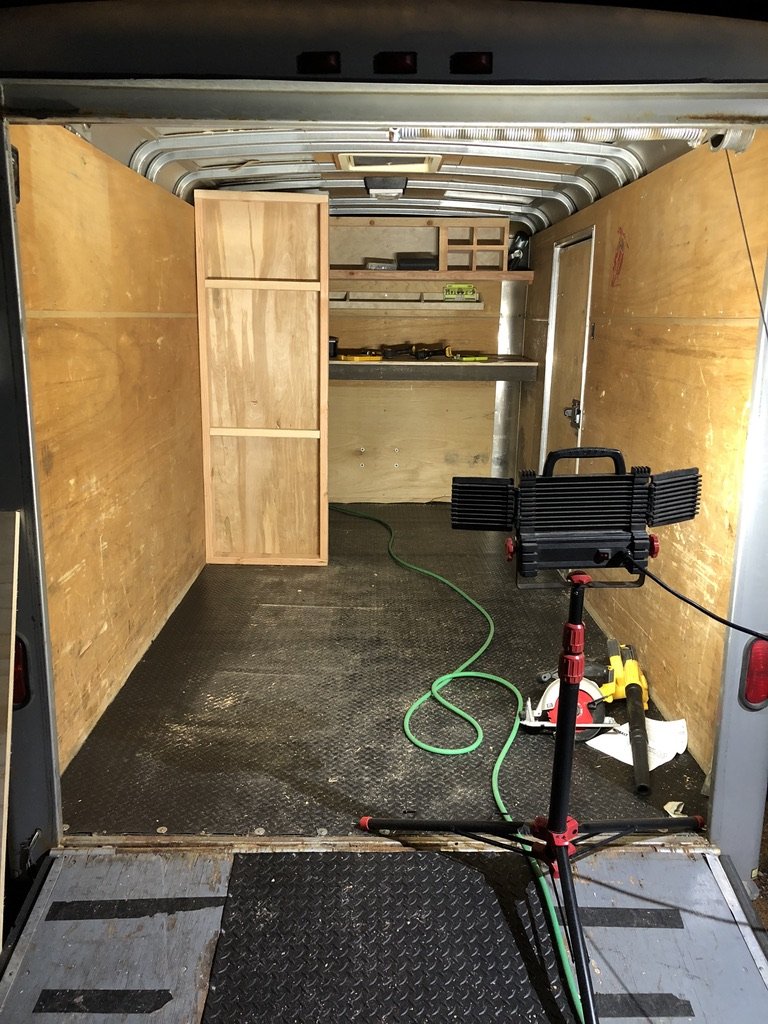
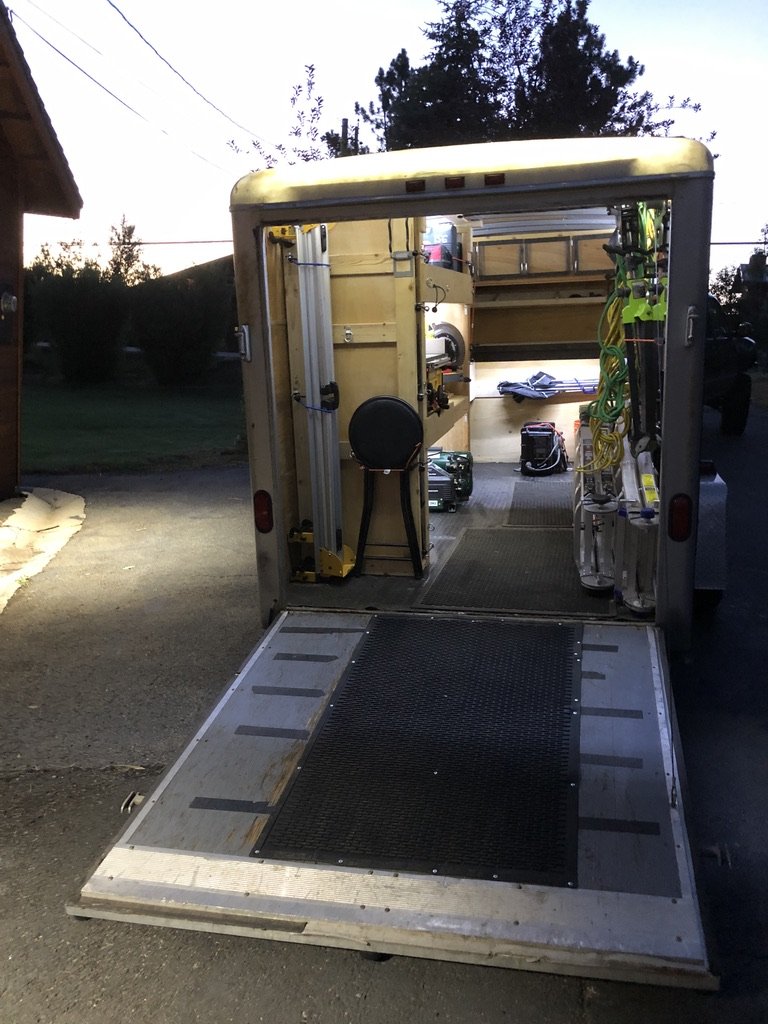
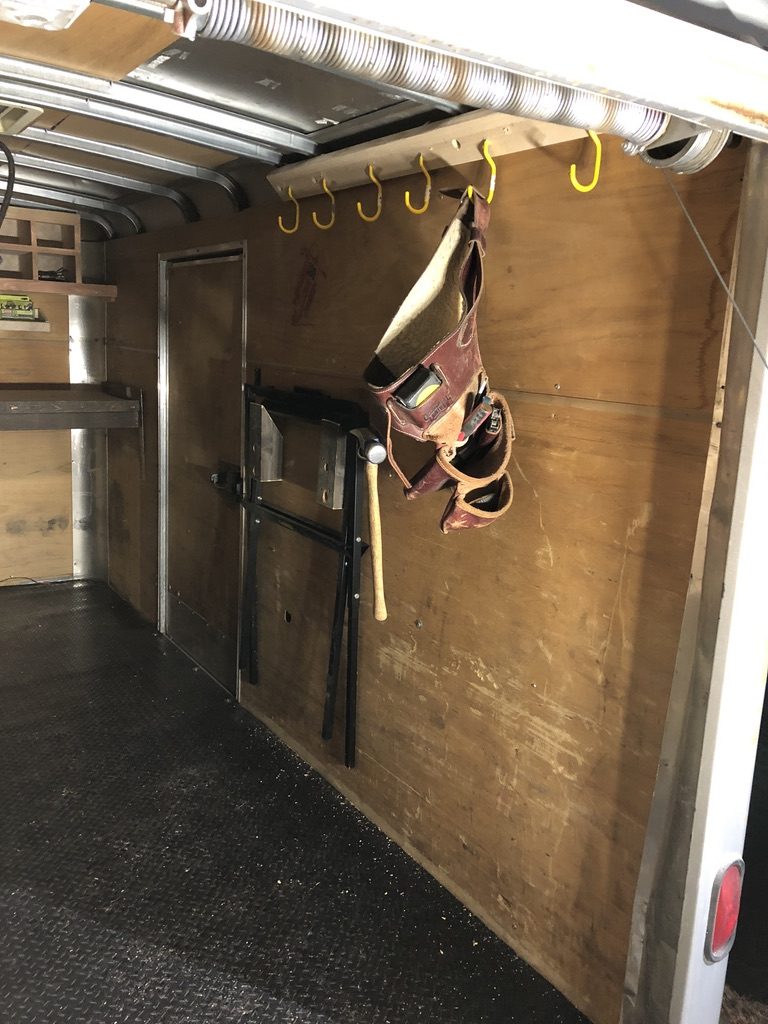
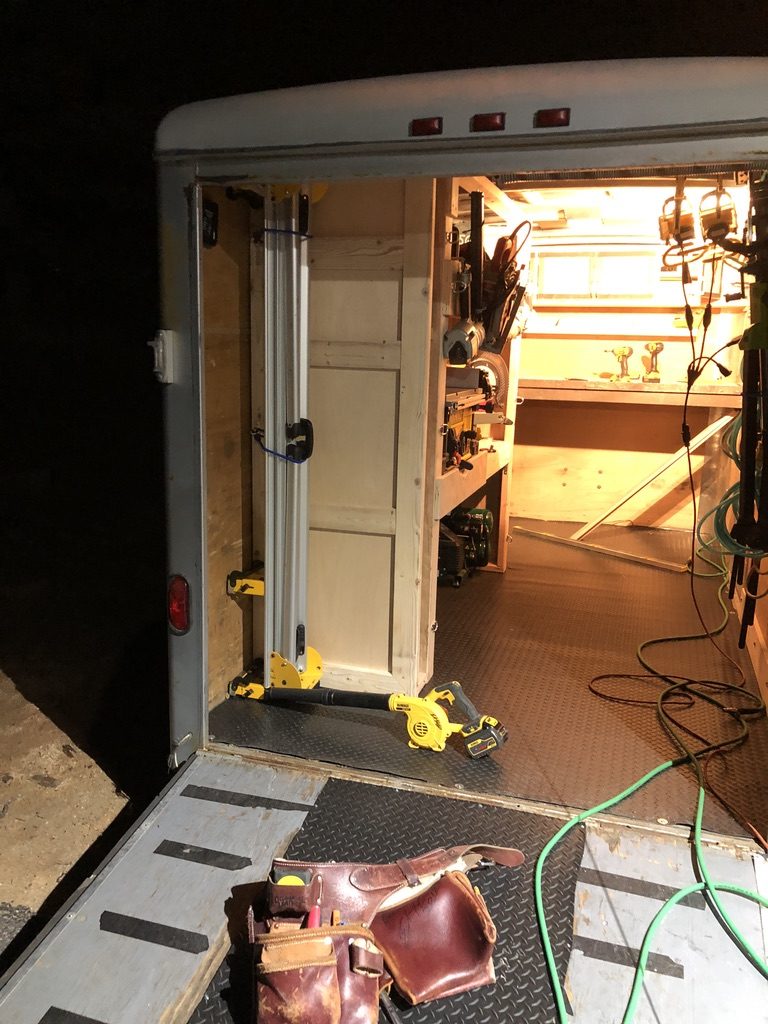
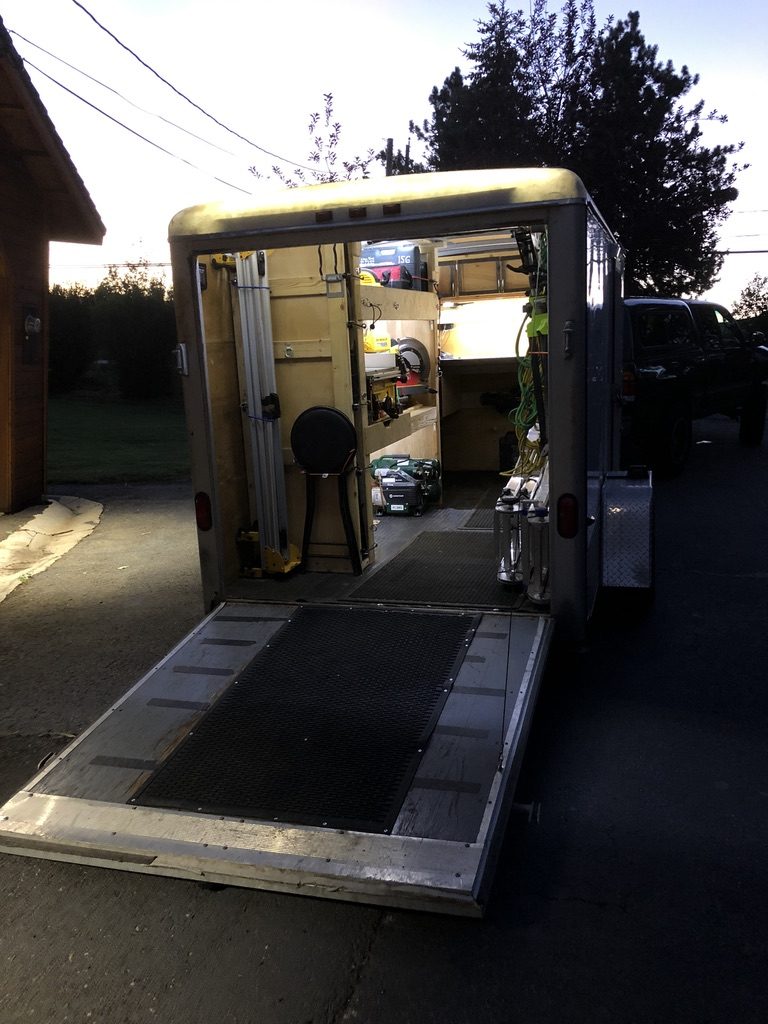
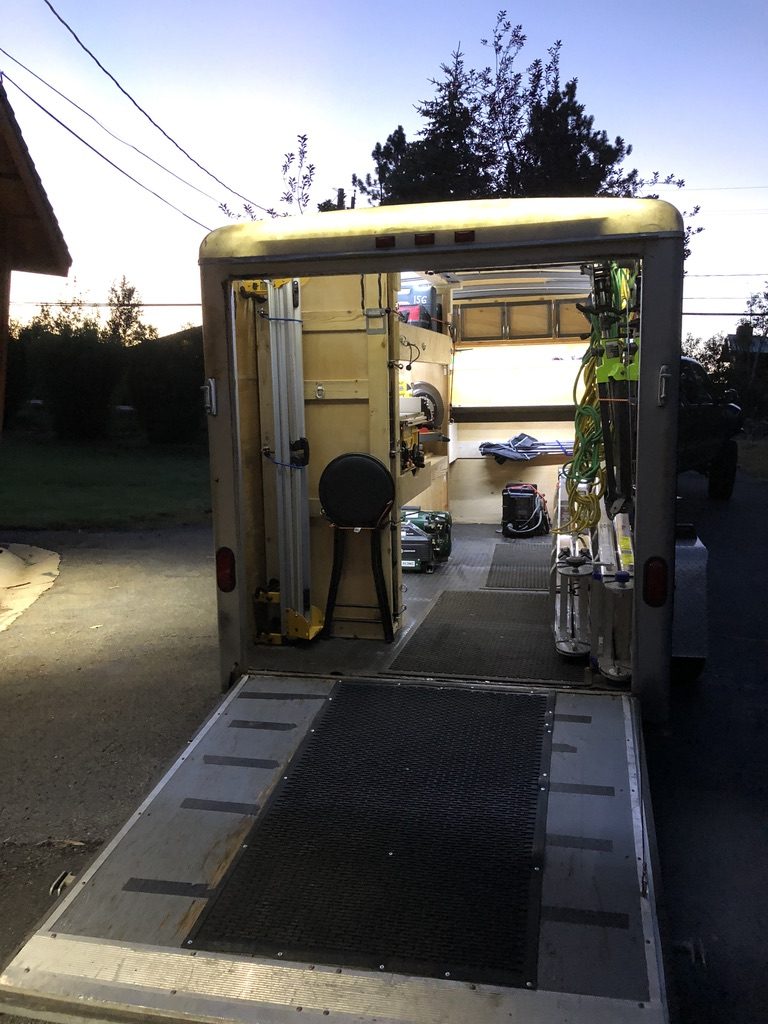
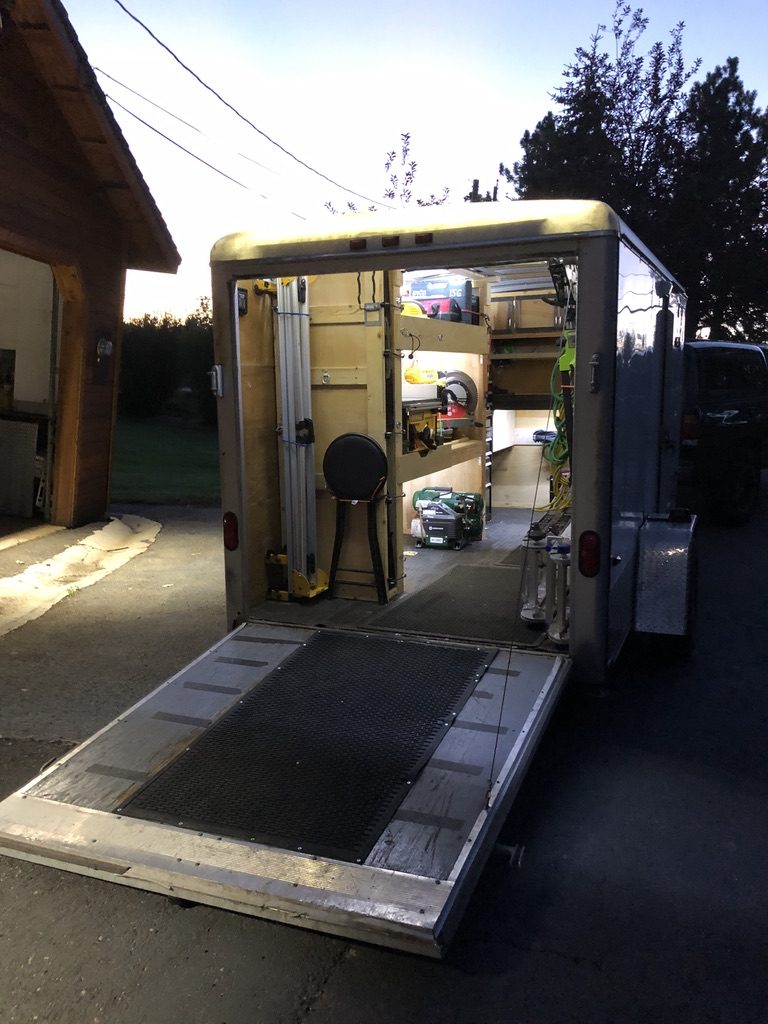
January 12, evening — the ramp drops and the build is real. Look at what you're starting with: thin plywood interior walls (they'll hold a screw but not a lag bolt, plan accordingly), diamond-plate rubber floor (keep it, don't swap it — it grips boots and shrugs off saw chips), three roof clearance lights wired into the factory 12V trailer-wiring harness (re-use the harness for accent lighting later), and a single dome bulb that's bright enough to see your hand in front of you and that's it.
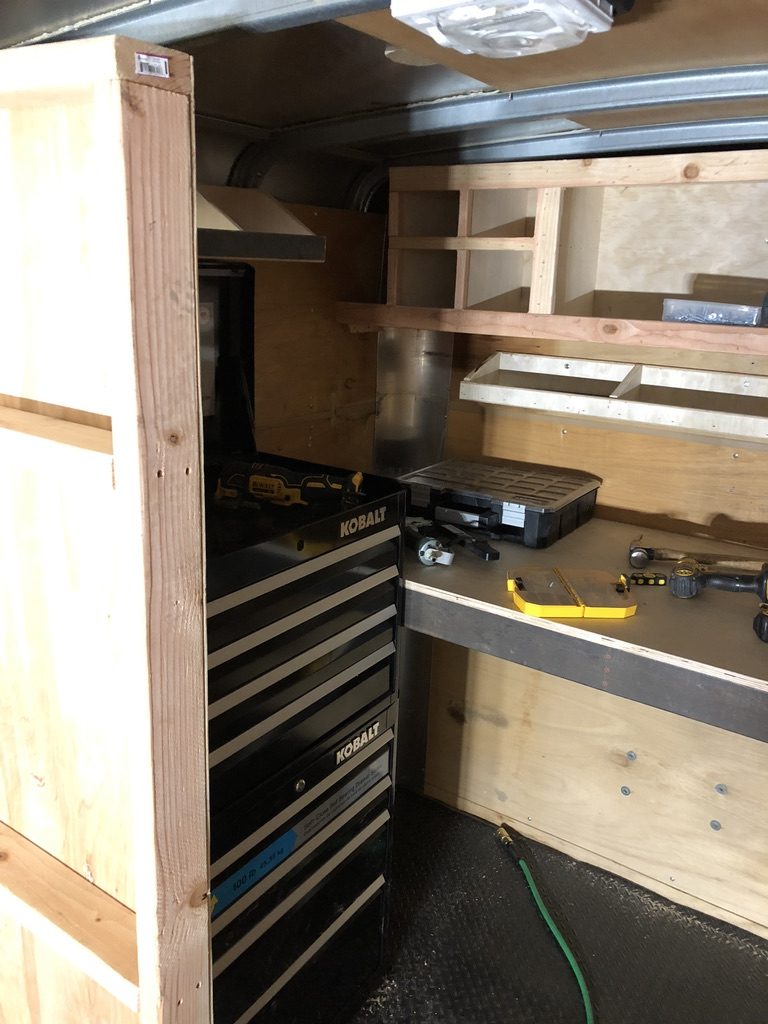
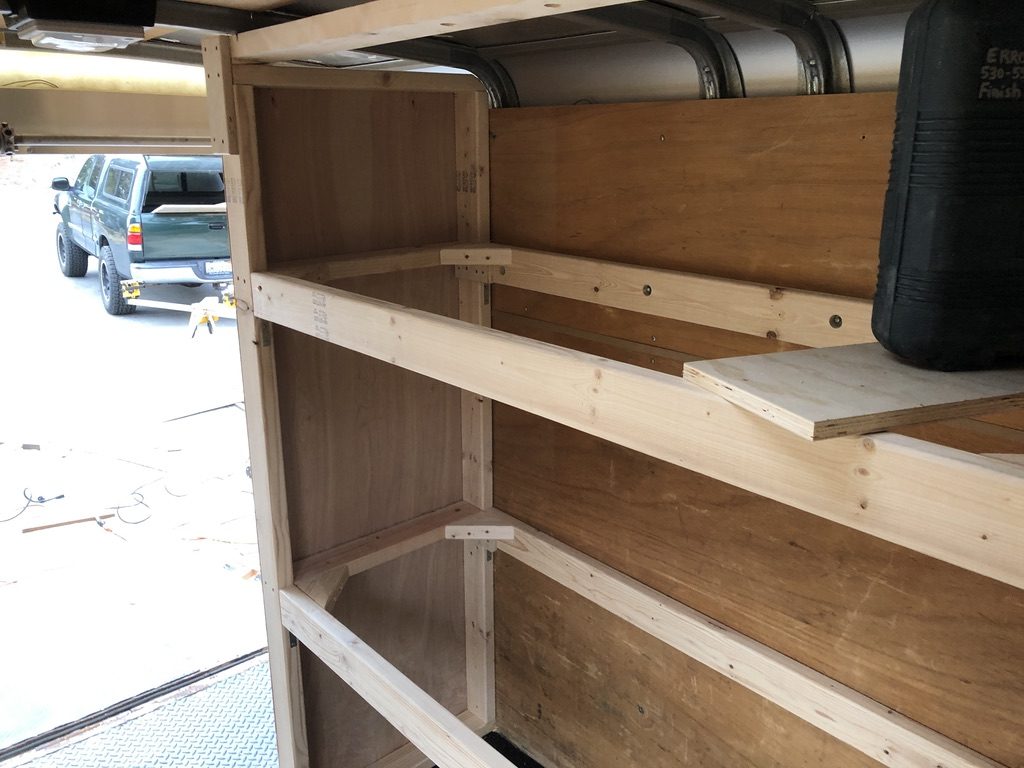
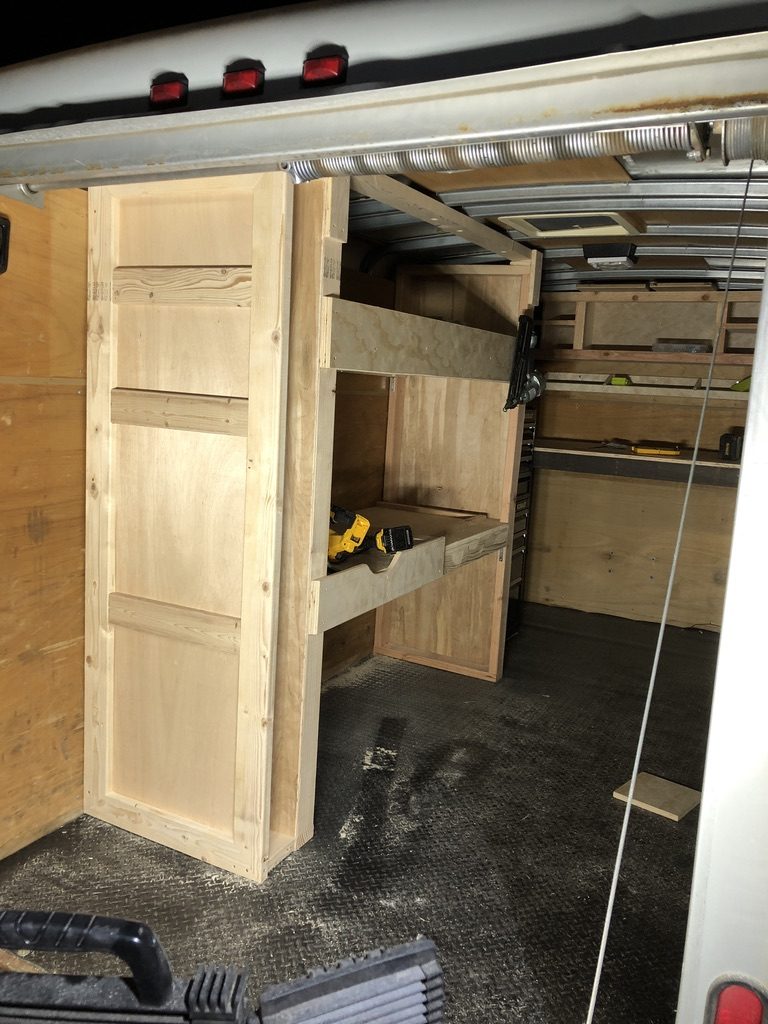
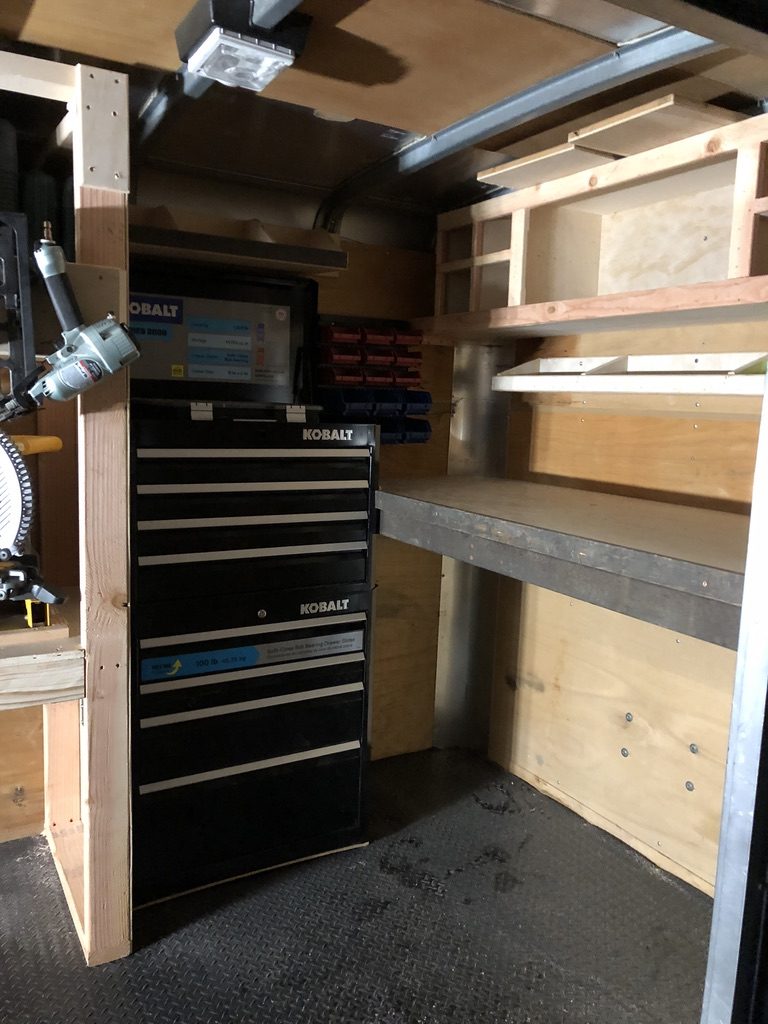
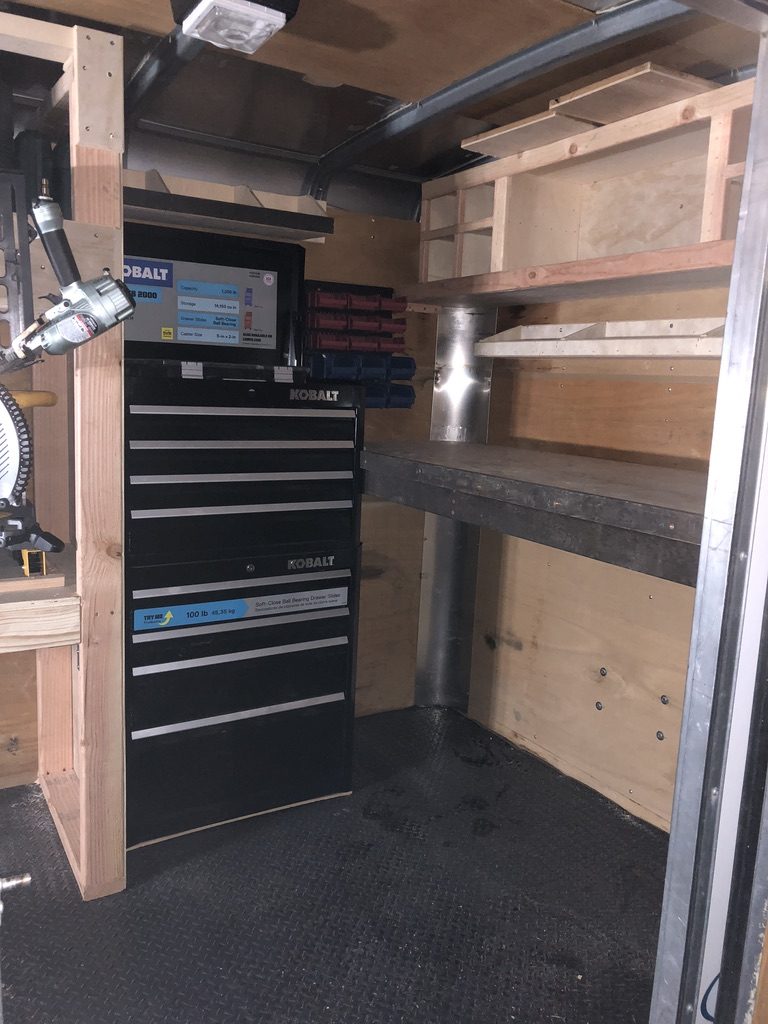
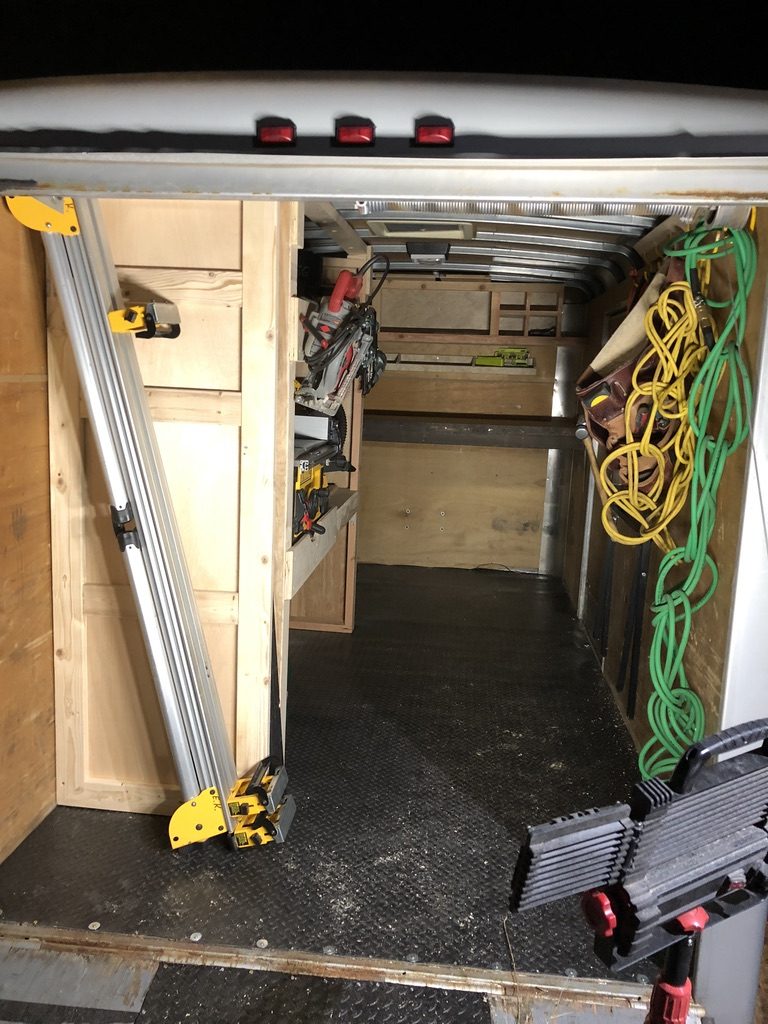
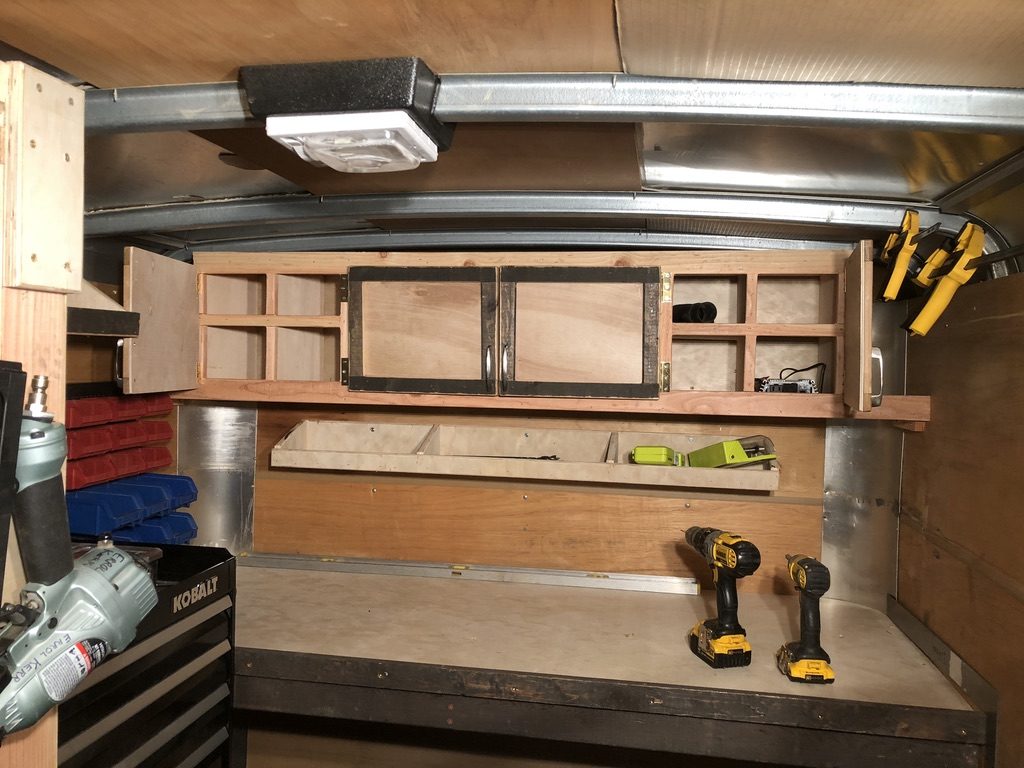
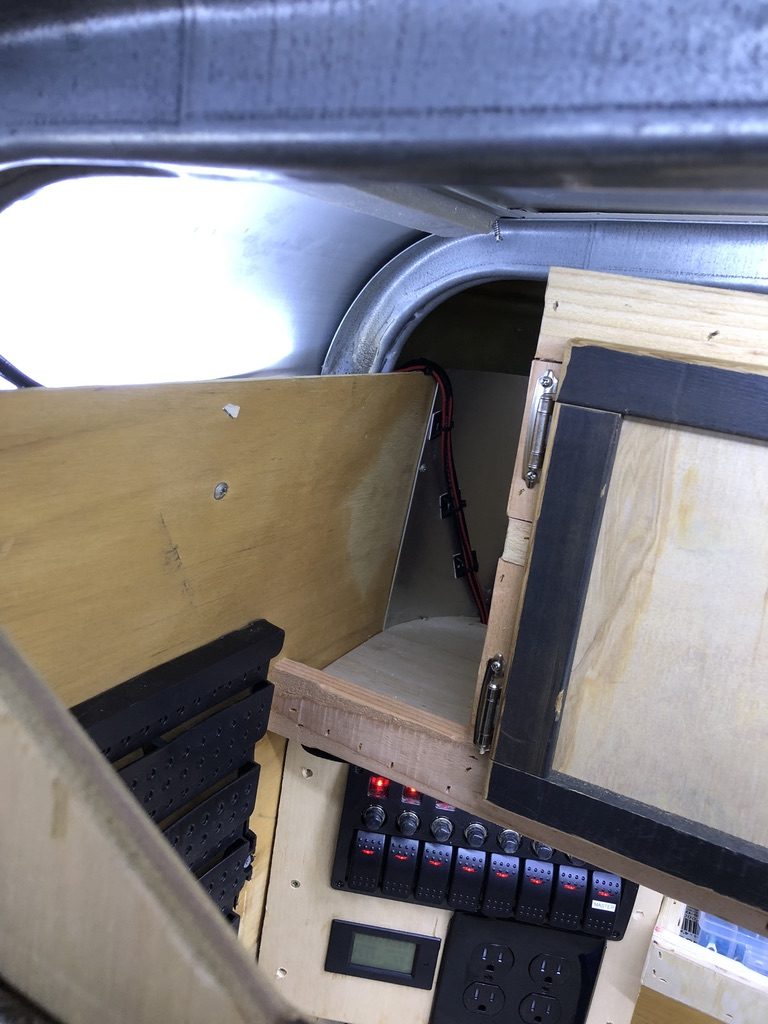
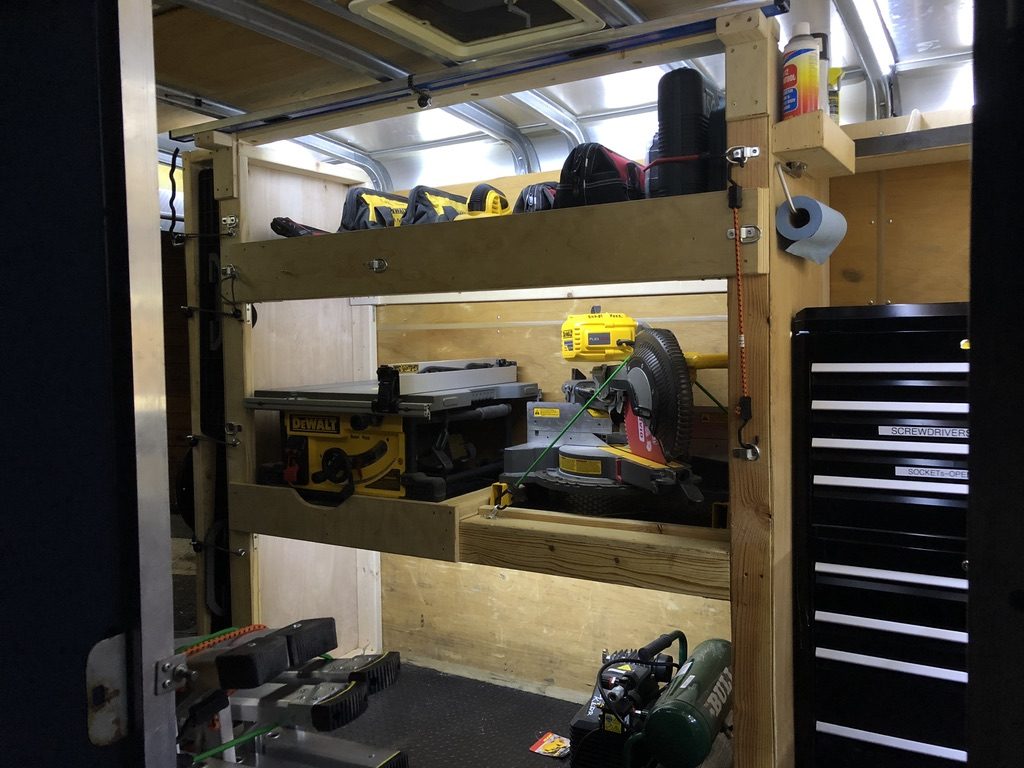
The plan locks in. Driver side gets the heavy work — Kobalt 5-drawer stainless tool chest as the anchor weight, with cabinetry framed around it at exact workbench height. Passenger side gets the saws + lumber storage. Front bulkhead becomes the electrical service bay. Rear stays open as the workspace — saws aim out the open ramp door for cutting long stock.
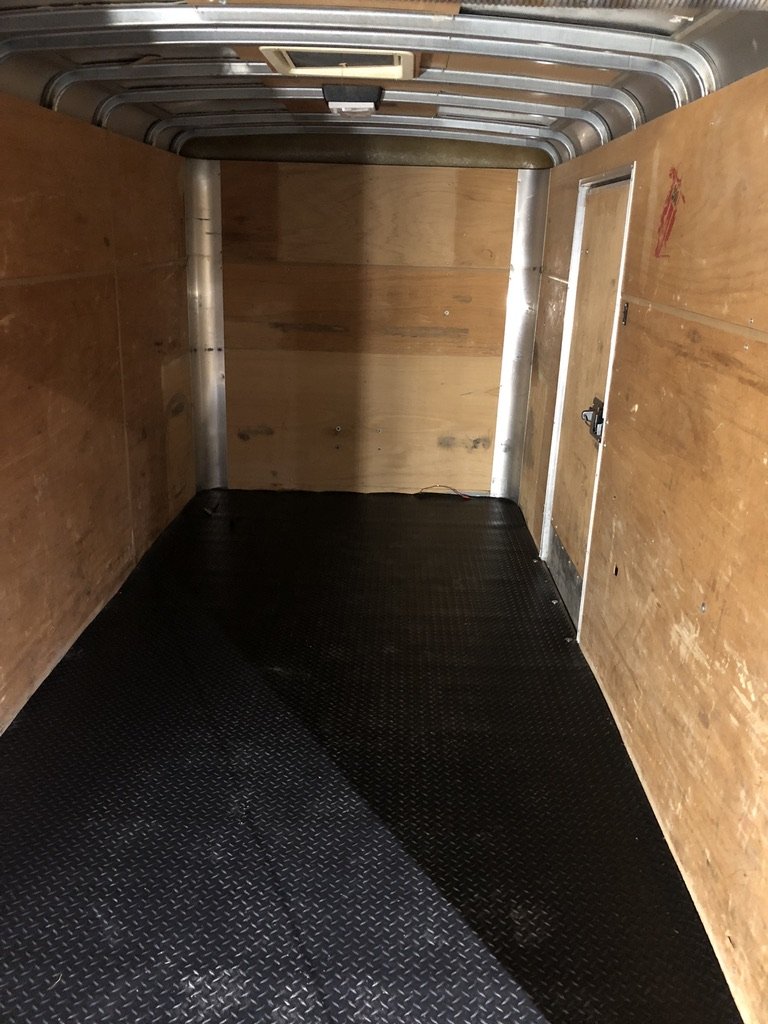
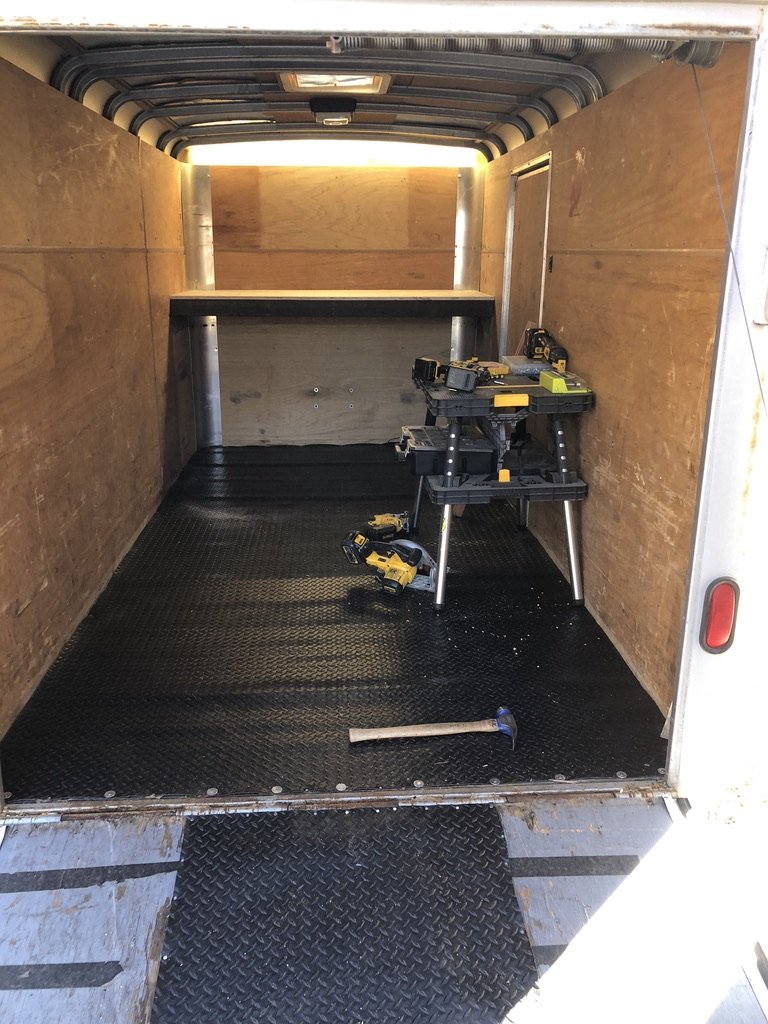
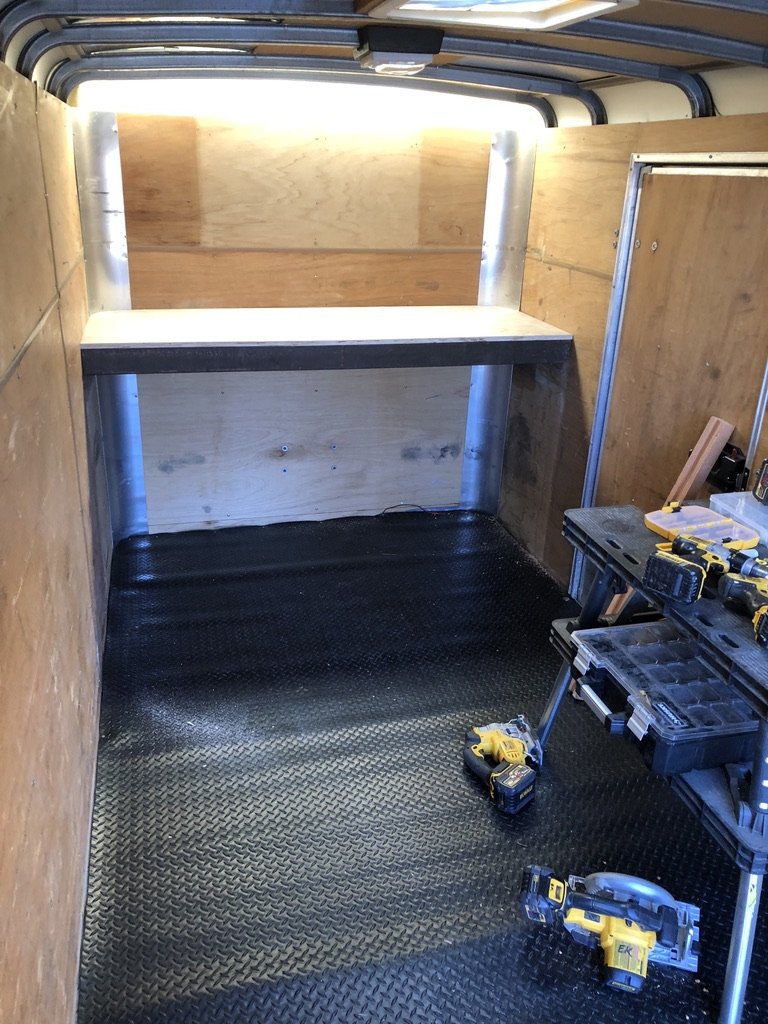
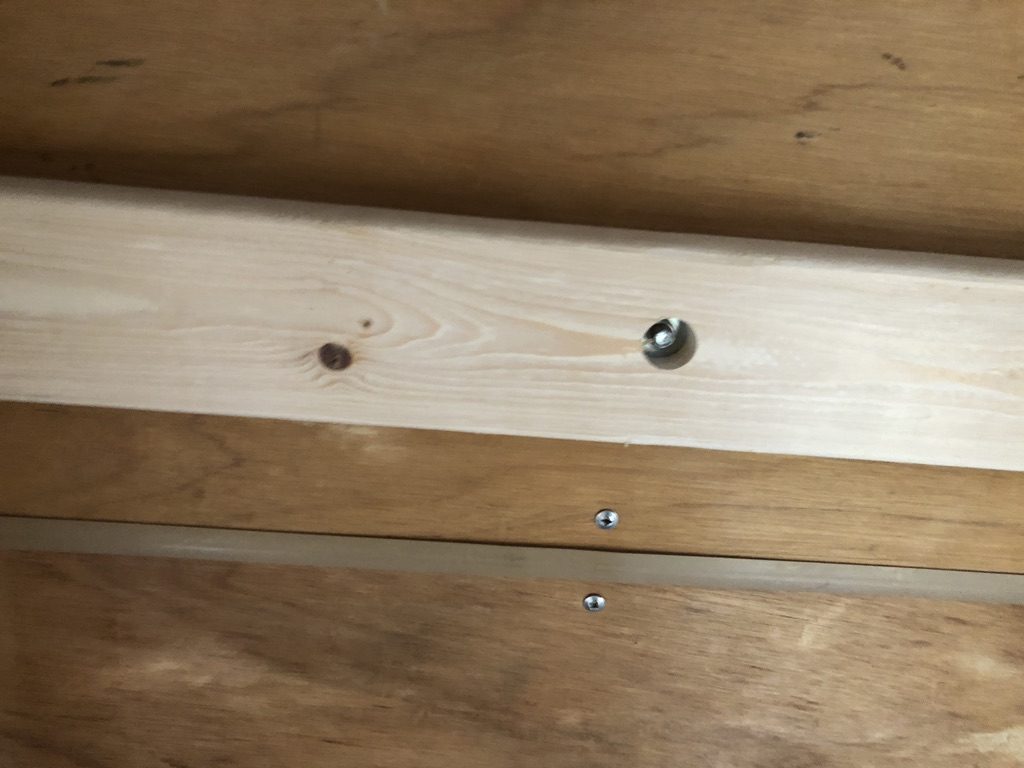
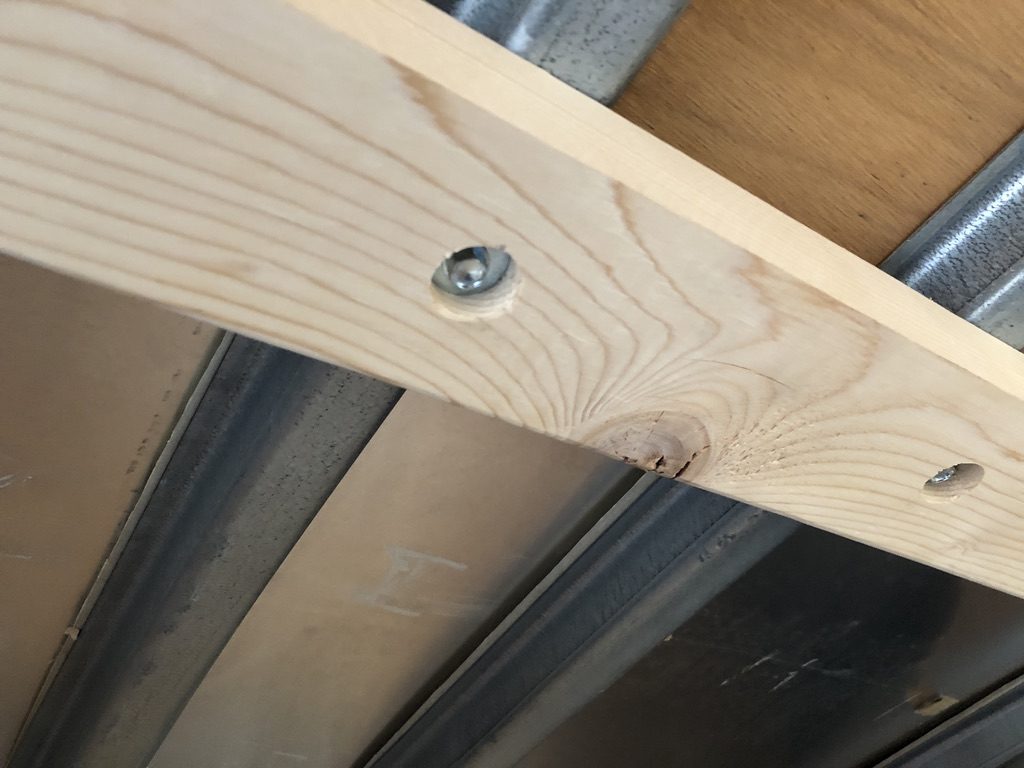
The thin plywood interior walls on most enclosed cargo trailers (Stinky Cub, Wells Cargo, Cargo Mate, Carry-On) are stapled to thin metal C-channels. The plywood will not hold a lag bolt under load. Always cleat into the metal C-channels behind the plywood. Find them with a stud finder — they're typically every 16 inches.
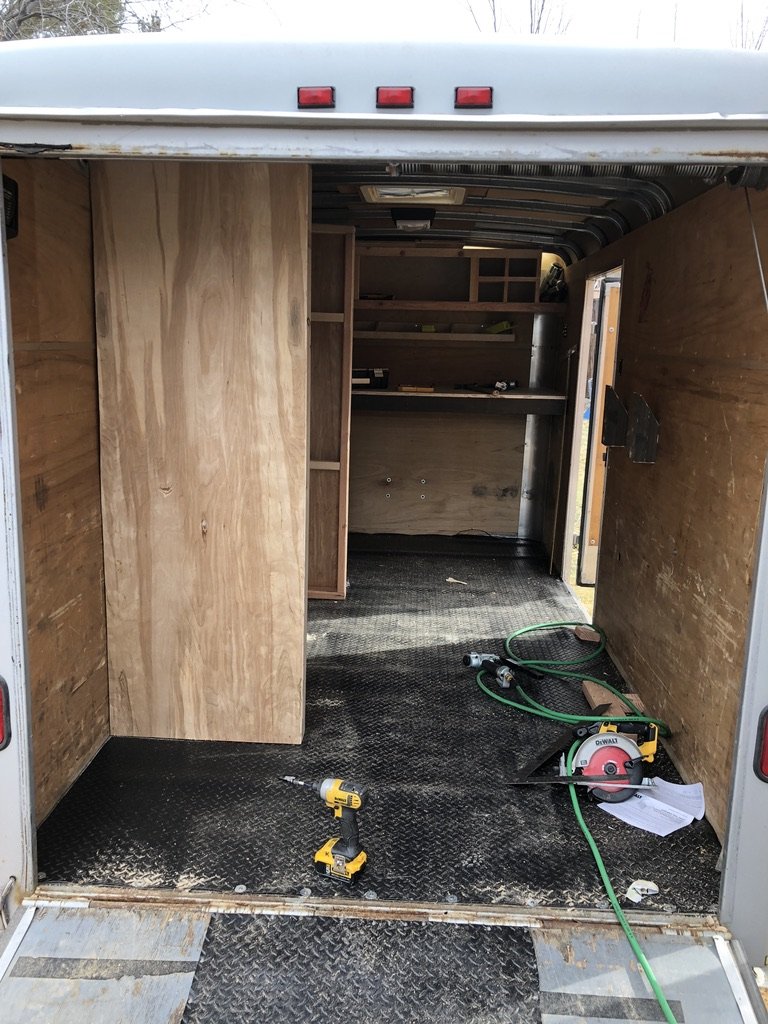
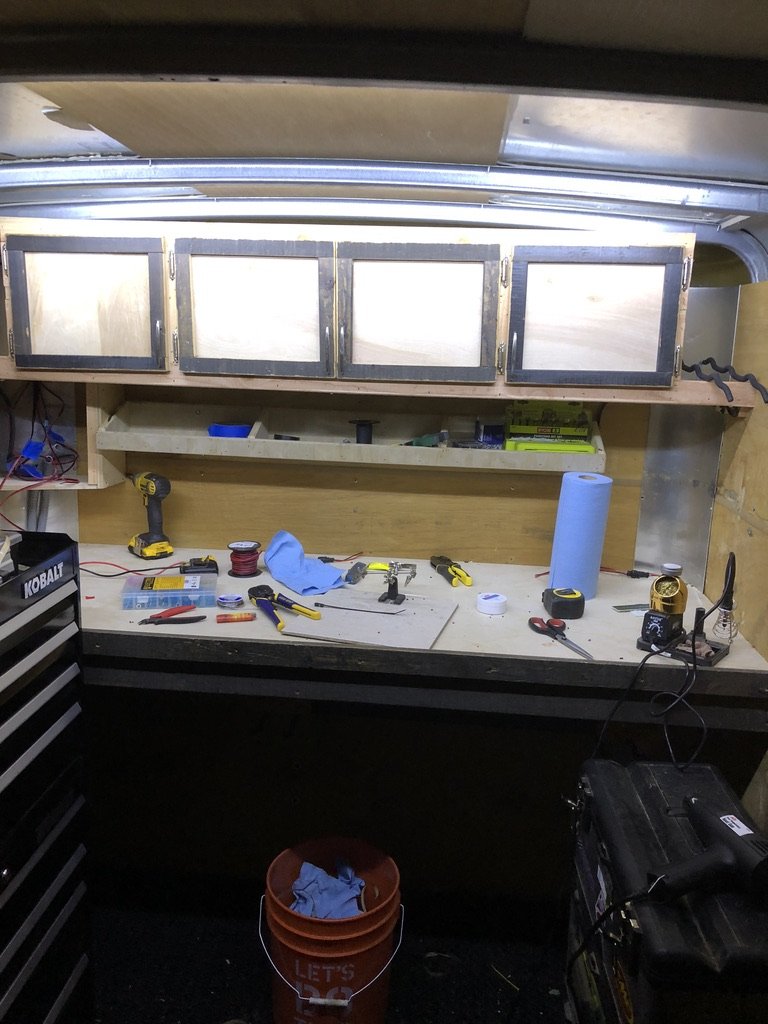
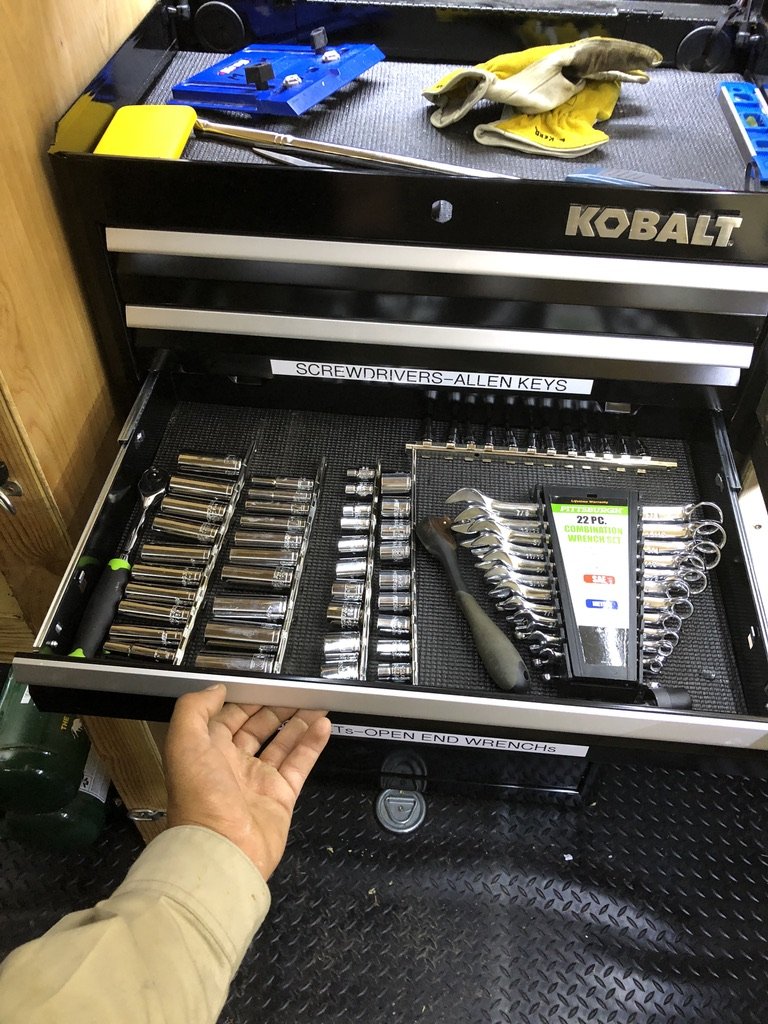
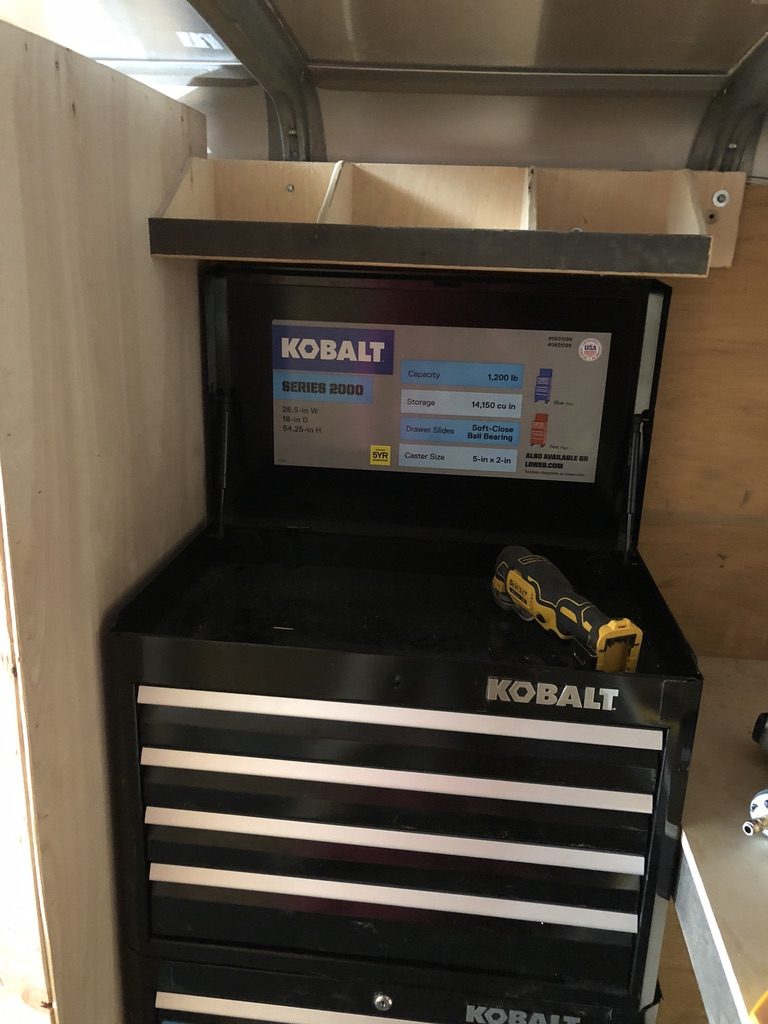
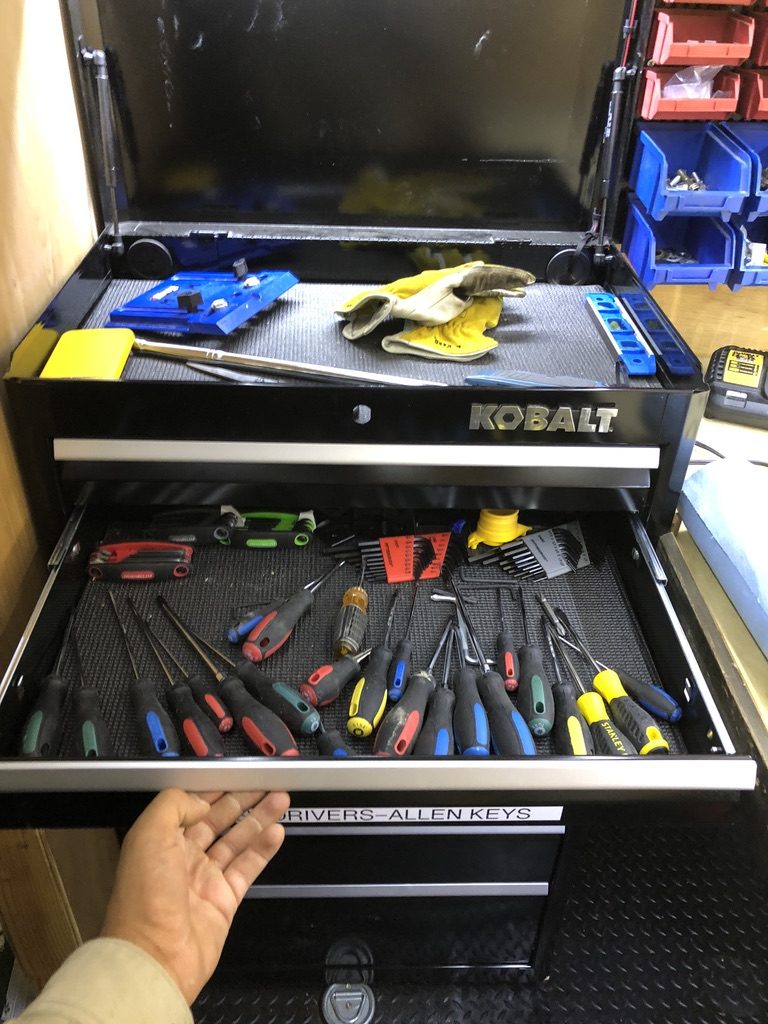
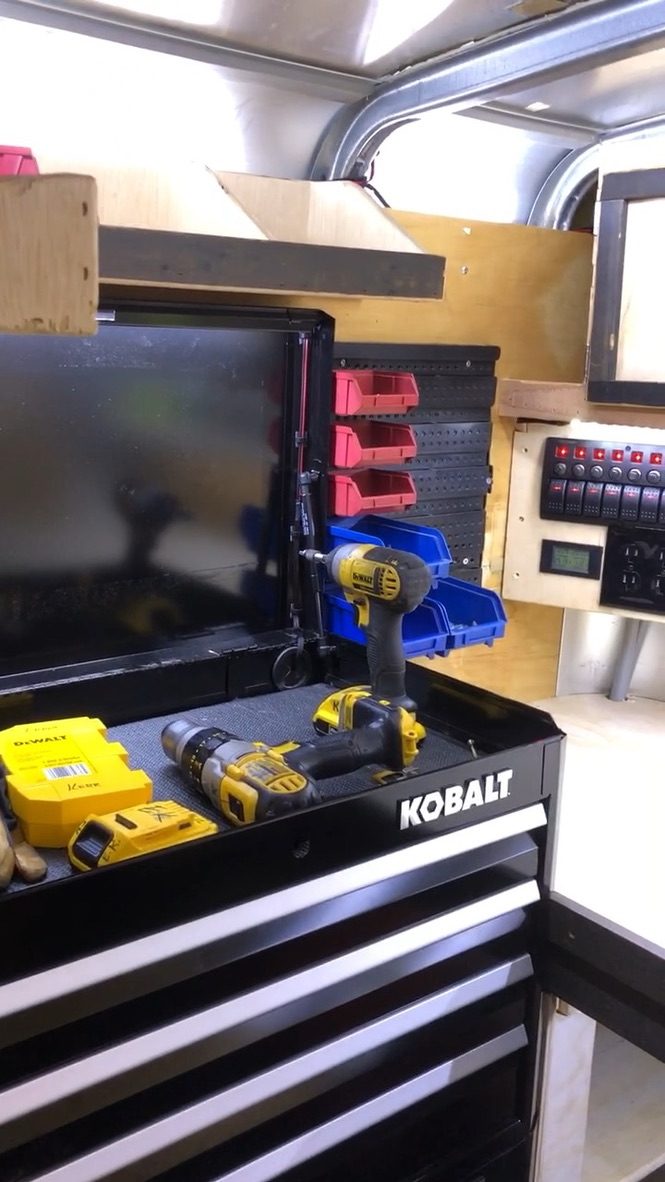
The Kobalt 5-drawer stainless tool chest gets dropped in first. It's heavy, it's the anchor weight that sets the deck height for the whole rest of the build, and once cabinetry is framed around it you can never replace it without tearing the cabinetry back down. Mount the heaviest, least-changeable thing first.
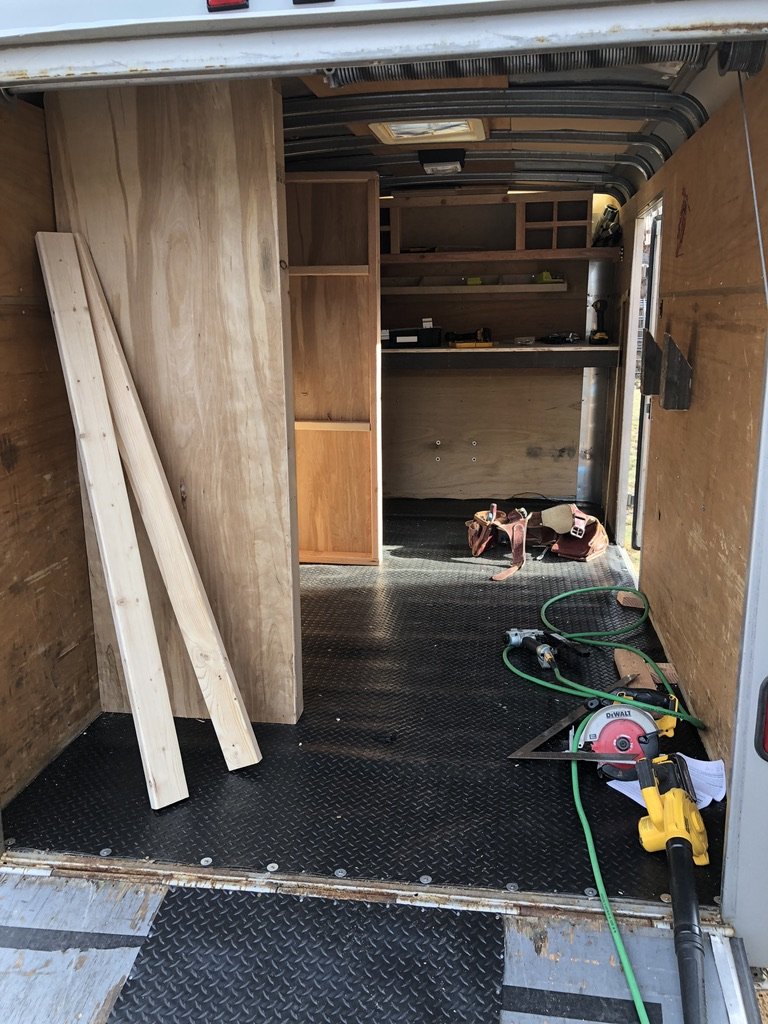
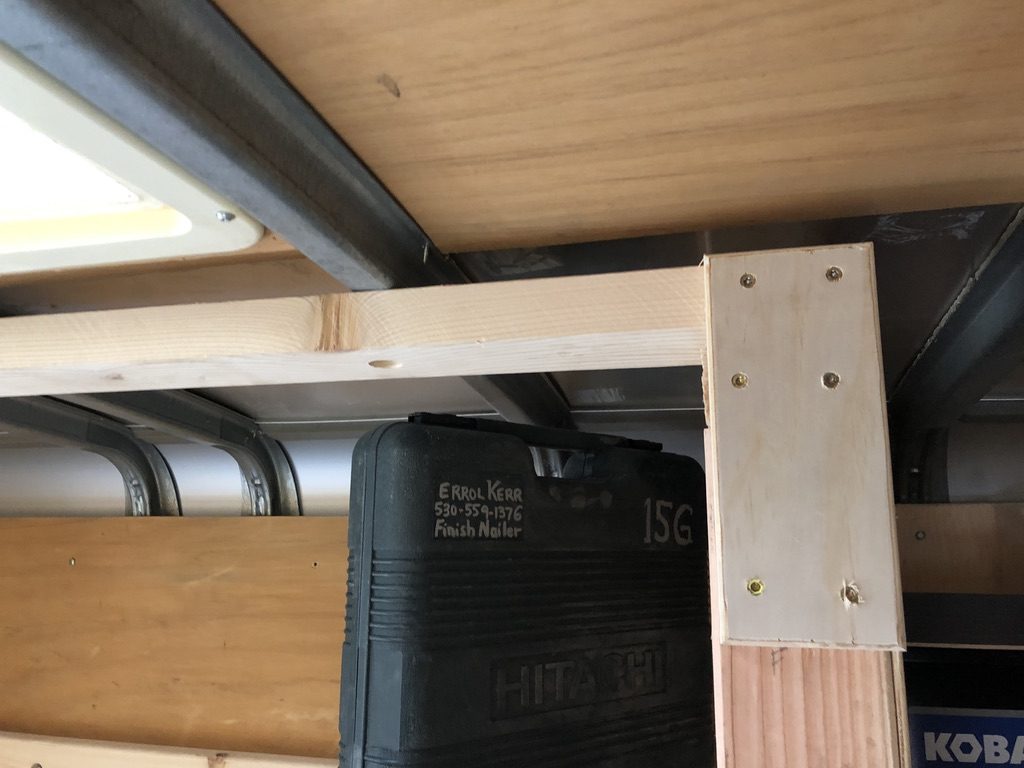
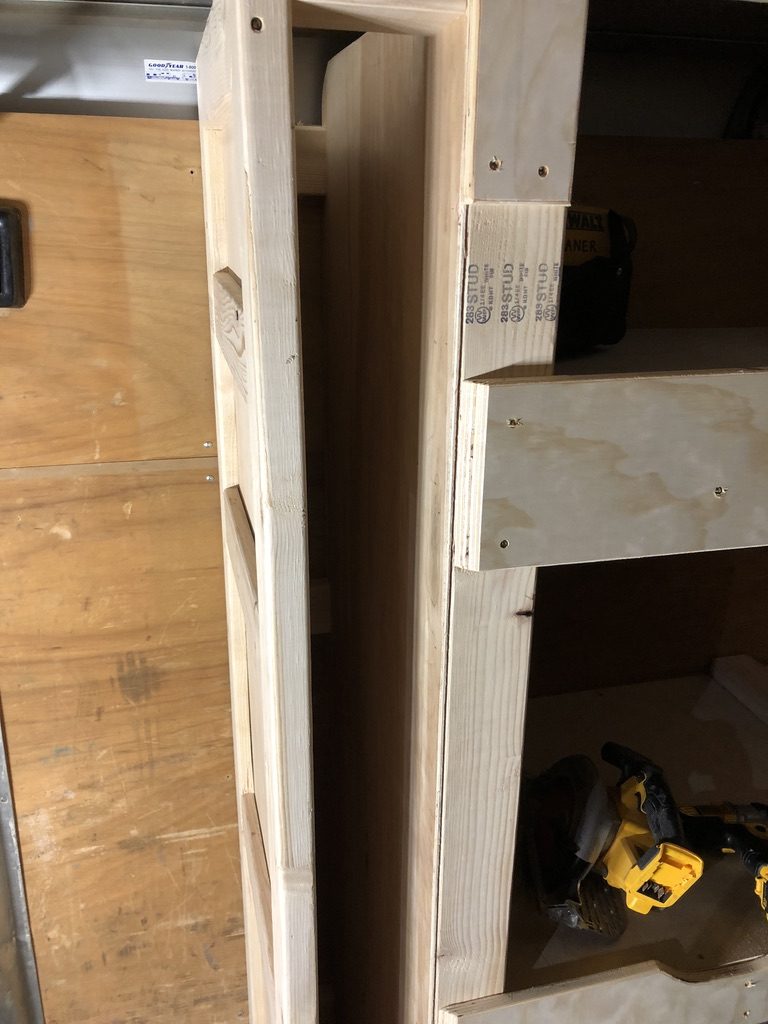
Once the chest is in, vertical 2×3s lag into the trailer's factory metal C-channels at floor + ceiling. Horizontal 2×3 ledgers span at workbench height (~36"), at upper-shelf height (~60"), and at top header (~78"). The verticals locate the cabinet faces — the horizontals locate the workbench top + shelves. Square everything to the chest height. The chest height is the reference for everything.
Wall paneling — 3/4" plywood, screwed to the 2×3 frame on the inside face — goes on after framing. The 3/4" is overkill for the wall but it lets you mount pegboard, brackets, anything, anywhere, into solid material.
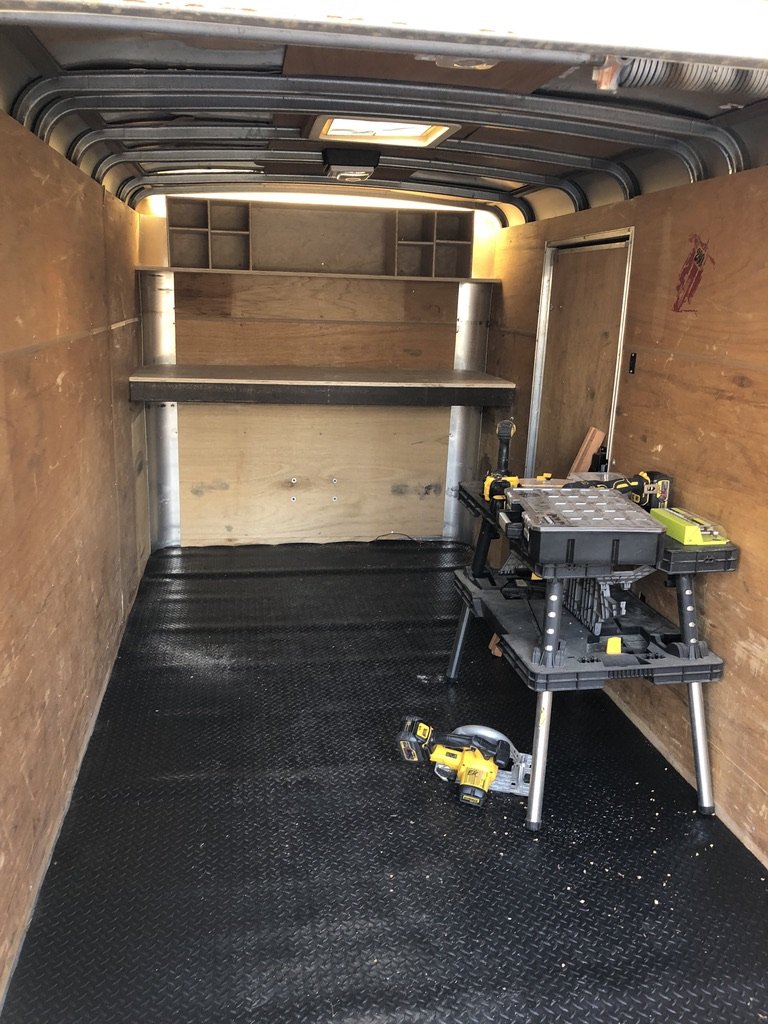
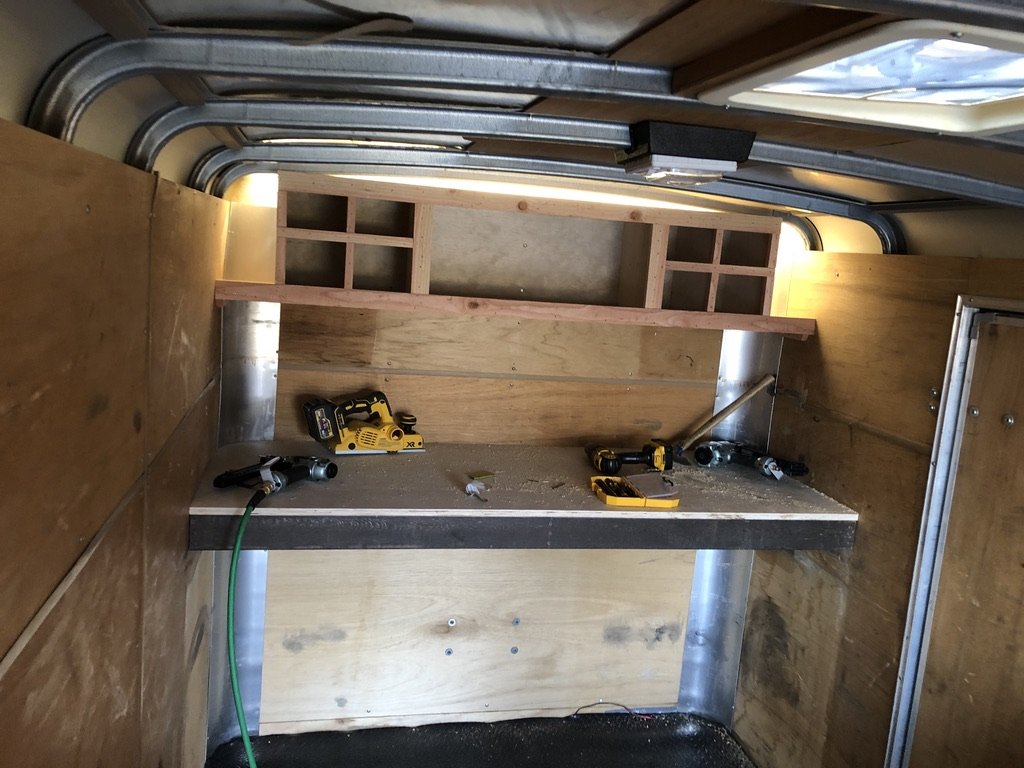
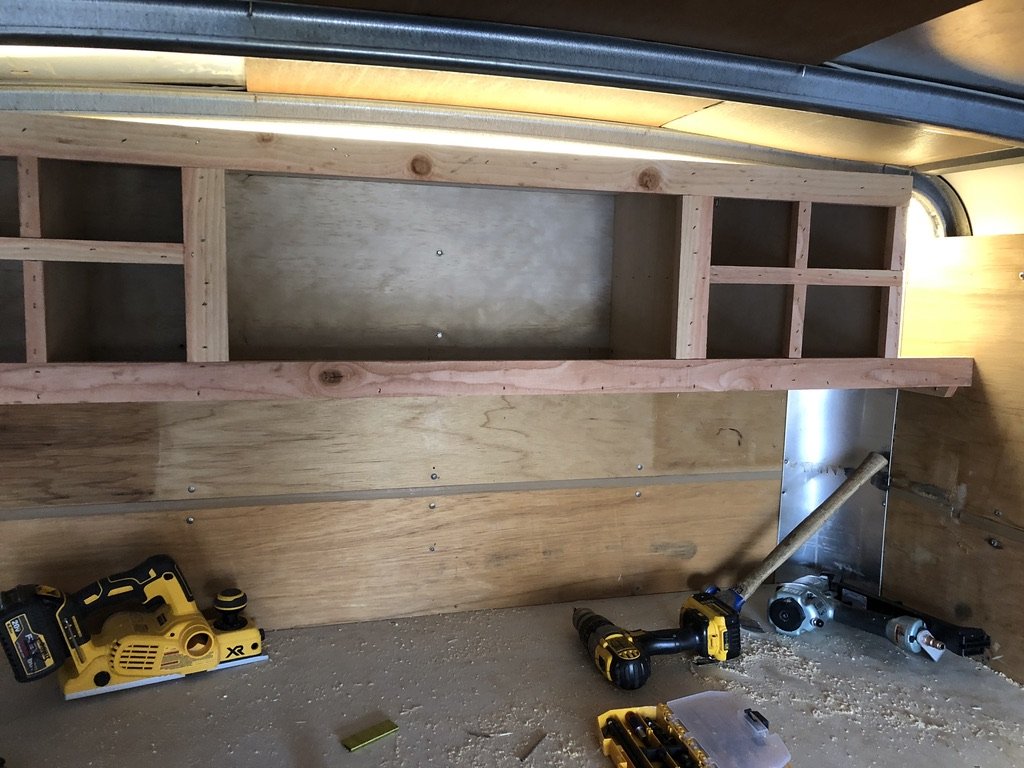
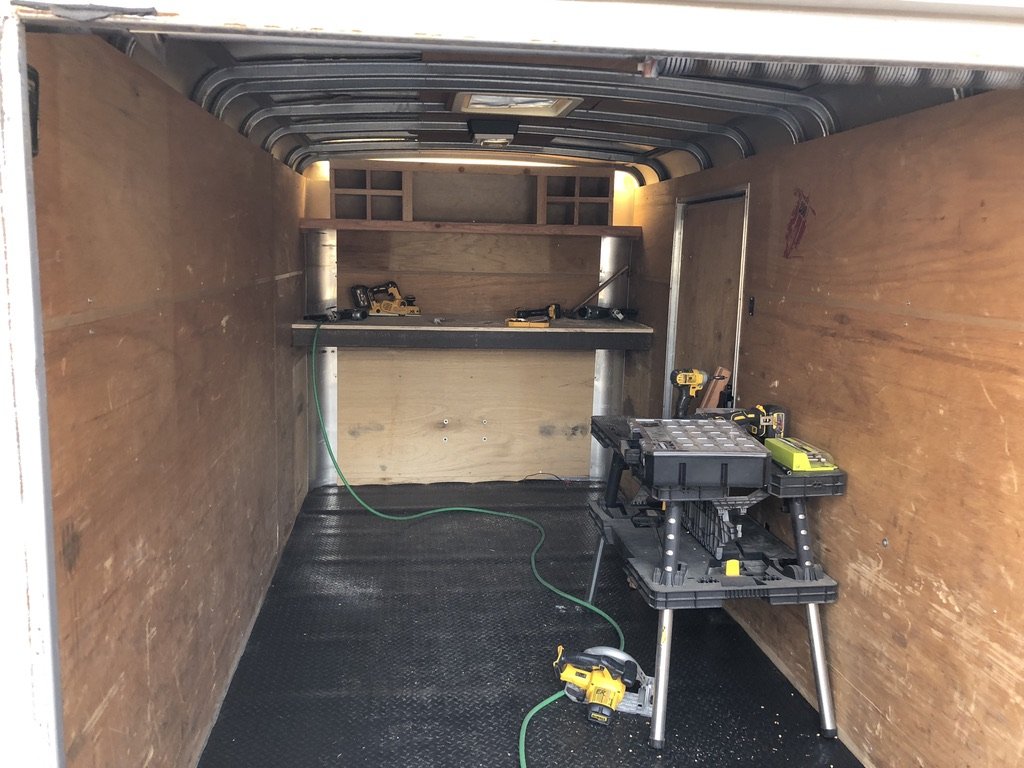
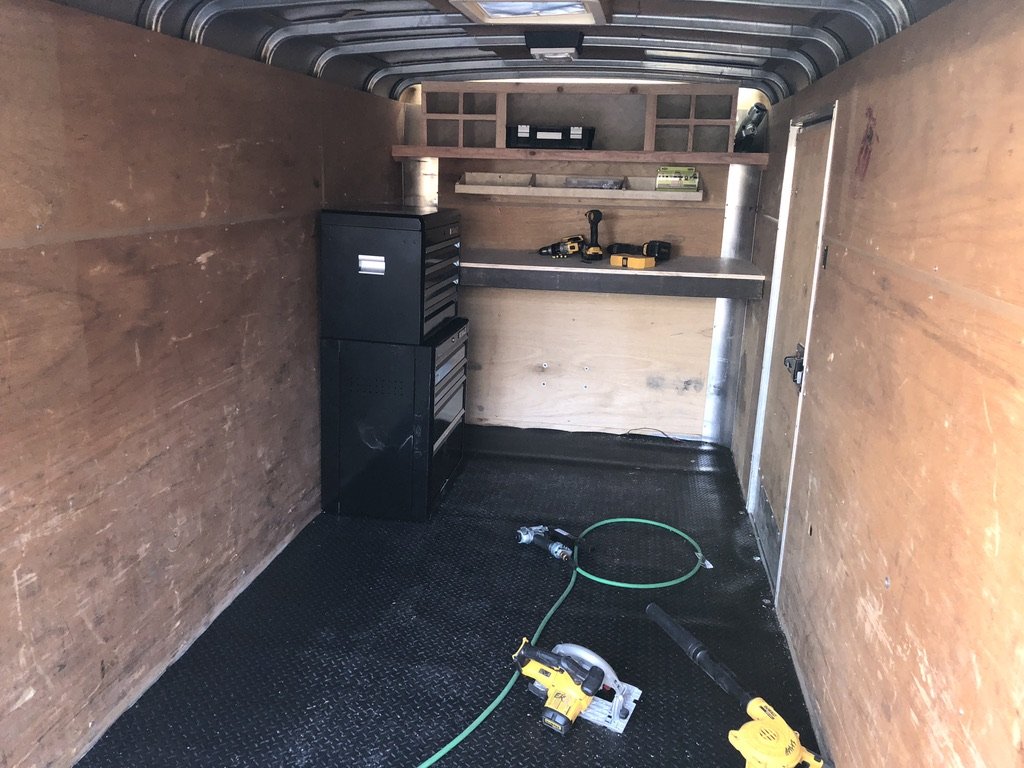
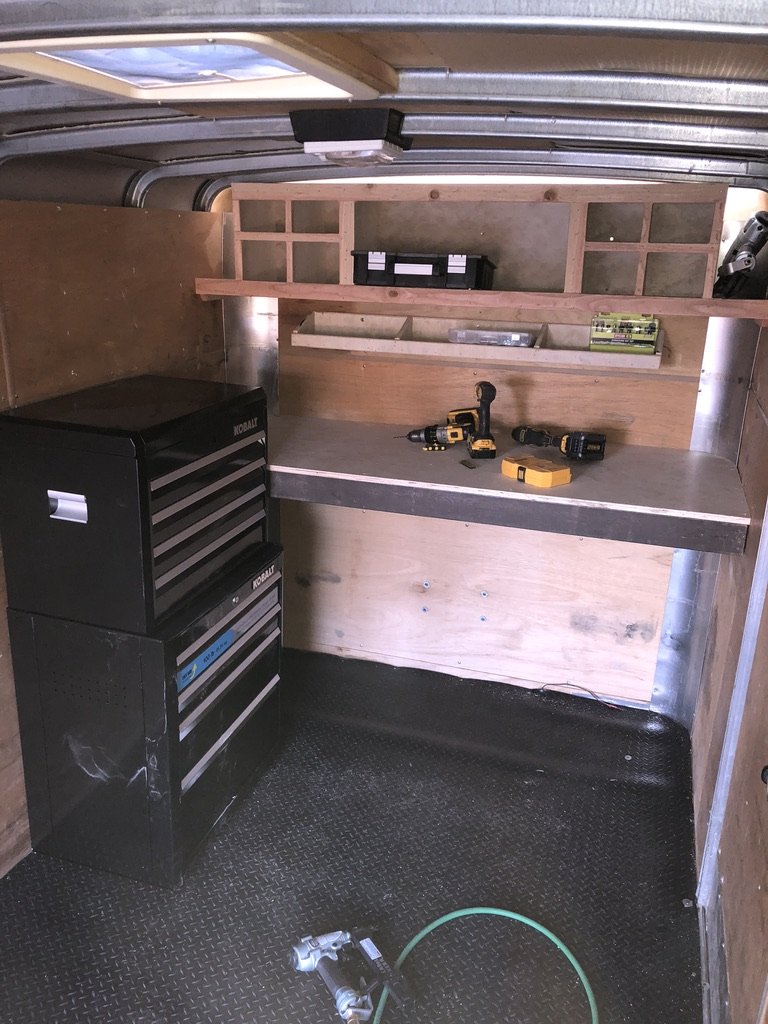
A Kobalt 5-drawer stainless chest weighs ~115 lb empty and ~280 lb loaded with sockets, drivers, and hand tools. Once you frame cabinetry around it, you can't lift it out without dismantling the cabinet. That's the point — it becomes a structural element of the build, not a piece of furniture sitting on the floor.
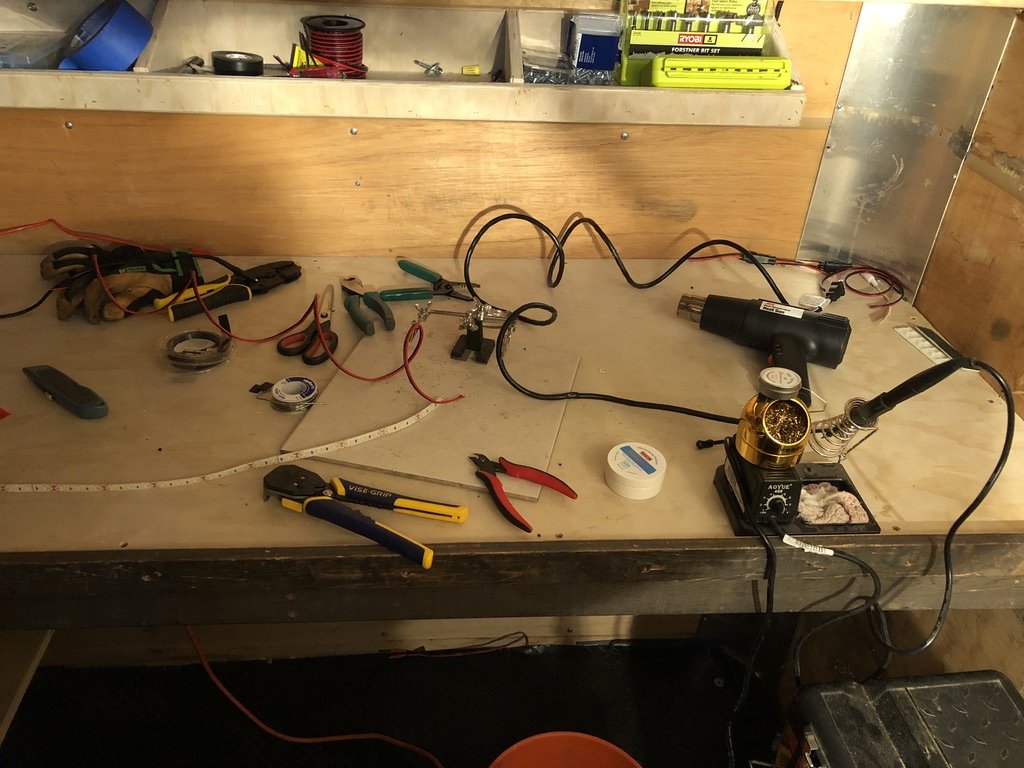
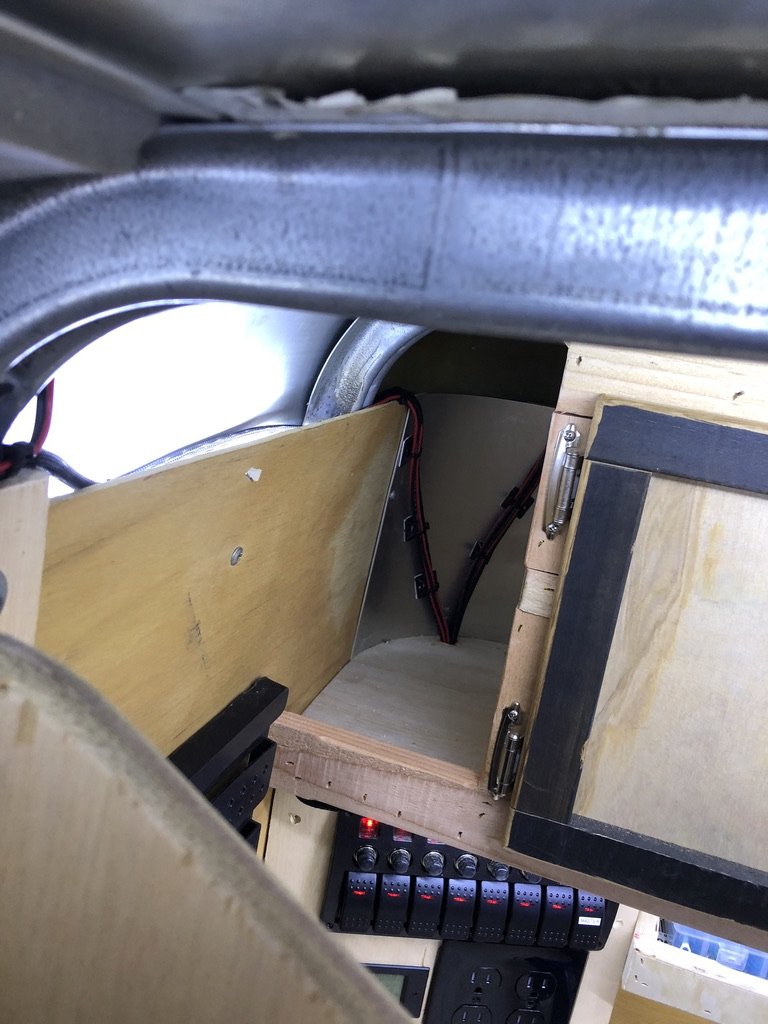
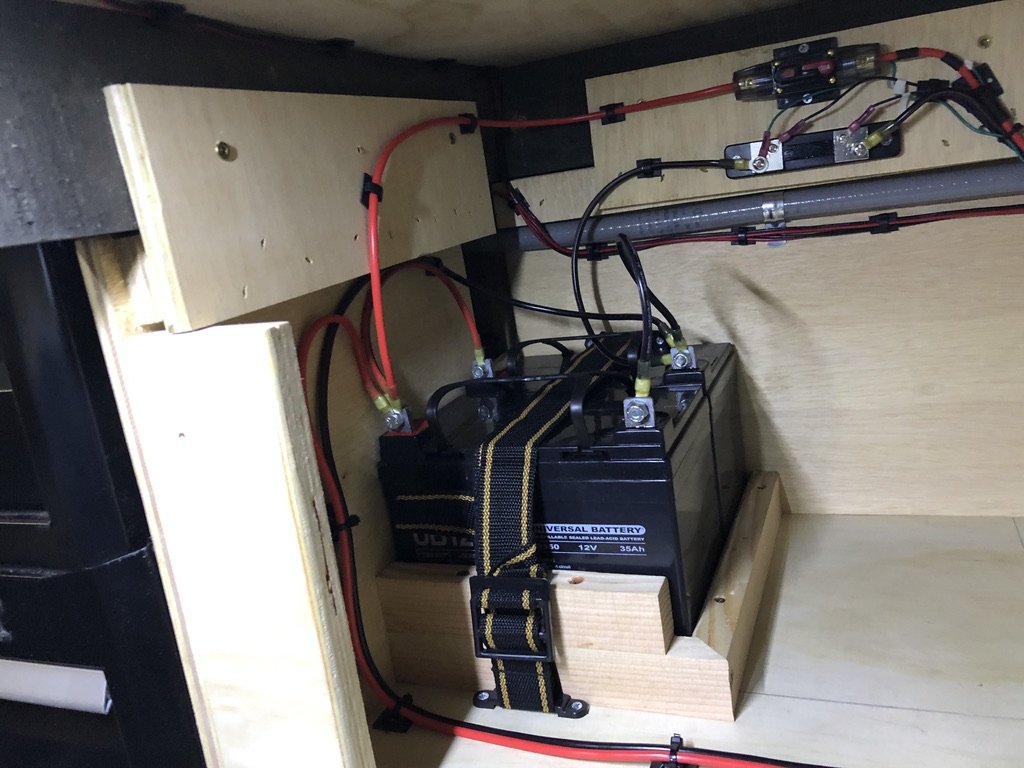
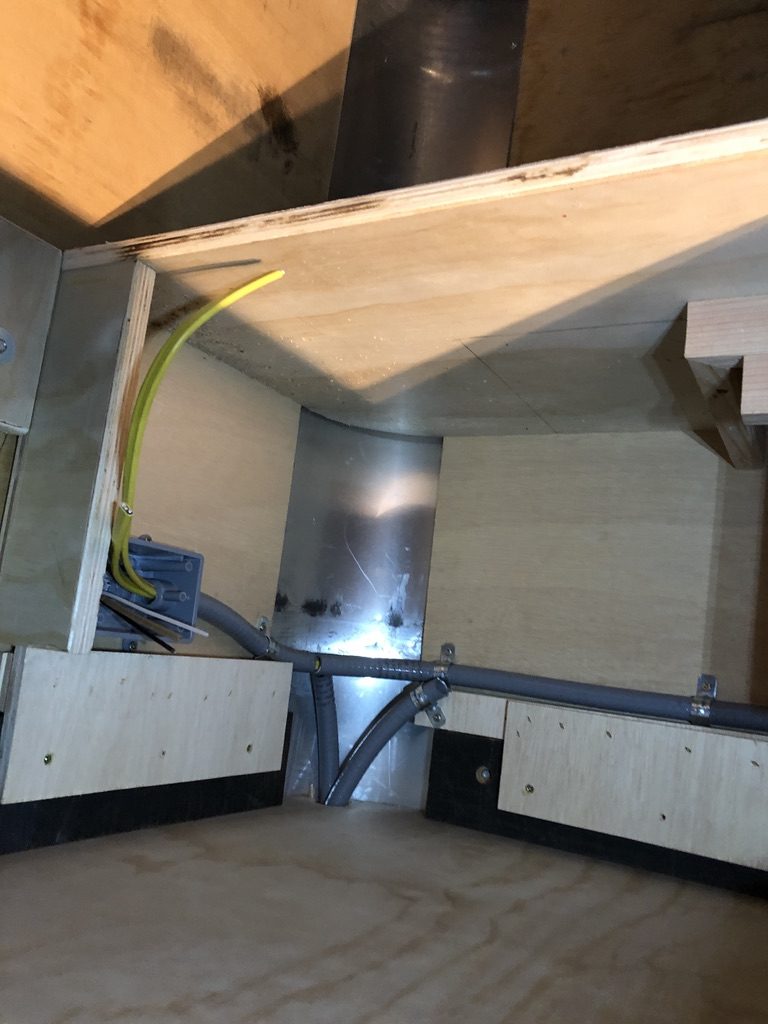
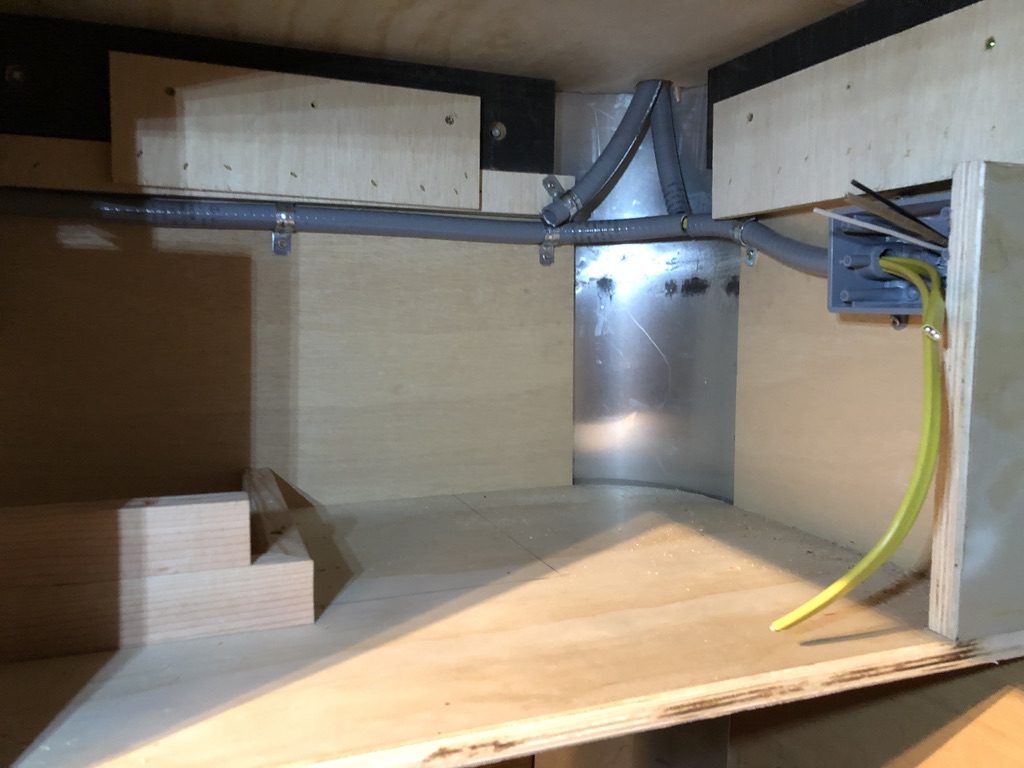
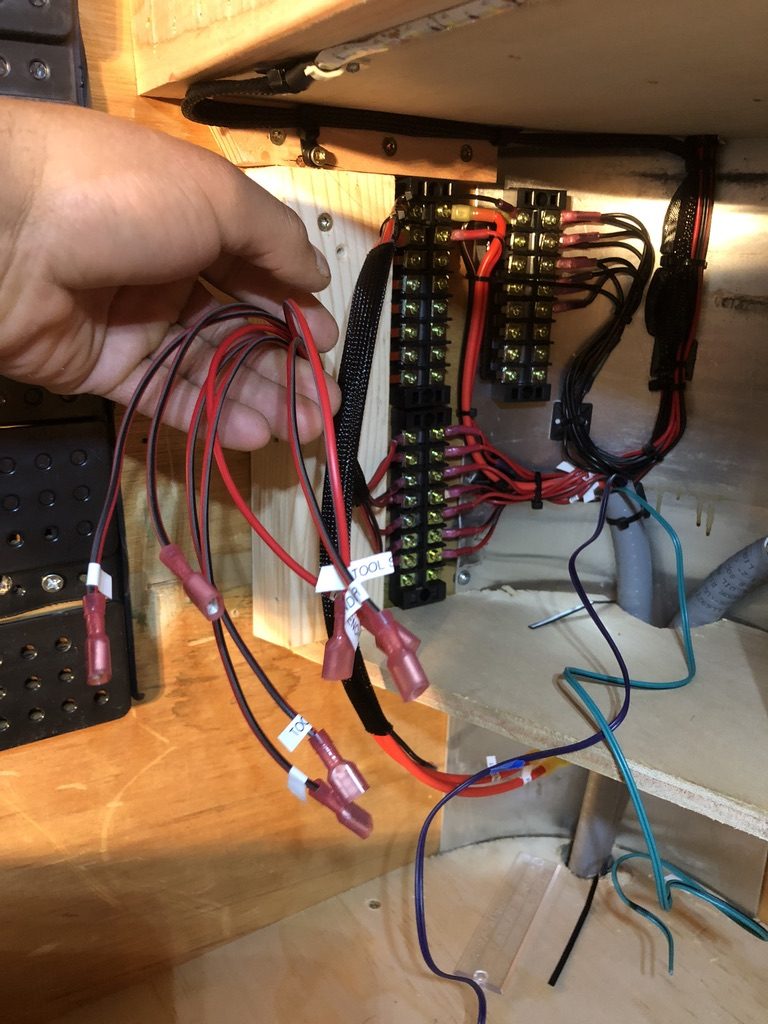
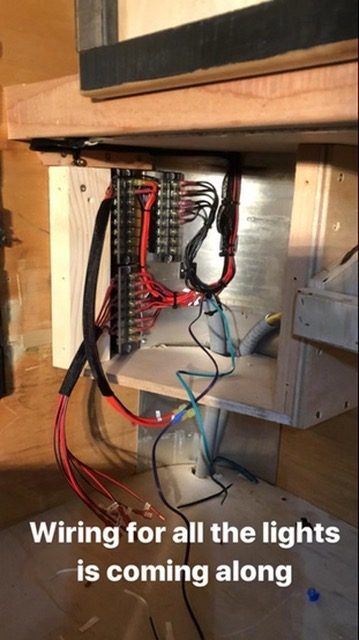
This is the phase that earns the page. Most cargo-trailer builds die here — somebody runs wires straight off the battery with no fuses, no terminal blocks, no labels, and then spends the next ten years wondering why something doesn't work. We did this right. Color-coded marine-grade tinned copper. Every wire lands at a labeled terminal block. Every circuit on its own breaker + its own switch. No twist-nuts inside the bay.
Two independent power sources, one converter that bridges them:
| Source | Voltage | Feed Path | Protection |
|---|---|---|---|
| Marine deep-cycle battery | 12V DC | Group 27 battery in vented front-bulkhead box → bus bar → 8-channel switch panel → fixtures | 30A Blue Sea waterproof breaker · 10A blade fuses per circuit |
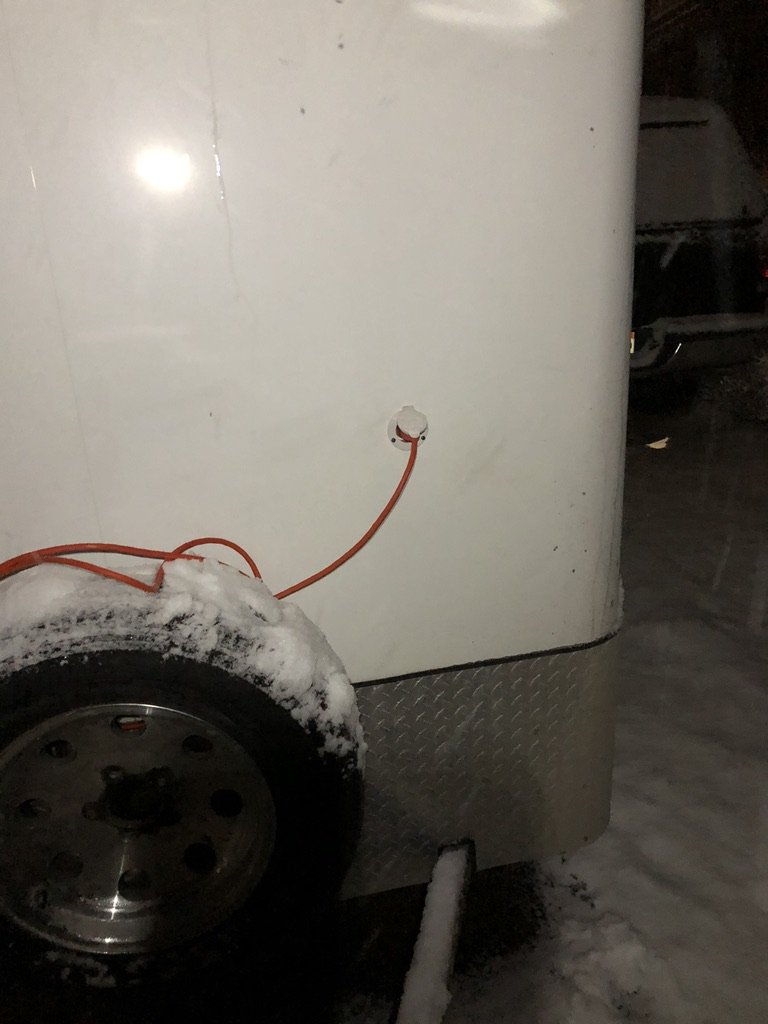
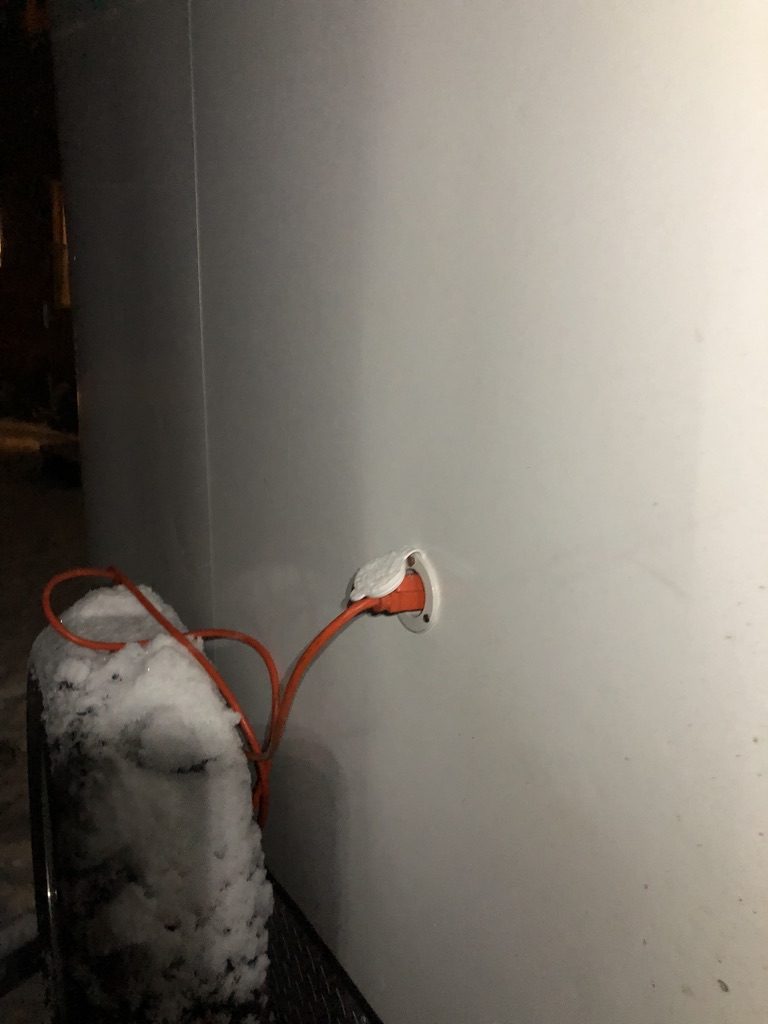
| Shore power inlet | 110V AC | Single 30A NEMA L5-30 exterior inlet → 4-position breaker panel → NEMA 5-15 receptacles | 15A breaker × 4 circuits · GFCI protected at the breaker |
| Converter (bridges them) | 12V→110V | Pure-sine converter PSU powered off the DC bus → feeds outlets when shore power is absent | Built-in 30A input fuse · low-voltage shutoff at 10.5V |
The wire choice matters more than the gauge. Use marine-grade tinned copper, not standard automotive THHN. The copper strands are coated in tin so they don't corrode when they get damp. Cargo trailers get damp. Tinned copper costs about twice what THHN does and lasts about ten times as long.
Color code:
| Wire color | Function | Typical gauge |
|---|---|---|
| RED | +12V DC hot · always-live battery bus | 10 AWG main · 14 AWG branch |
| BLACK | DC ground · returns to battery negative | 10 AWG main · 14 AWG branch |
| BLUE | Switched +12V · between switch panel and fixture | 14 AWG |
| WHITE | AC neutral · 110V side return | 14 AWG |
| GREEN | AC ground · 110V side equipment ground | 14 AWG |
The shunt. A 50A or 100A DC shunt installed inline with the battery negative gives you real-time current draw + cumulative amp-hours used. Pair it with a digital battery monitor on the switch panel and you always know exactly how much capacity you have left. Without a shunt, you're guessing — and guessing kills batteries.
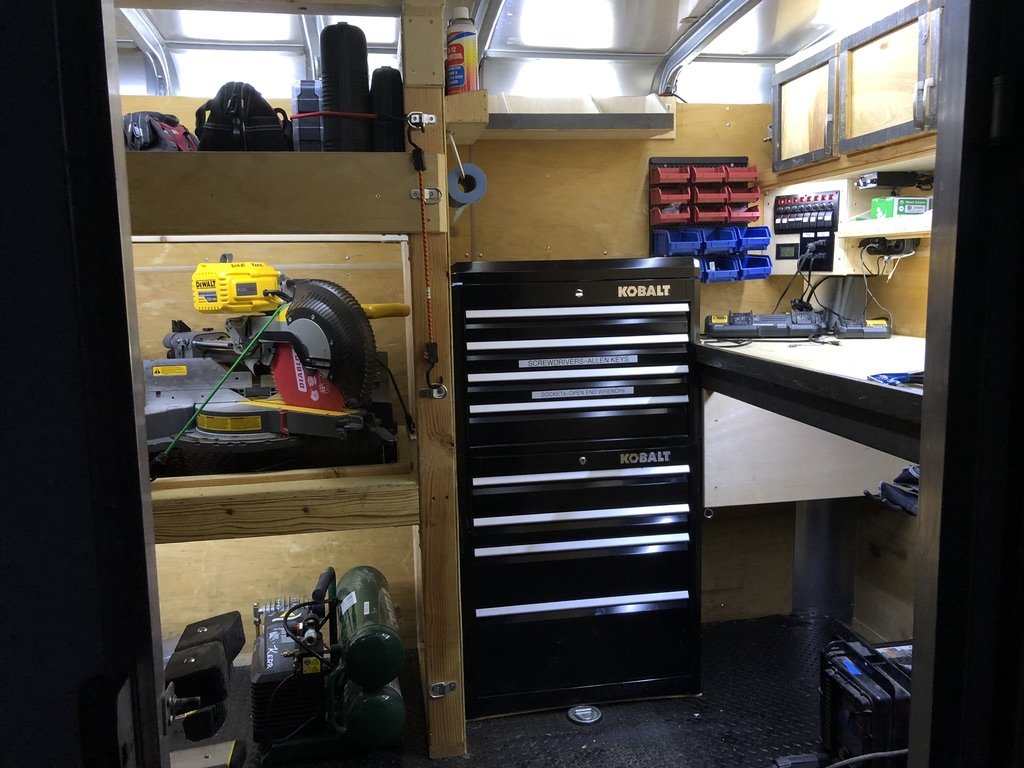
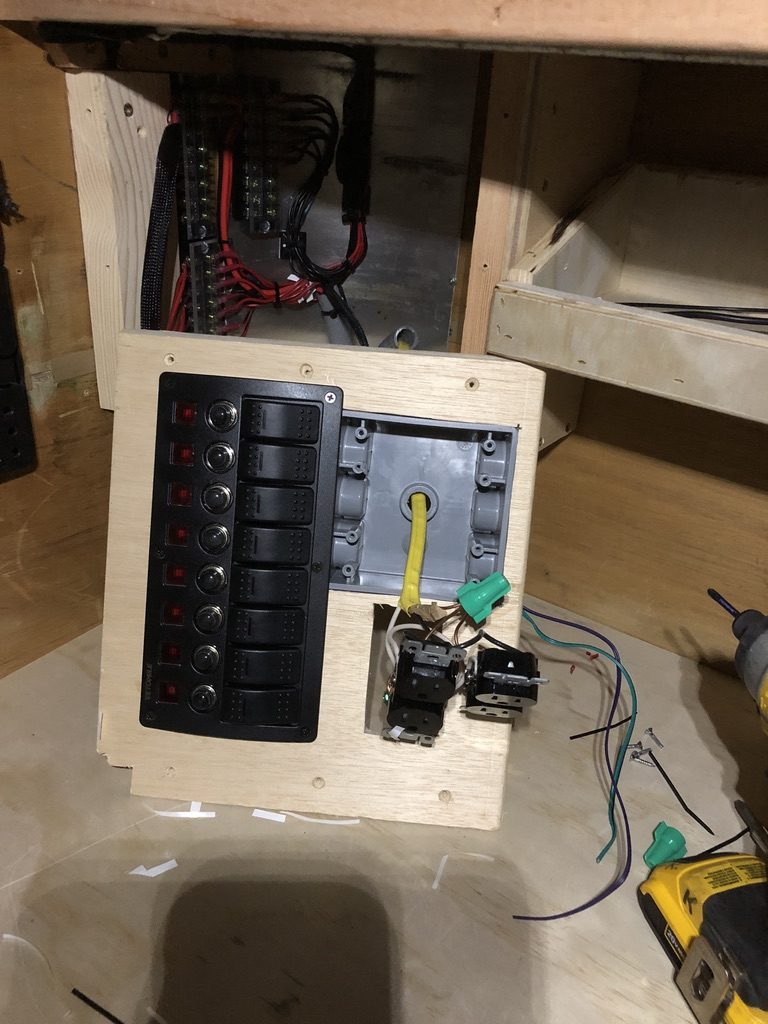
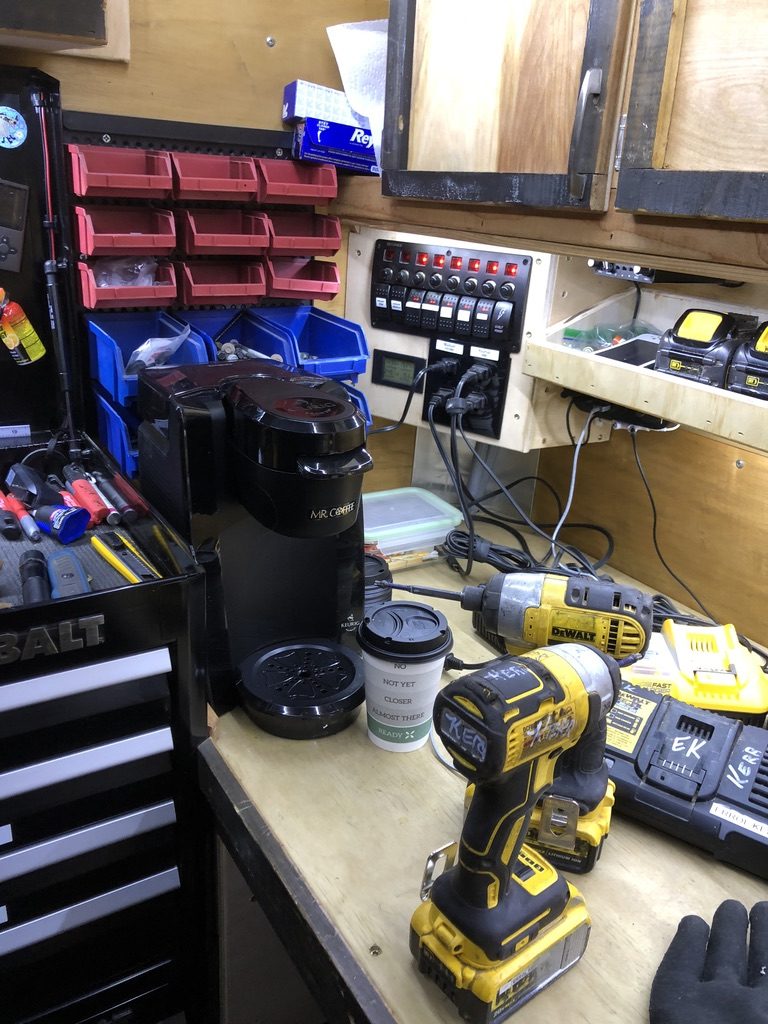
The hero of the build. An 8-position lit marine rocker switch panel — the kind that lives on boats — mounted dead-center in the cabinet face above the workbench. Each rocker is illuminated by its own LED that comes on when the circuit is hot, so you can confirm at a glance: did I leave the work lights on? Yes — that one's glowing.
Each rocker is back-labeled with a label-maker for the next person who picks it up (or for me, three years later, when I've forgotten which switch is which). Each switch ties to its own automotive 10A blade fuse + its own bay on the terminal block. Reach up, click. The right thing lights up, every time.
| Position | Circuit | Load | Fuse |
|---|---|---|---|
| 1 · MASTER | Main 12V bus enable (red rocker) | — | 30A breaker upstream |
| 2 | Interior work lights (warm-white LED strip) | ~2.5A @ 12V | 10A blade |
| 3 | LED accent strip (cool blue) | ~1.8A @ 12V | 10A blade |
| 4 | Saw-bay task light | ~1.5A @ 12V | 10A blade |
| 5 | 110V converter enable | variable | 30A blade |
| 6 | Exterior porch light + flood | ~3A @ 12V | 10A blade |
| 7 | Roof vent fan | ~2A @ 12V | 5A blade |
| 8 | USB / accessory rail | variable | 5A blade |
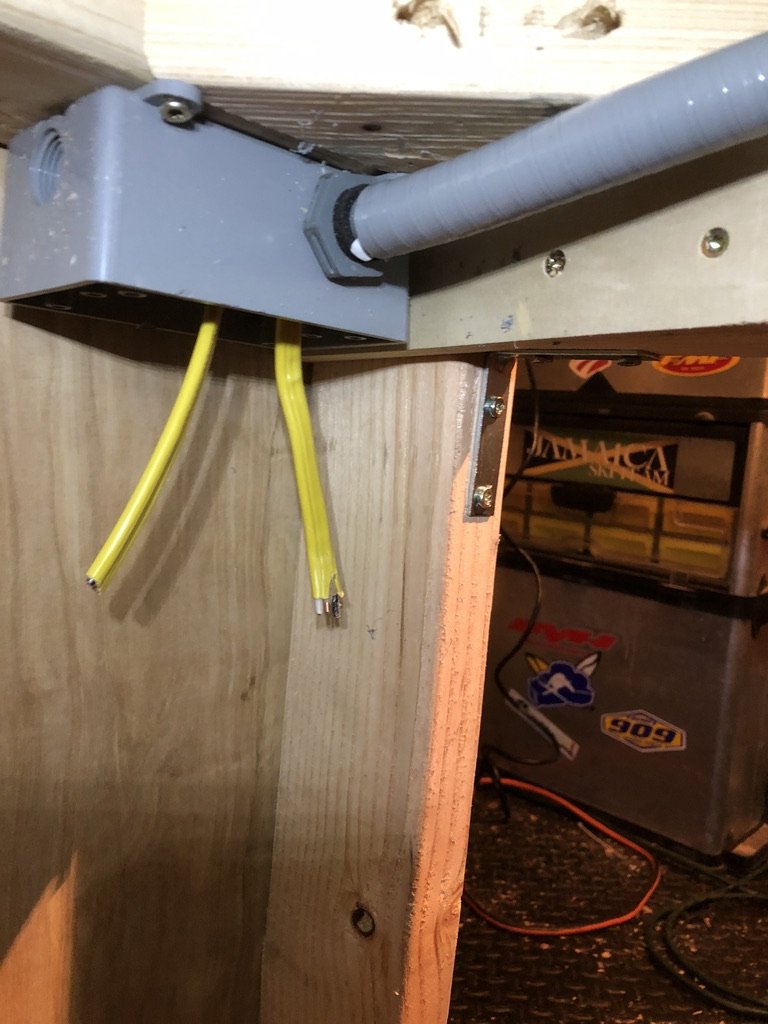
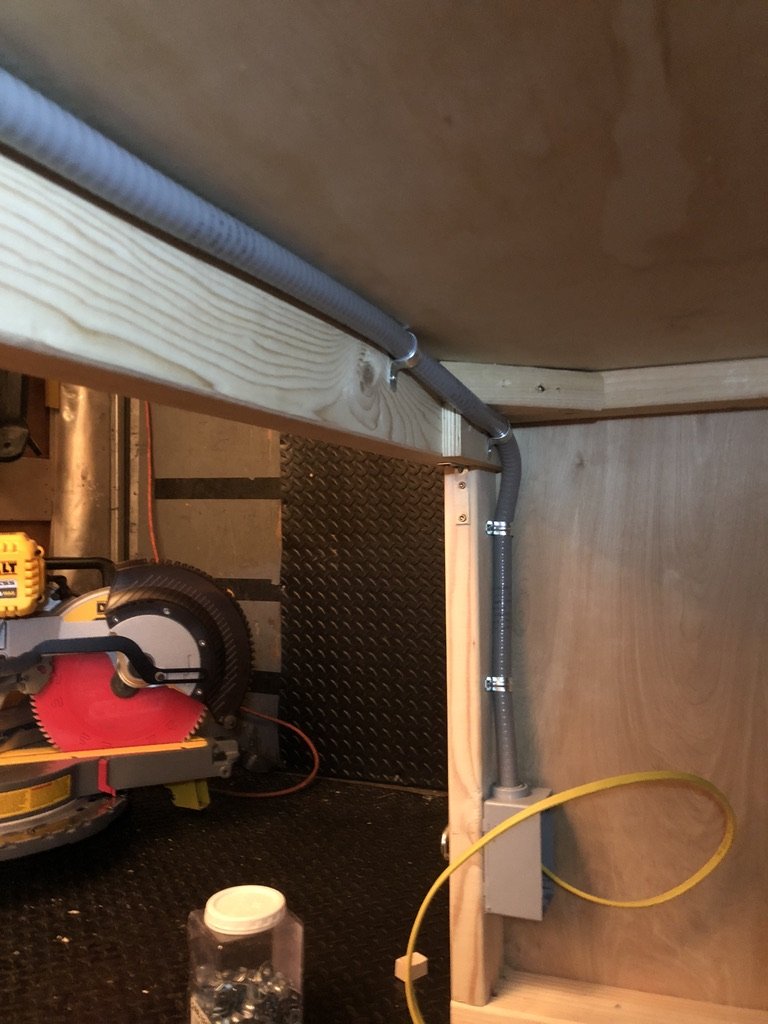
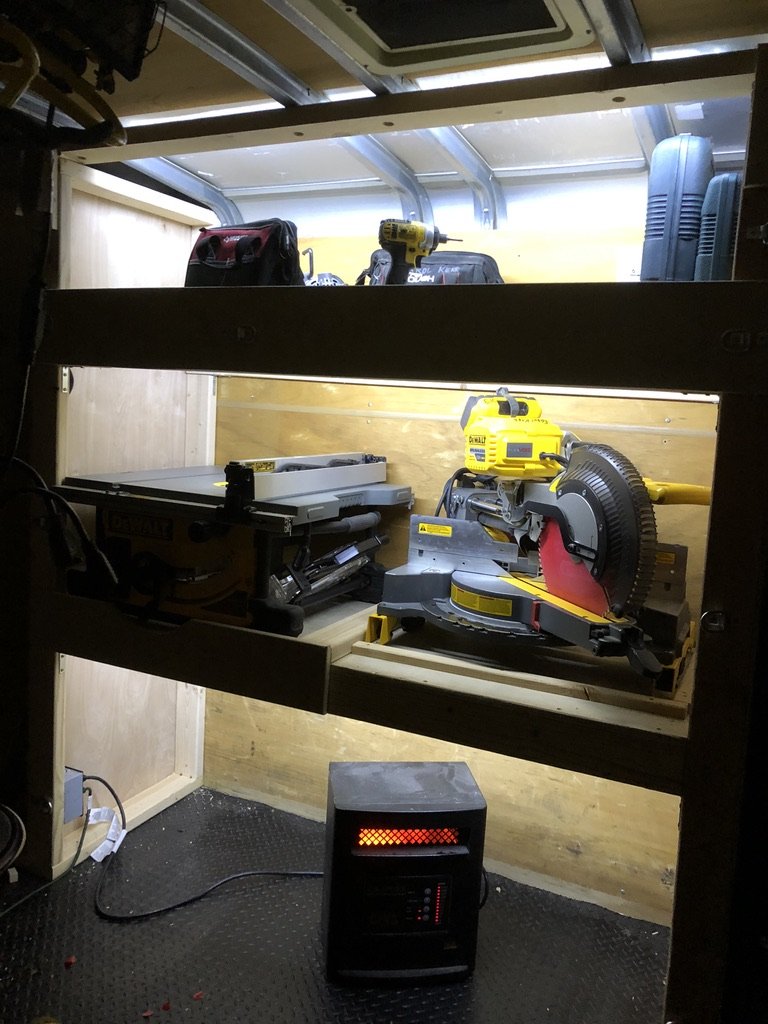
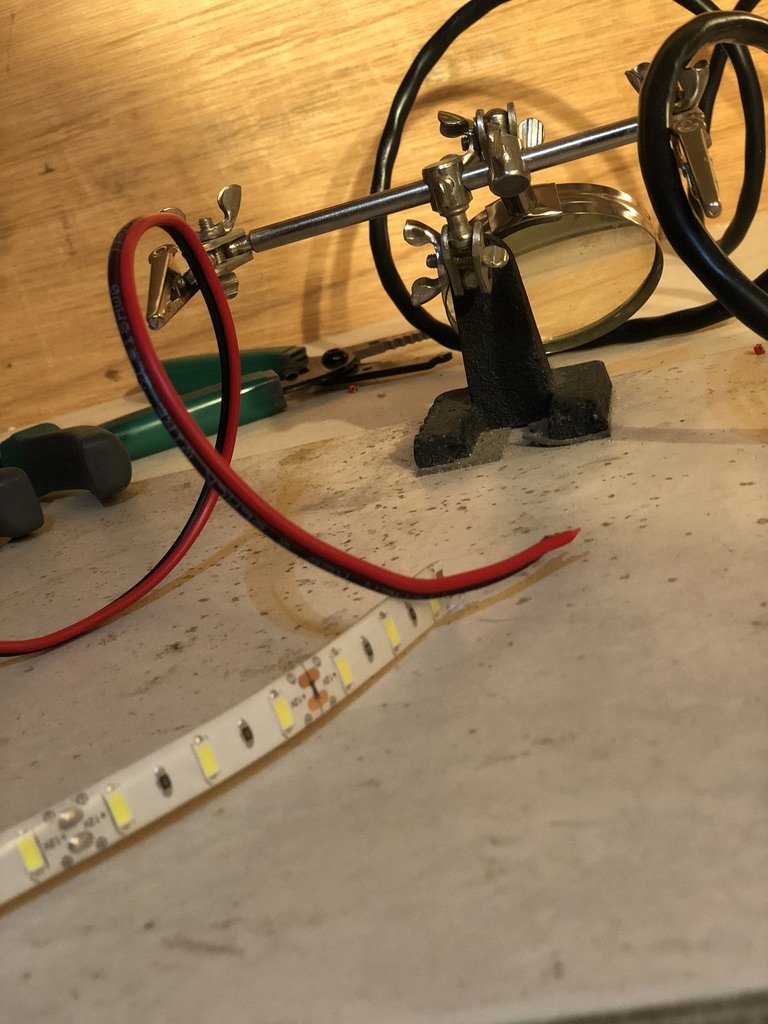
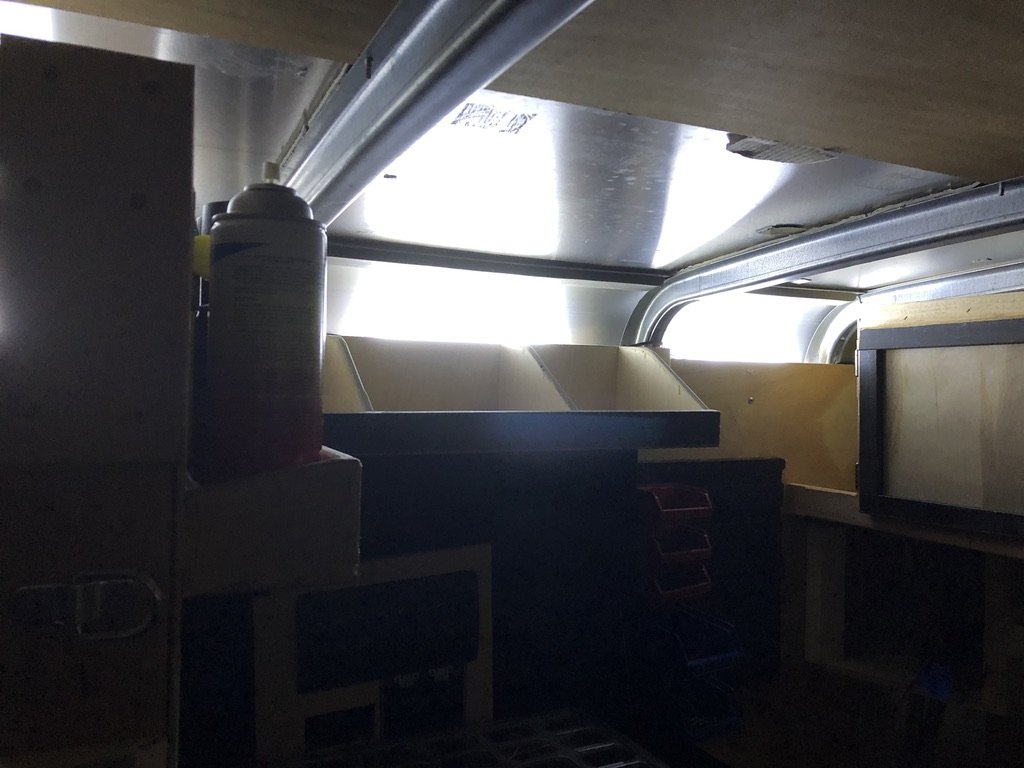
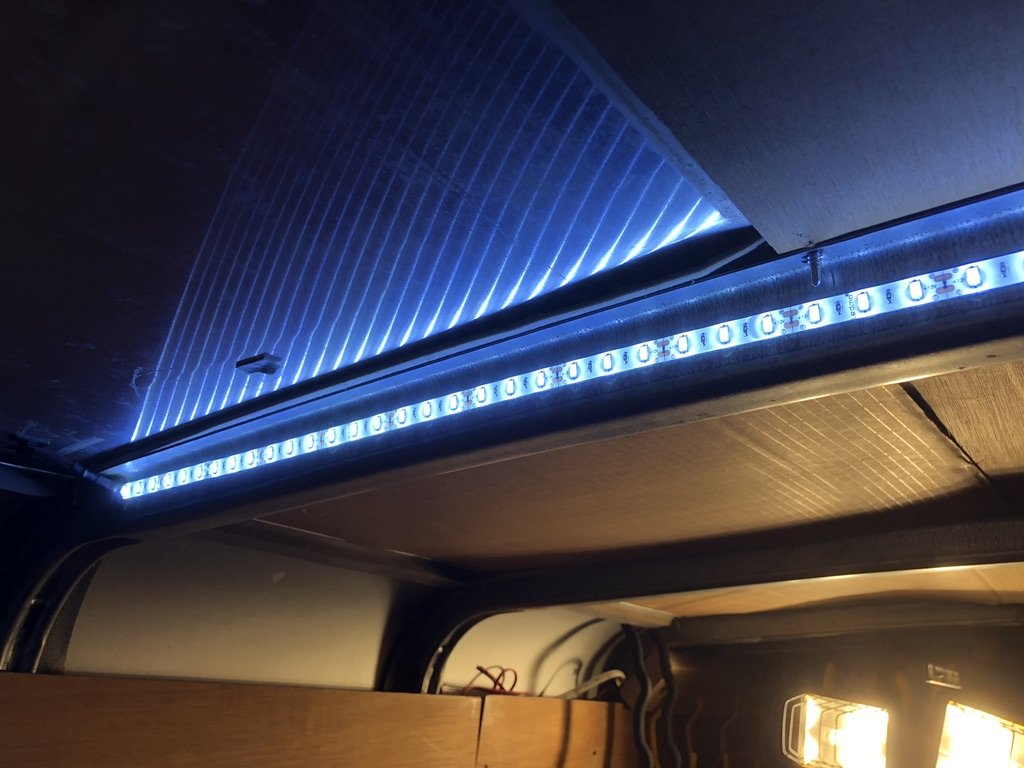
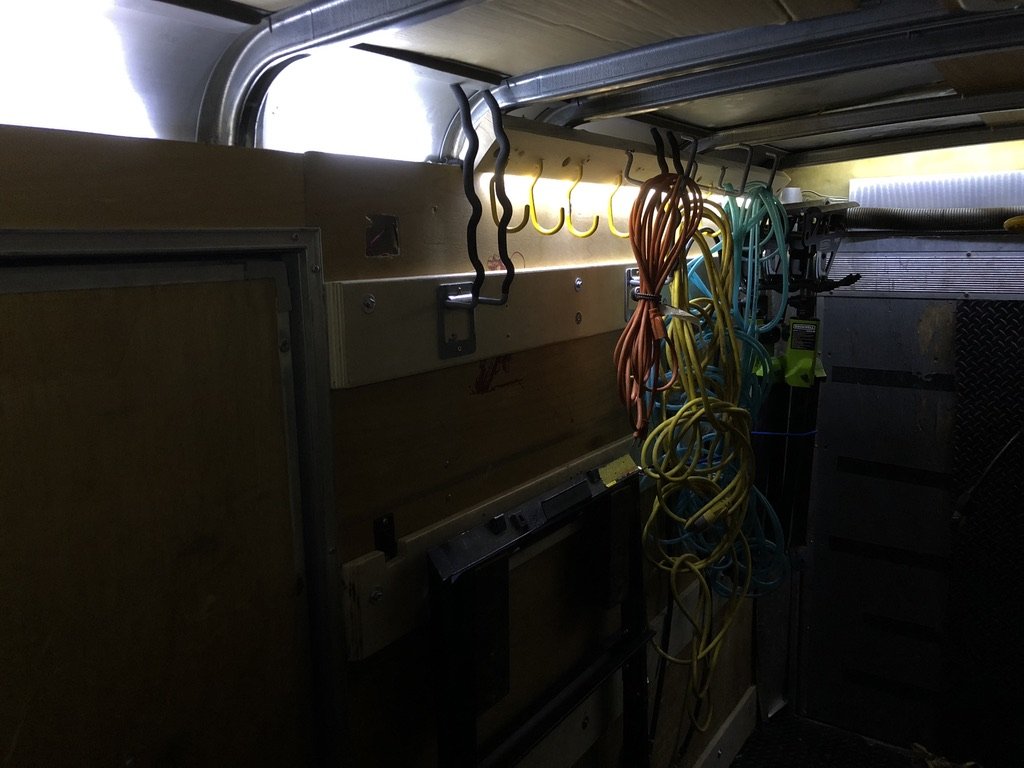
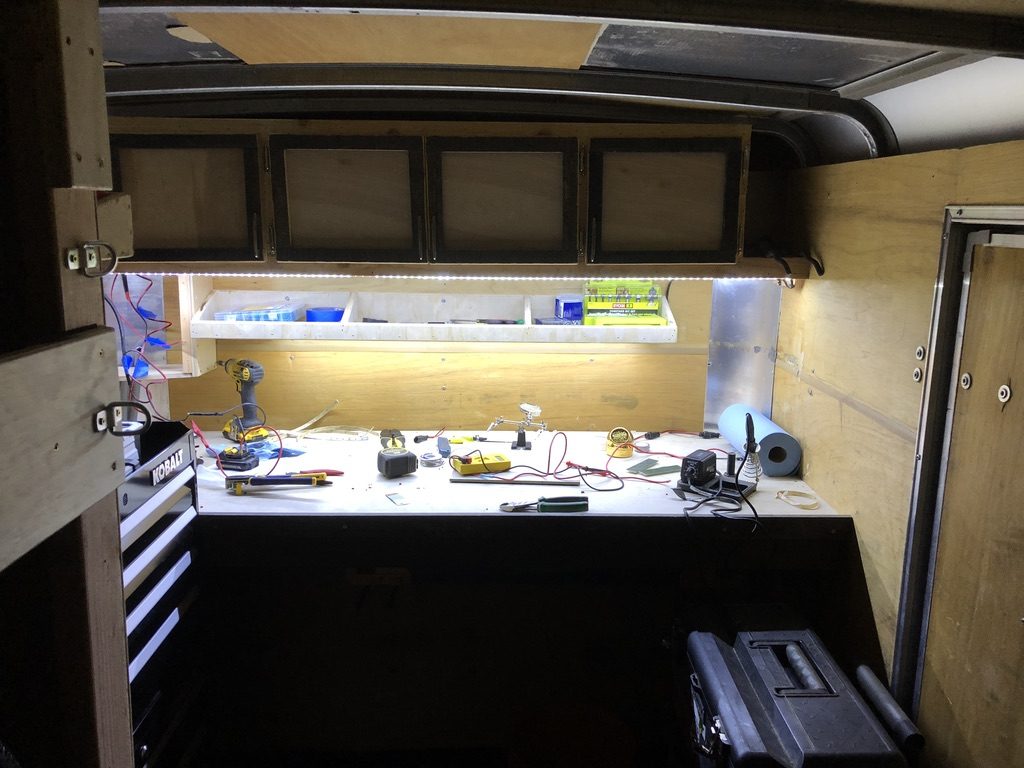
With the wiring in, the lights go up. 12V warm-white LED strip (3000K, ~600 lm/ft) runs along both top headers and above the workbench — even fill across the work area, no shadow under the cabinet face. A second cool-blue accent strip (6500K) behind the cabinet face throws colored wash for the times you need to see what you're doing without flooding the bay. Together they hit a CRI 90+ — finish carpentry colors don't lie under this light.
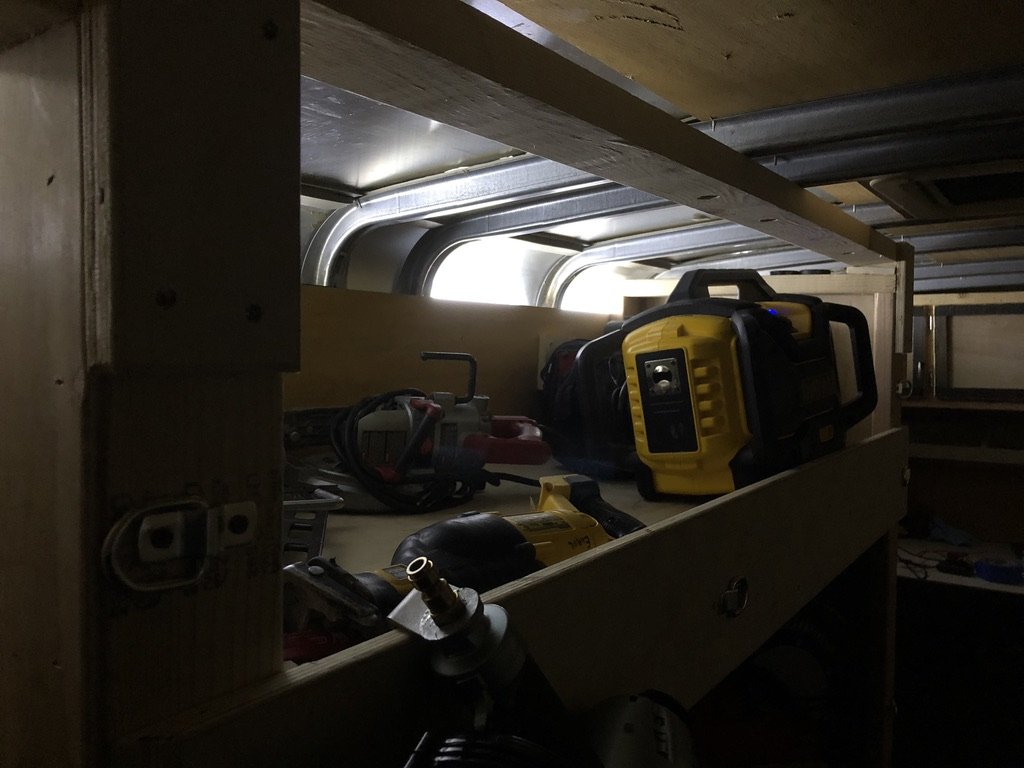
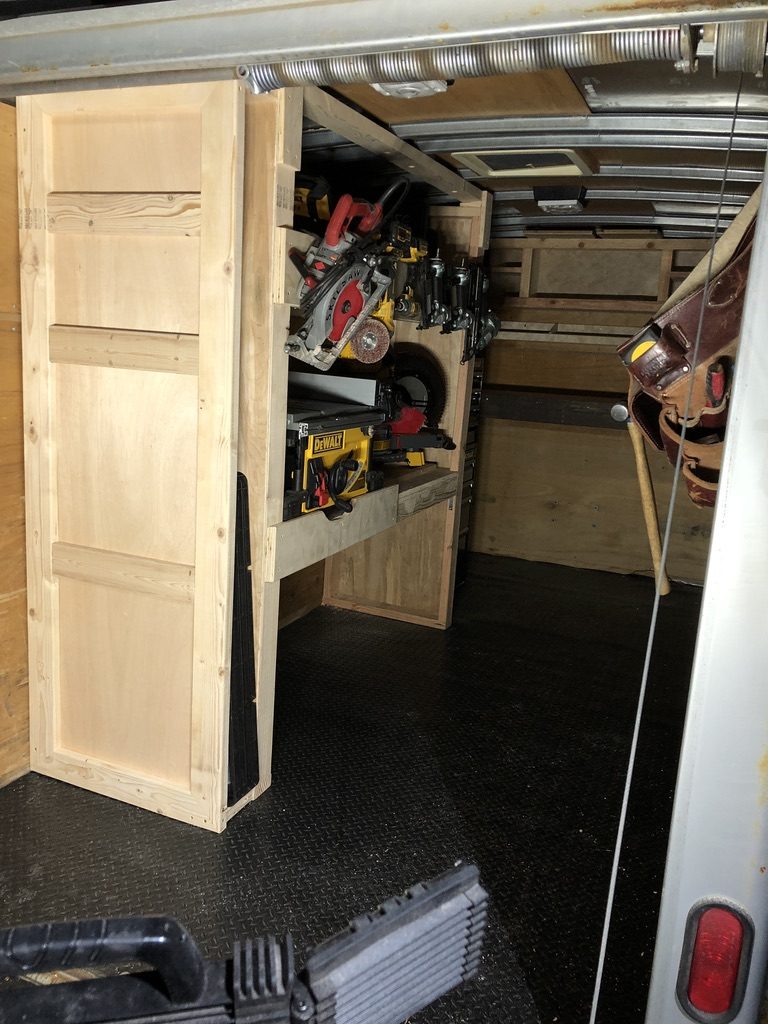
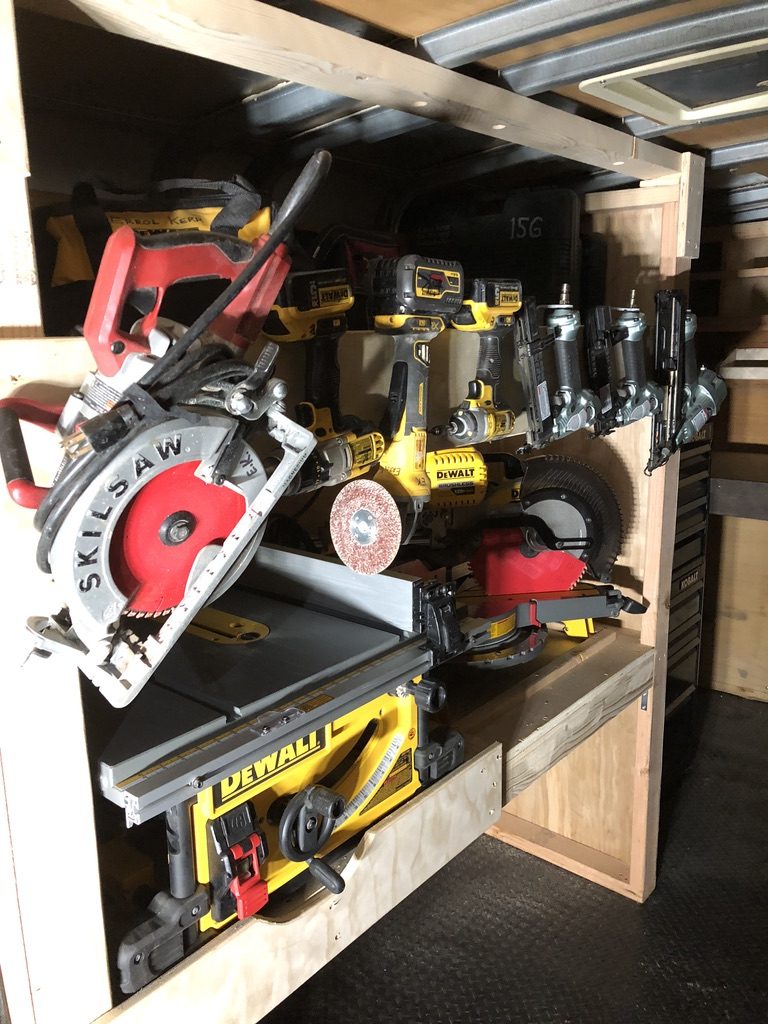
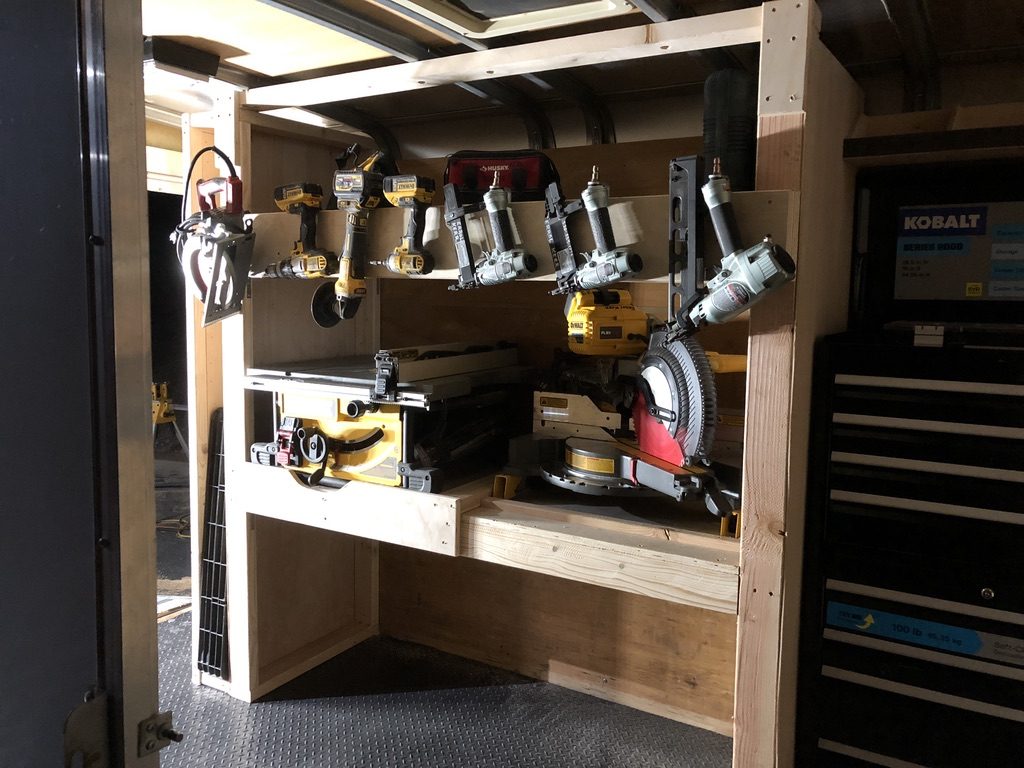
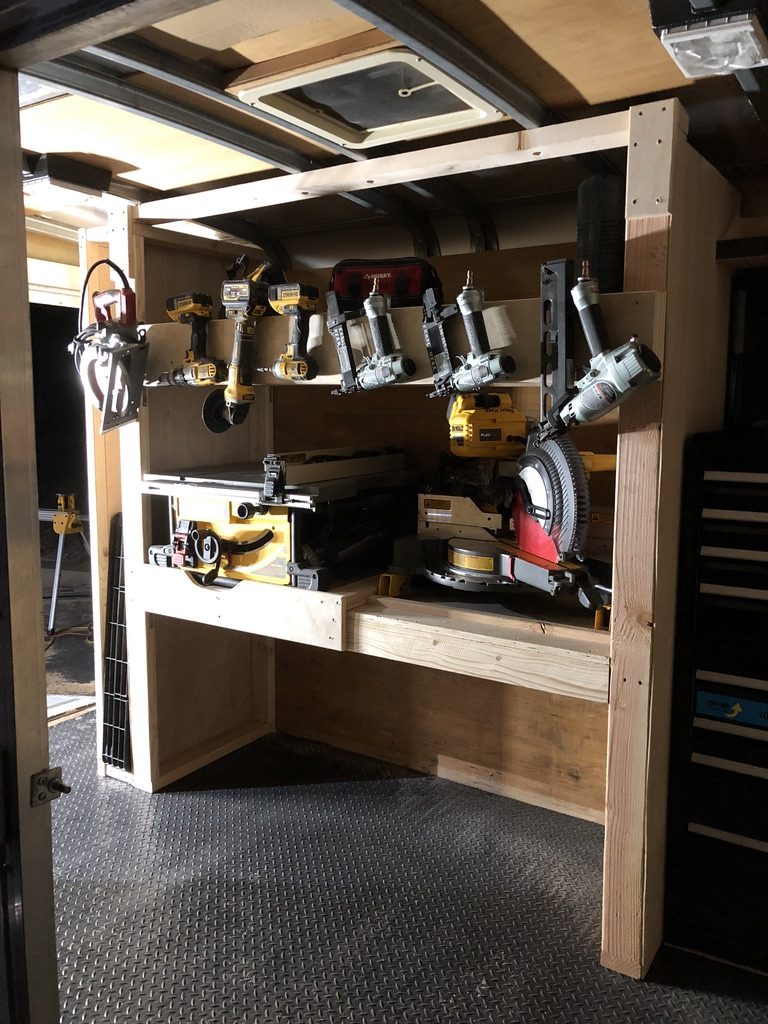
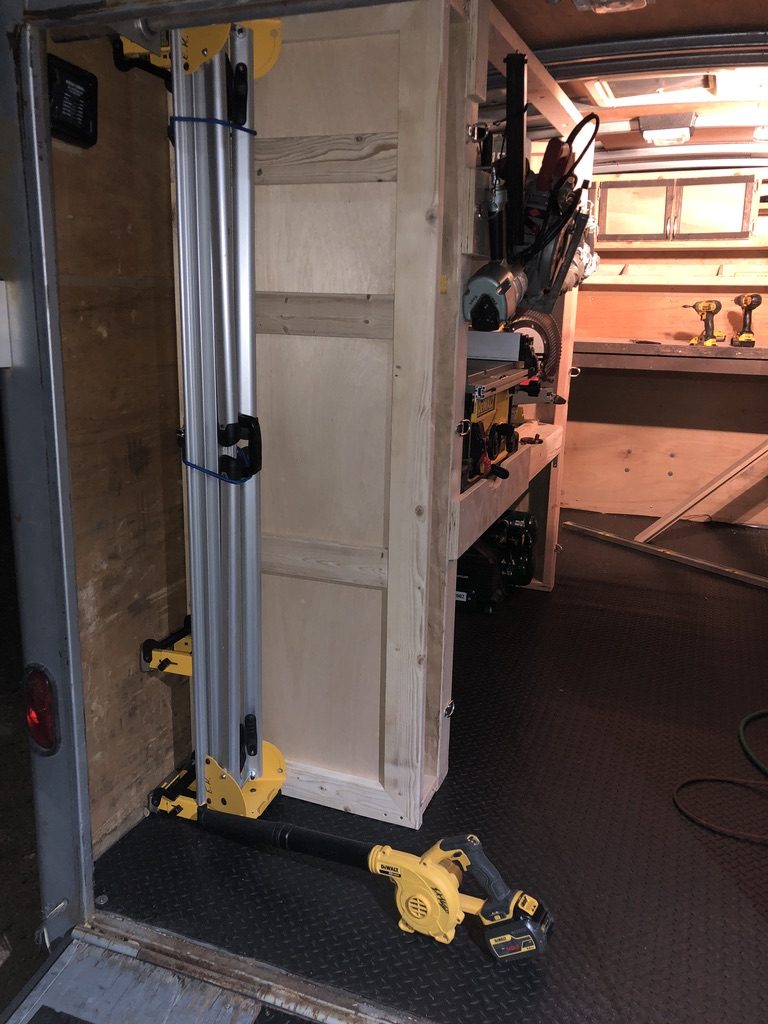
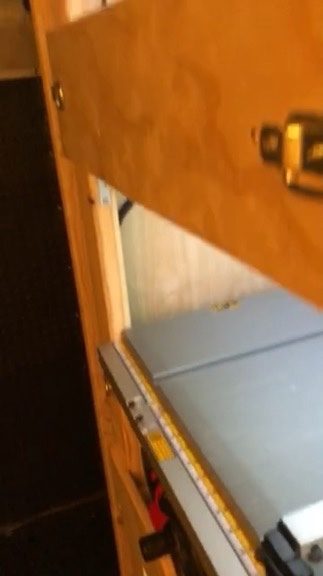
The saws go in next. DeWalt DCS577 8.25" worm-drive + DeWalt DWS779 12" sliding miter, both mounted on dedicated 2×4 + 3/4" plywood saw platforms on the passenger side, with feeder rails that aim straight out the open ramp door. You can cut 16-foot stock without taking the saw outside. That's the design constraint that drove the whole layout — saws aimed out the ramp.
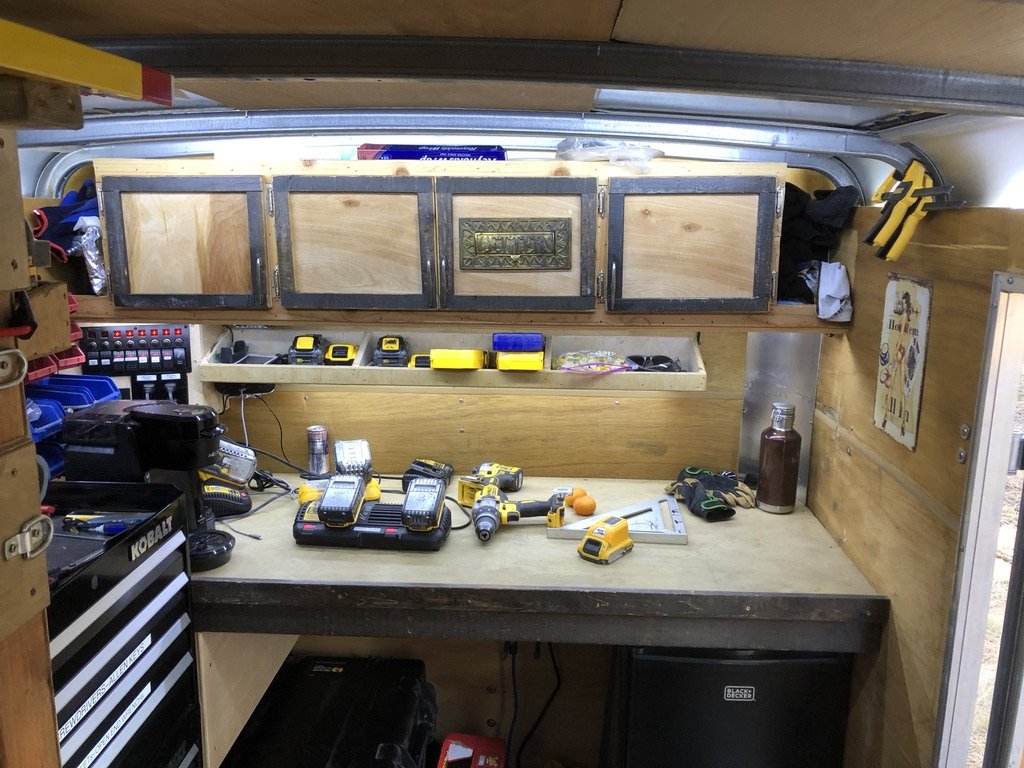
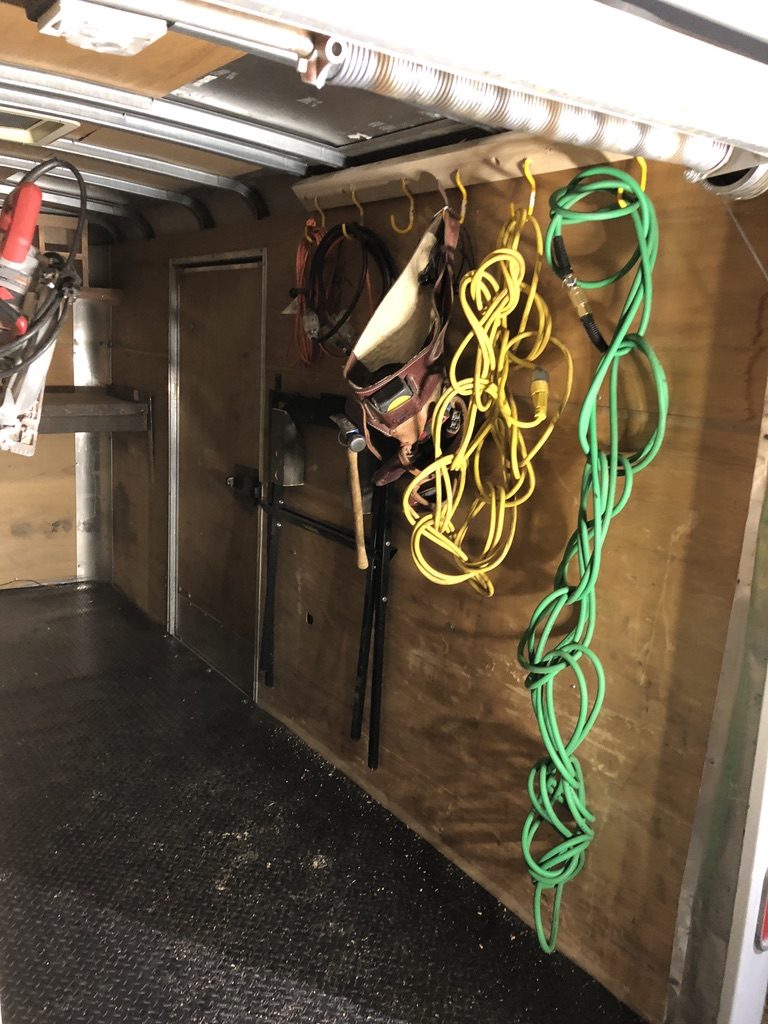
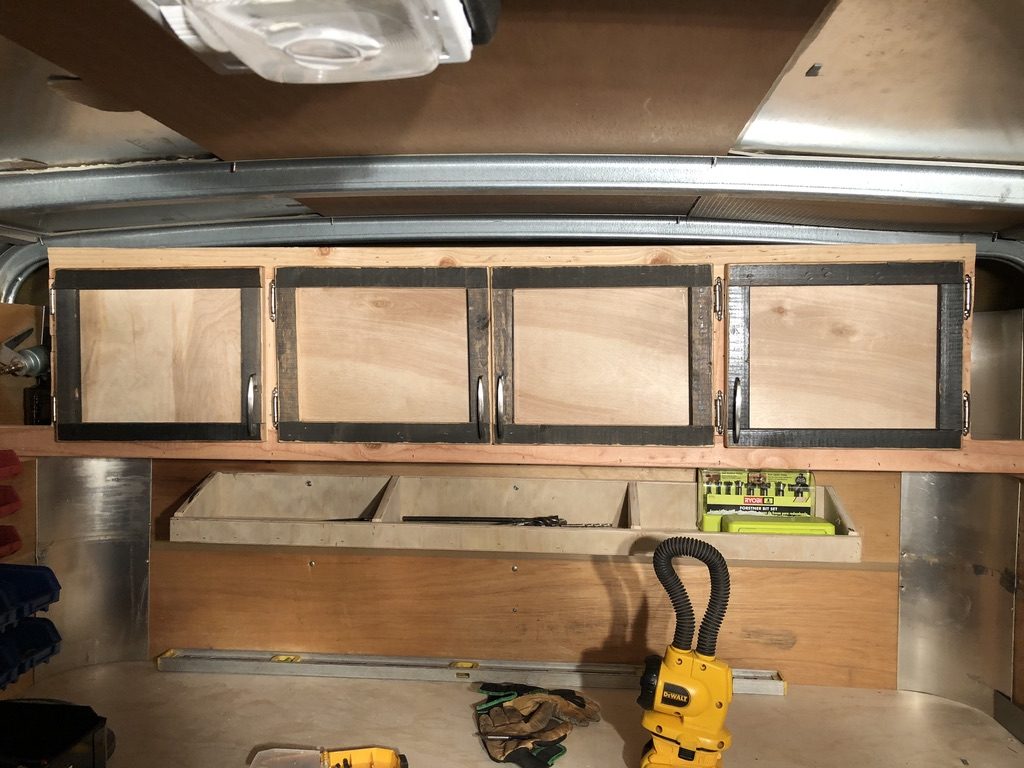
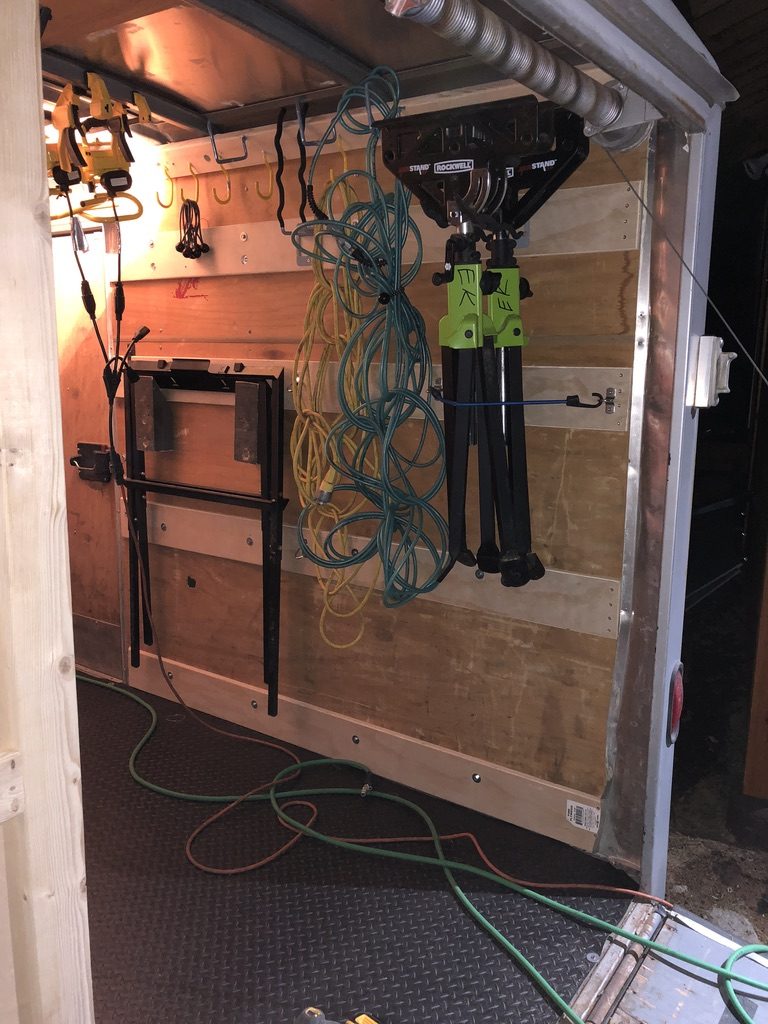
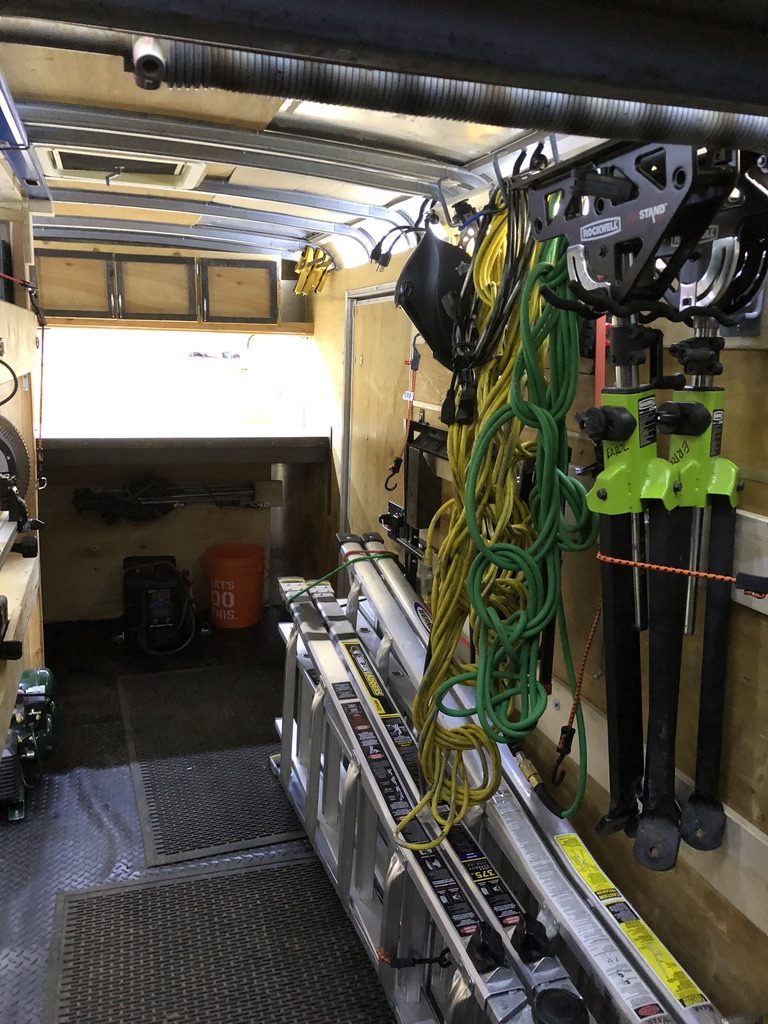
Workbench top: 2×4 frame, 3/4" plywood, mounted into the side studs at standing-cut height (36" off the floor). Aluminum L-trim around the front edge so the plywood face doesn't splinter. Cable management at the roof — extension cords (orange · yellow · blue, color-coded by length) hang on bent rebar hooks above the workbench.
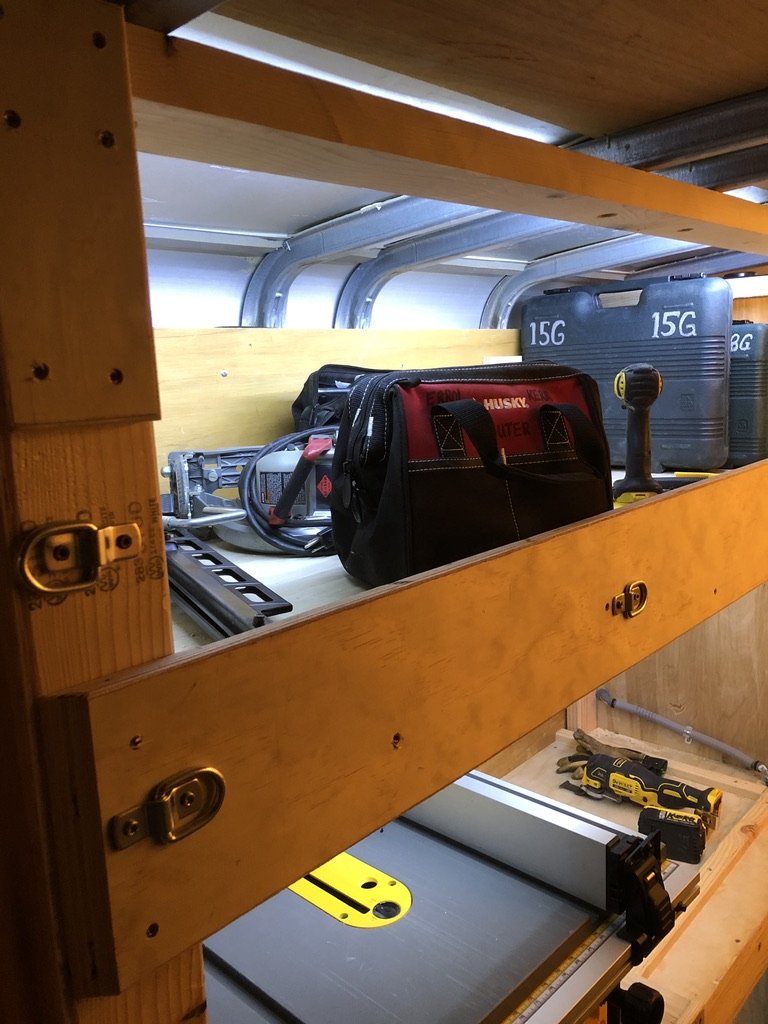
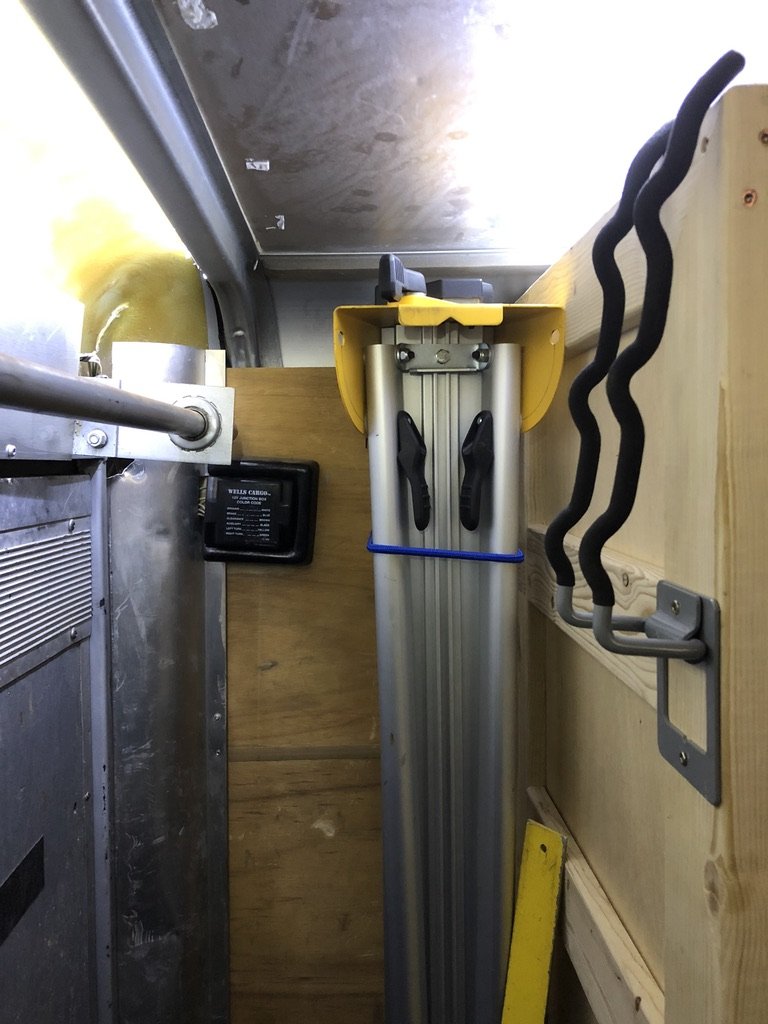
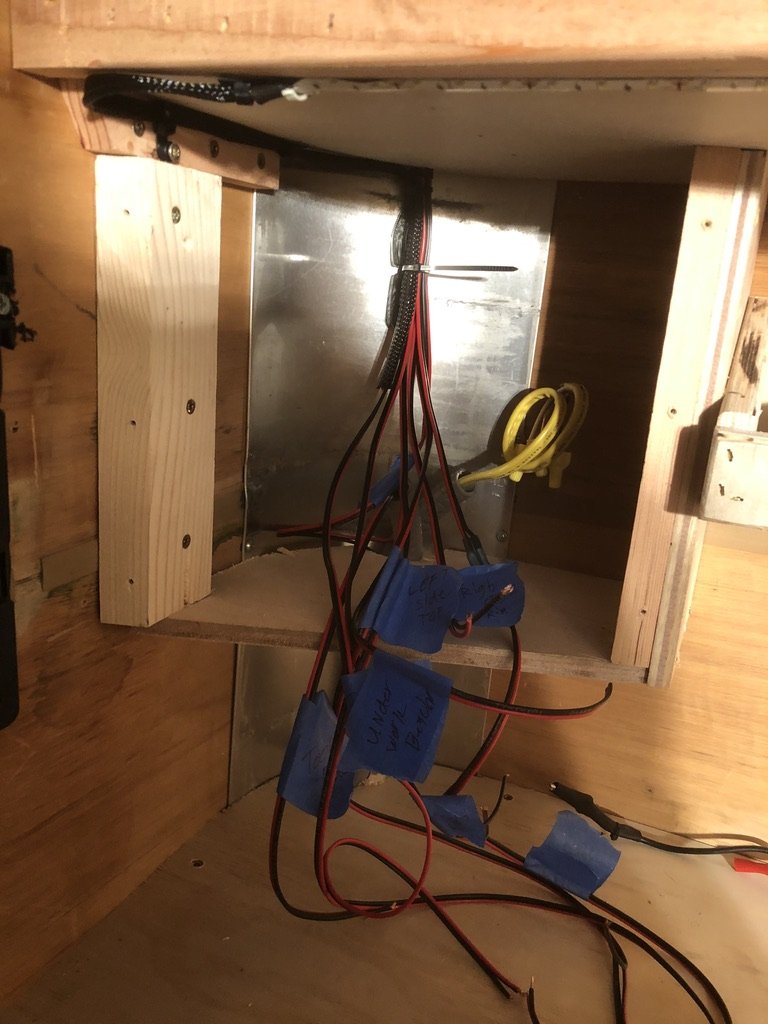
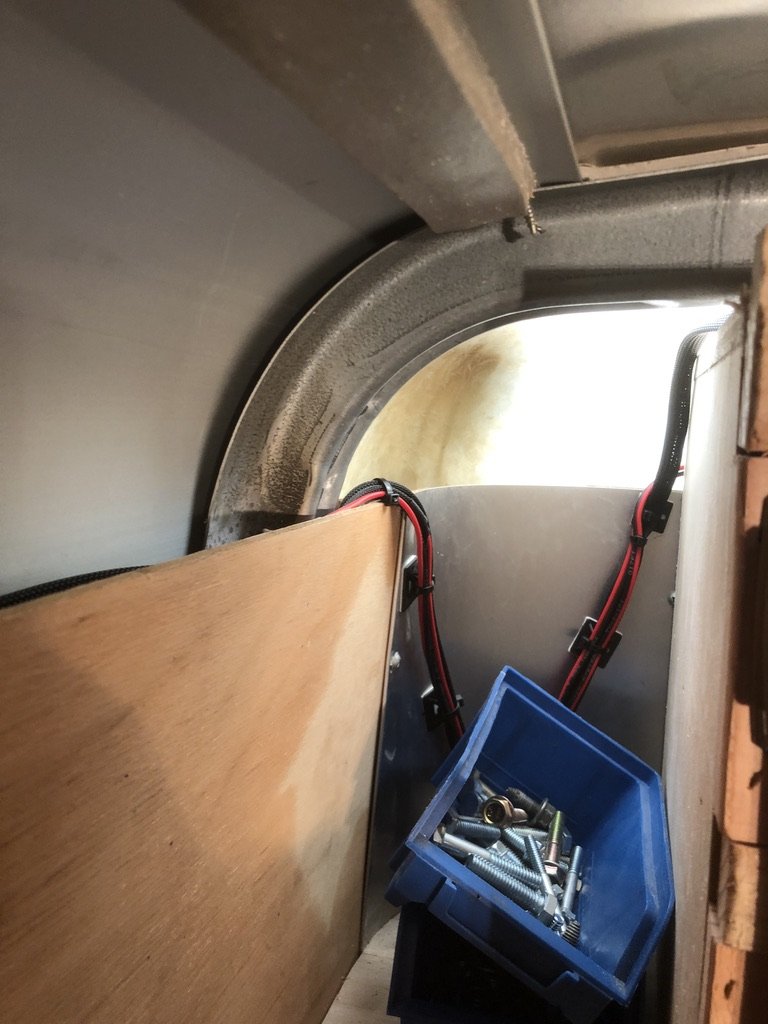
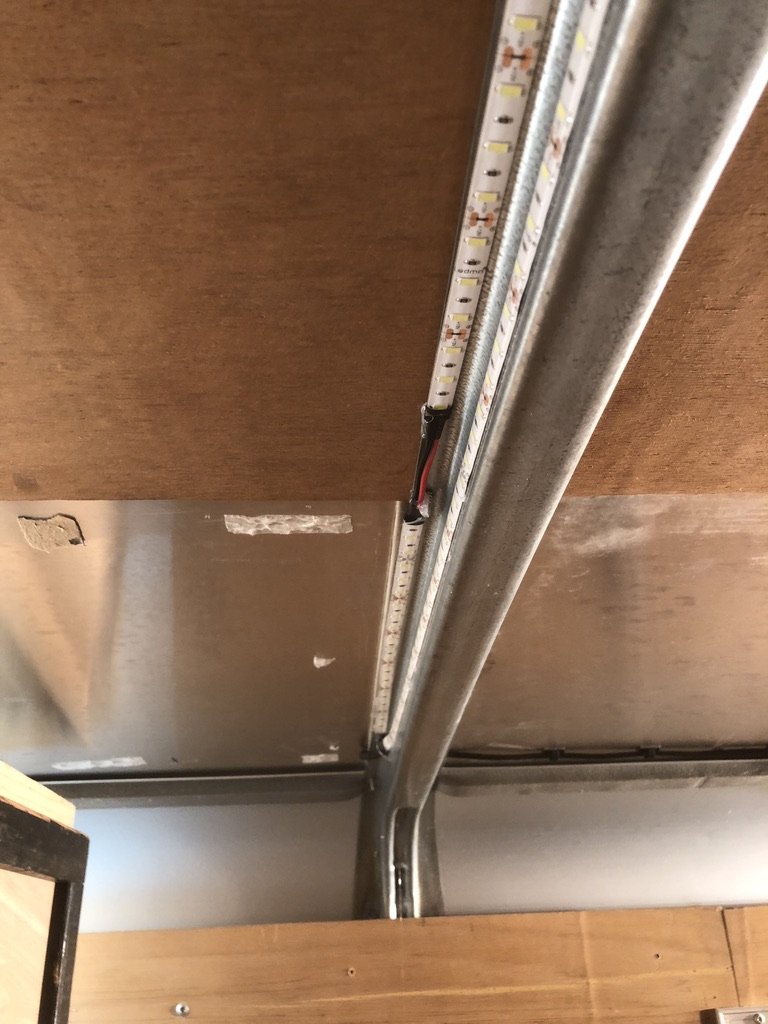
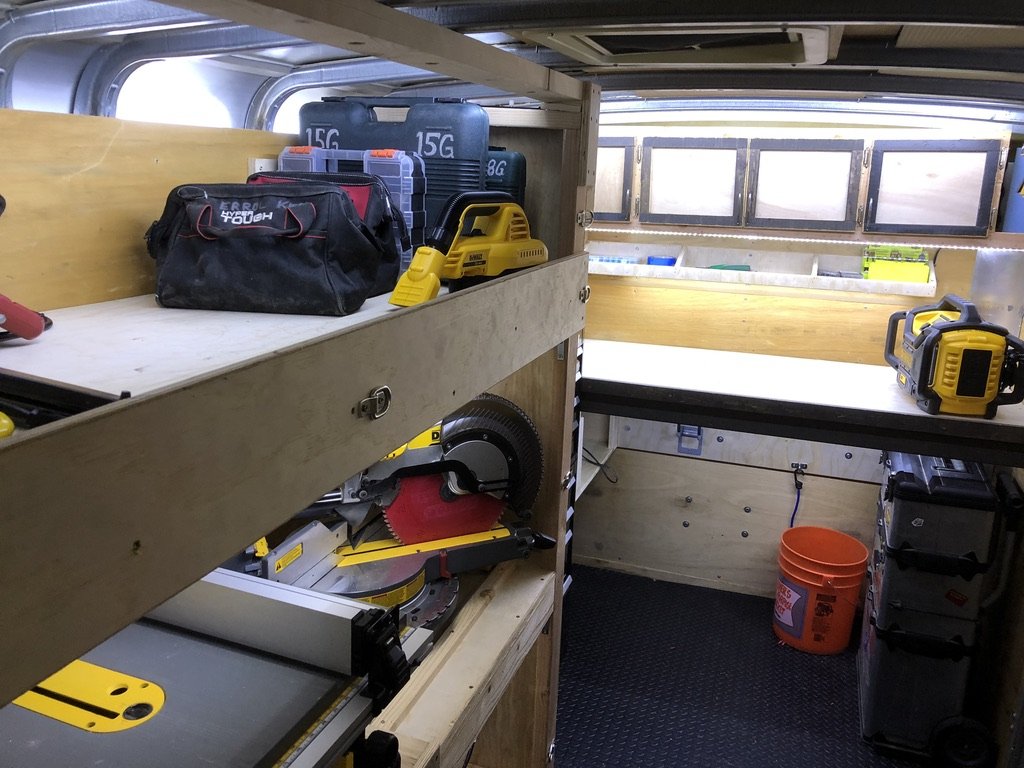
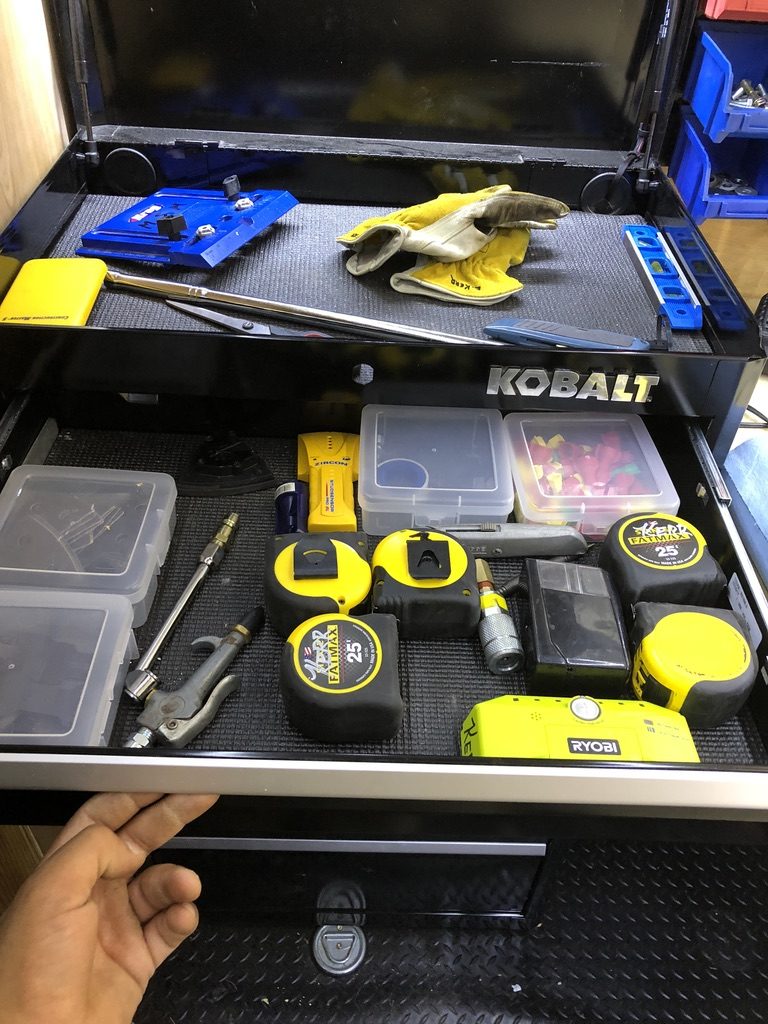
The tool wall. Pegboard panels mount on every spare cabinet face with custom hooks for the DeWalt 20V Max line — impacts (DCF887, DCF889), drills (DCD996), multi-tools (DCS356), sanders (DCW210), the cordless circular saw (DCS577 in cordless trim too). Drawer-by-drawer the Kobalt chest populates with sockets, screwdrivers, hand tools, all sorted by use frequency.
The pegboard logic: highest-use tools (impacts, drills) live at chest height. Lowest-use tools (specialty saws, oddball attachments) live high or low. Sharp objects always live in drawers, never on pegboard, because pegboard hooks fail and sharp things falling is bad. Every tool has a Sharpie-traced silhouette on the pegboard so you can see at a glance what's missing from a site — and what got walked off with.
Aluminum + diamond-plate trim around the workbench front edges. This is the polish that earns the "real shop" feel — not the price, the polish. Diamond plate corners cost $40 and add fifty IQ points to the build.
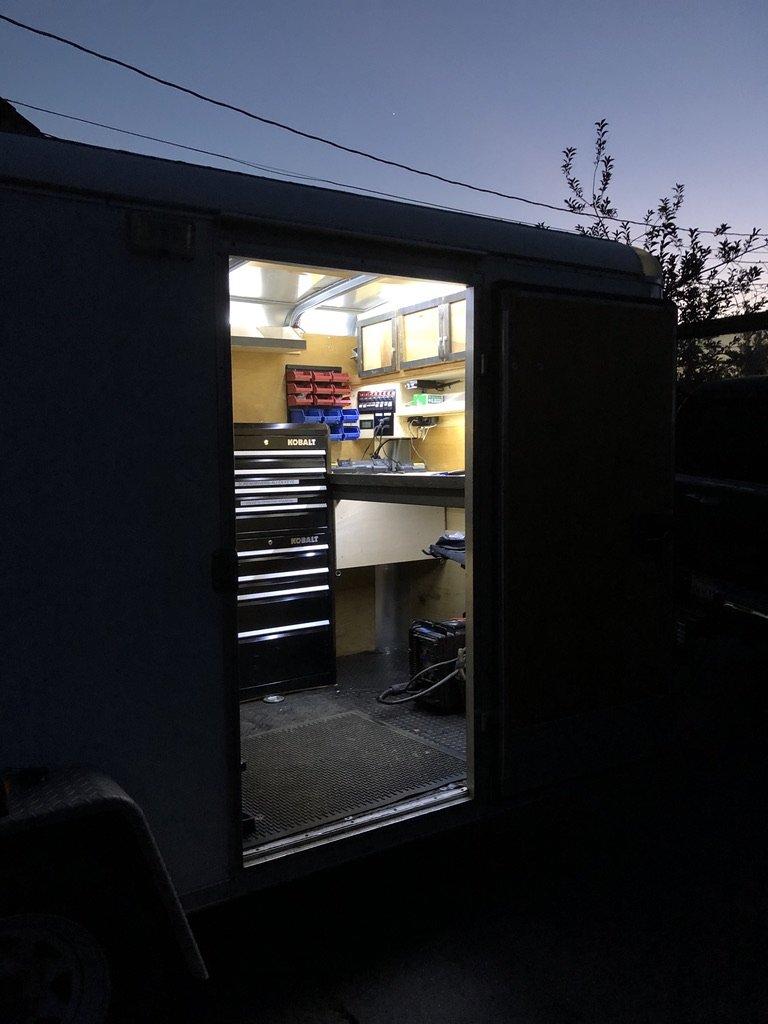
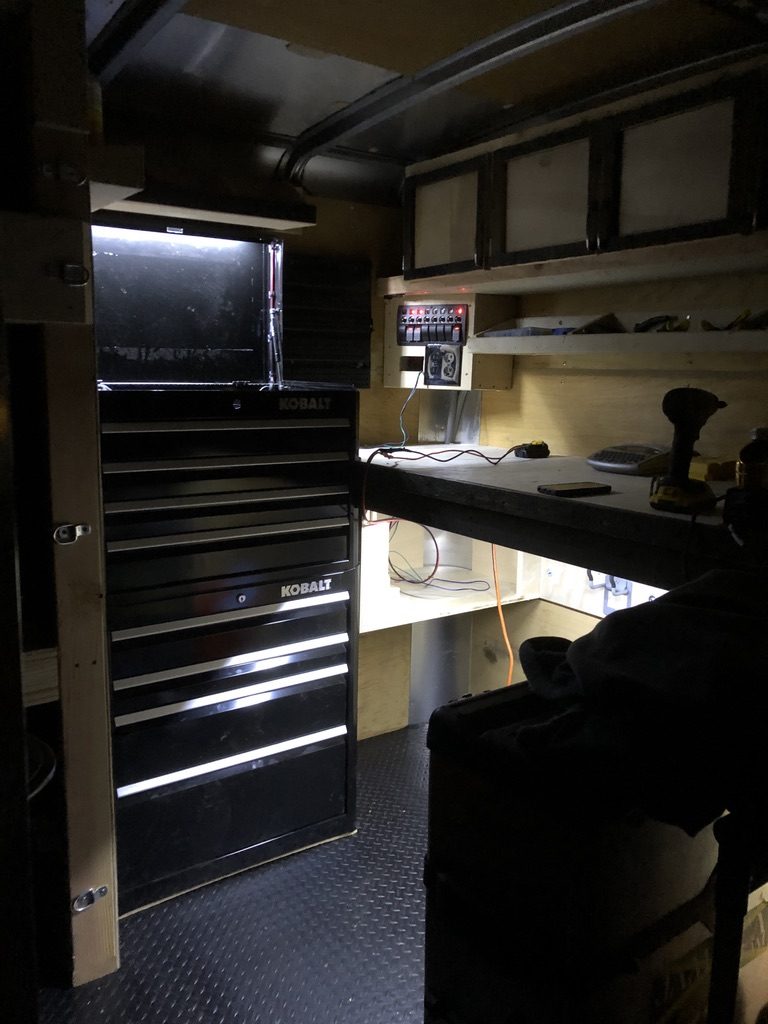
V1 reveal — three weeks of nights + weekends. Master switch up front lights the panel red, same muscle memory as a truck dashboard. Saws ready. Pegboard organized. Workbench at standing-cut height. Battery monitor reading 12.8V. The shop drives.
Hitch up in the morning. Drive to the site. Plug in shore power if it's there. Run off the battery if it isn't. Cut, route, drill, mount, sand. Pack up. Drive home. That's the design.
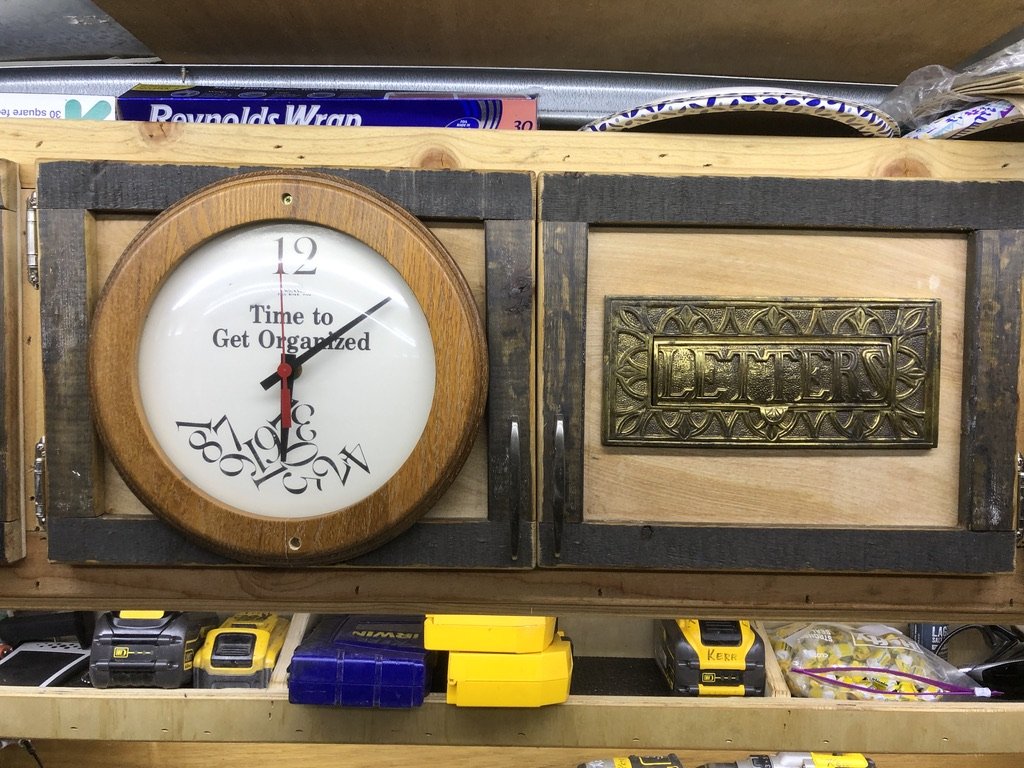
Summer 2018, six months in the field — and the trailer earned a V2. New wall art (Royal Way Co. pyramid), a clock above the workbench, repositioned drill chargers, refined drawer organization. The golden-hour reveal photo became the brand shot.
By December 2018 it was just part of the truck — the way crews carry tools is the same way pros carry their craft. Eight years on the road now. This thing has cut every two-by-four on every Ruppert site between 2018 and today.
What you actually need to replicate this build — grouped by system
| Item | Detail | Qty | Approx Cost |
|---|---|---|---|
| Trailer + Structural | |||
| Enclosed cargo trailer | 6×12 single-axle (Stinky Cub, Cargo Mate, Wells Cargo, similar) | 1 | $2,200–3,500 used |
| 2×3 framing lumber | For vertical posts + horizontal ledgers | ~40 ft | $40 |
| 3/4" plywood | Wall paneling + workbench top + saw platforms | 3 sheets | $150 |
| Lag bolts + structural screws | For lagging frame into trailer C-channels | 1 box ea | $50 |
| DC Power (12V) | |||
| Marine deep-cycle battery | Group 27, ~100 Ah | 1 | $160 |
| Vented battery box | Marine-grade | 1 | $25 |
| 30A waterproof breaker | Blue Sea Systems or equivalent | 1 | $30 |
| 50A DC shunt + monitor | For amp-hour tracking | 1 | $60 |
| Bus bars | Positive + negative | 2 | $40 |
| Marine tinned wire | 10 AWG + 14 AWG, red/black/blue | 100 ft | $80 |
| Terminal blocks | 12-position with cover | 2 | $25 |
| Heat-shrink butt connectors | Assorted gauges | 1 kit | $20 |
| AC Power (110V) | |||
| 30A NEMA L5-30 shore-power inlet | Exterior weatherproof | 1 | $45 |
| 4-position breaker panel | 15A × 4 circuits, GFCI breakers | 1 | $75 |
| NEMA 5-15 receptacles | Workbench + saw bay | 4 | $25 |
| 14/2 + 14/3 Romex | For AC circuits | 50 ft | $45 |
| 12V→110V pure-sine converter | 1000W continuous | 1 | $180 |
| Switching + Control | |||
| 8-channel lit marine rocker panel | With illuminated rockers + master red | 1 | $90 |
| Blade fuse holders | Inline ATO/ATC | 8 | $20 |
| Blade fuses | Assorted 5A/10A/30A | 1 kit | $10 |
| Label-maker tape | For switch + terminal labeling | 1 cart | $10 |
| Lighting | |||
| 12V LED strip — warm white | 3000K, ~600 lm/ft, IP65 | 20 ft | $30 |
| 12V LED strip — cool blue accent | 6500K | 10 ft | $15 |
| 12V LED puck lights | Inside-cabinet | 4 | $20 |
| Saws + Cutting | |||
| DeWalt DCS577 8.25" worm-drive | Cordless or corded variant | 1 | $220 |
| DeWalt DWS779 12" sliding miter | Compound miter saw | 1 | $390 |
| Aluminum feeder rail stock | For saw-bay feed system | 12 ft | $45 |
| Storage | |||
| Kobalt 5-drawer stainless tool chest | 27" or 30" wide | 1 | $260 |
| Pegboard panels | For tool wall | 2 sheets | $30 |
| Pegboard hooks (assorted) | Heavy-duty for tools | 1 kit | $25 |
| Diamond-plate aluminum trim | Workbench edge polish | 12 ft | $40 |
| Climate (optional) | |||
| Infrared space heater | For winter work | 1 | $80 |
| Roof vent fan | 12V, two-way (intake + exhaust) | 1 | $120 |
| PARTS TOTAL (build + outfit) | ~$3,150 | ||
The cost band on this build is wide — $2,500–$4,000 — because the trailer itself swings $2,200 to $3,500 used and the tooling depends on what you already own. If you already have the DeWalt saws + the Kobalt chest, the wiring + framing + cabinet build is well under $1,500.
The exact gear used in this build — sourced from Errol's field-tested kit. Click any card to shop on Amazon. As an Amazon Associate, Errol earns from qualifying purchases. Your price is the same — affiliate commissions help fund the next build.
The main rip-and-cross-cut saw on the slide-out platform. Worm-drive torque + cordless freedom — no extension cord trailing across the ramp.
Shop on Amazon →Mounted on the secondary saw bay. Compound miters for trim, casing, and shop cabinetry. Lives on aluminum feeder rails for long stock.
Shop on Amazon →Powers the LED strips, switch panel, puck lights, and inverter input. Vented marine box keeps hydrogen out of the cabin.
Shop on Amazon →Main DC disconnect between battery and bus bar. Resettable. Marine-grade so a wet trailer floor doesn't kill it.
Shop on Amazon →Real-time Ah in / Ah out. Tells you whether you can run the LEDs all day or need to fire the truck to recharge.
Shop on Amazon →Tinned strands resist corrosion in a vibrating, condensation-prone trailer environment. Red / black / blue color coding.
Shop on Amazon →Illuminated rockers, master red kill switch, labeled circuits. The face of the electrical bay. Looks like a boat cockpit.
Shop on Amazon →Main interior task lighting. 3000K reads natural for trim work + cabinetry. IP65 survives sawdust + the occasional spilled coffee.
Shop on Amazon →Runs the chargers + the sliding miter saw without grid hookup. Pure sine matters for the brushless tool electronics.
Shop on Amazon →Exterior weatherproof inlet. Plug into a 30A campground / generator pedestal and run the breaker panel from line power.
Shop on Amazon →Bottom of the workbench. Holds hand tools, drivers, electrical, fasteners. Stainless face resists the trailer's daily abuse.
Shop on Amazon →Adhesive-lined heat-shrink, color-coded by gauge. Crimp + shrink + done. Sealed against moisture and vibration.
Shop on Amazon →Every photo from the build, sequenced by EXIF date. Click any thumbnail to open full-size.
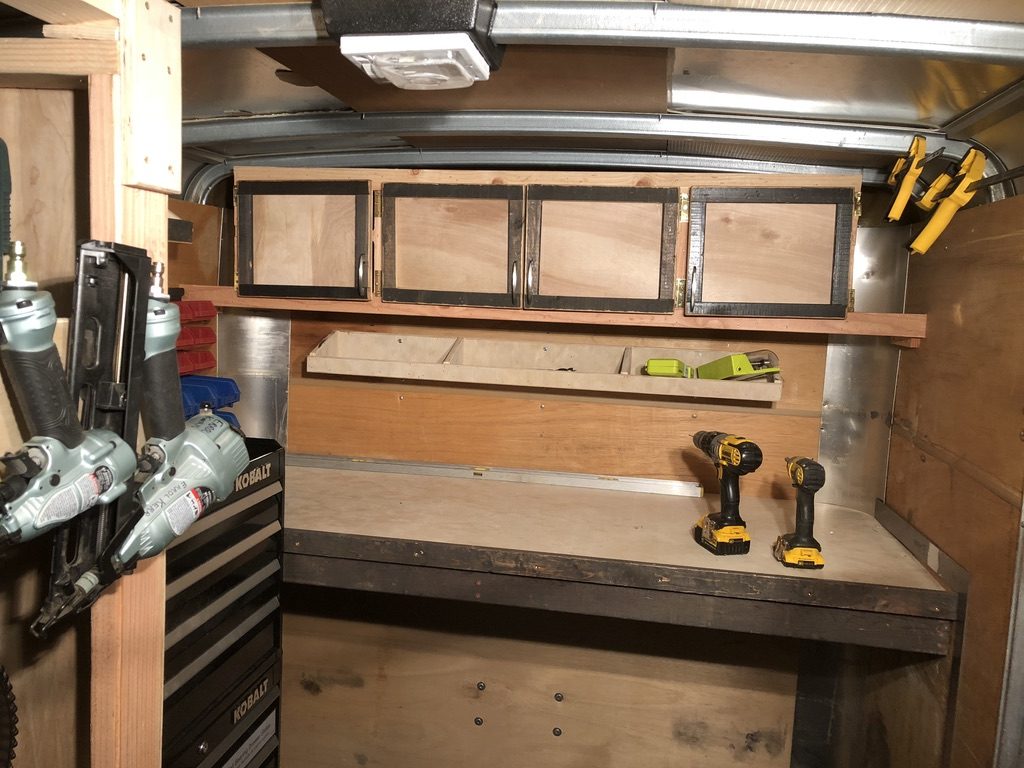
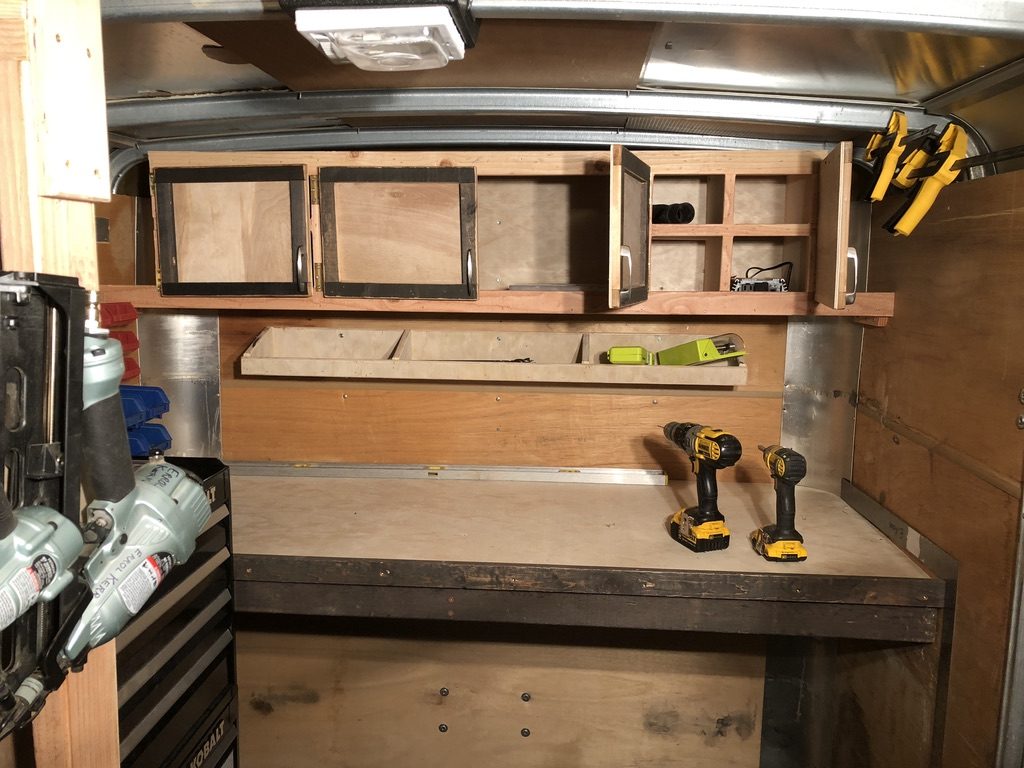
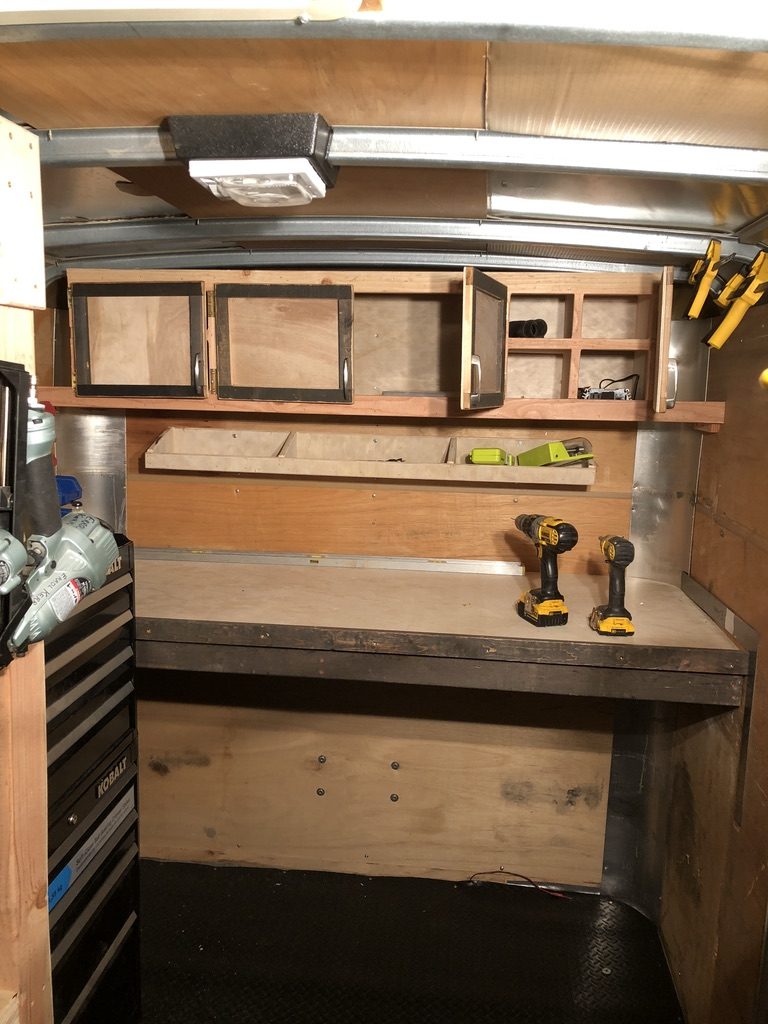
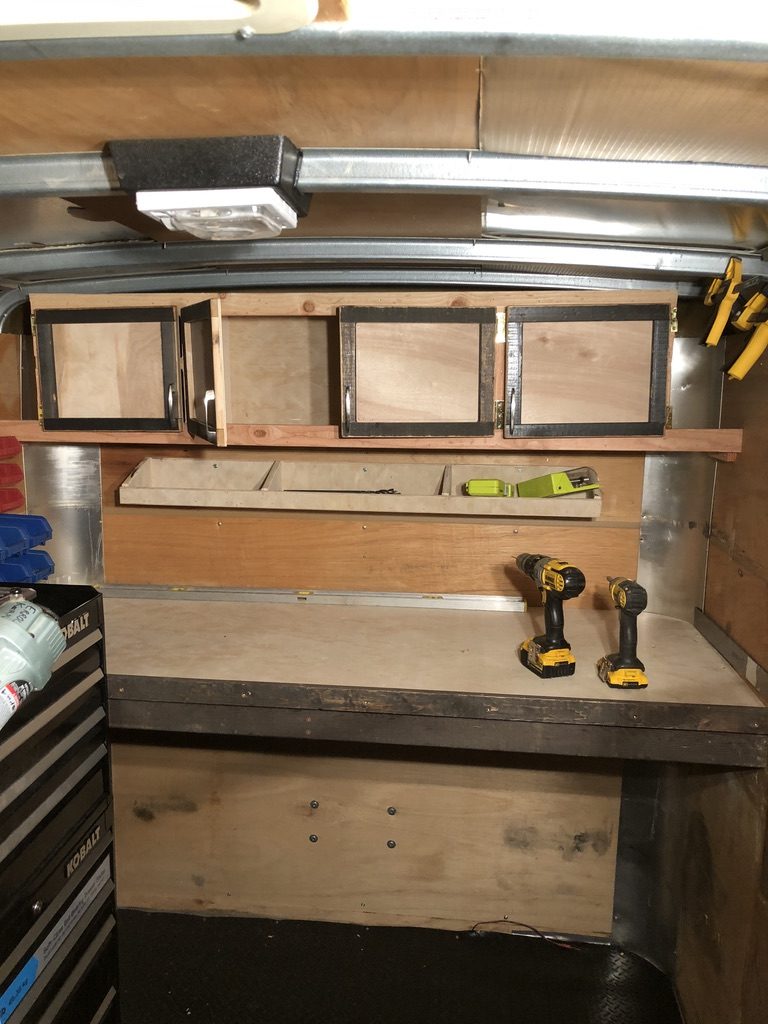
Photos are hosted on Cloudflare Pages today. The 55 long-tail "library" thumbnails are also staged in Google Drive (~/My Drive/06-Website/DIY/carpentry-work-trailer/) ready for future migration to lh3.googleusercontent.com URLs. The data-drive-target attribute on each library image identifies the Drive filename for that migration.
Every cargo trailer is a different blank canvas. The systems on this page — dual-voltage power, marine switch panel, saw platforms aimed out the ramp, pegboard with silhouettes — transfer to almost any enclosed trailer regardless of size. The materials list above is intentionally complete. Steal it.
All DIY Builds